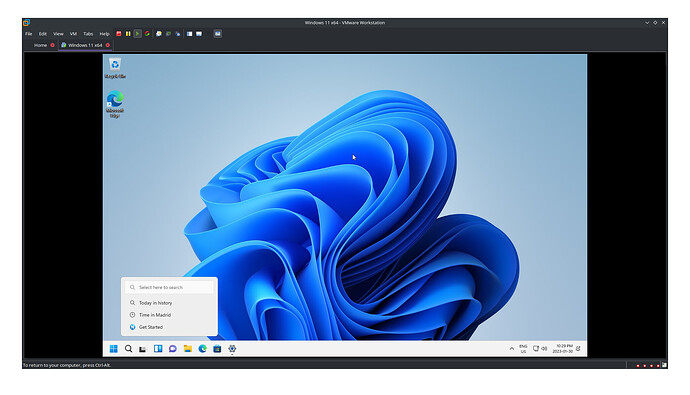
For installing Win11 when you don’t have a TPM 2.0 and know like me that you computer can run W10 with no problem (except windows itself  ).
).
This tutorial work on hardware and with vm.
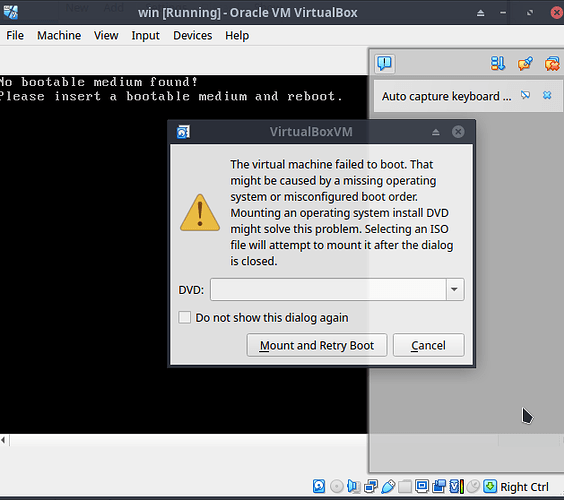
Boot you ISO as always. When you see the start of the installation of windows press shift+F10
A terminal will open. Type in it:
diskpart
Next you will need to list you disk and select the good one (in vm its simple, because they’re only one drive by default)
list disk
With my 1 drive, the command will be:
select disk 0
Now on real hw we maybe gonna need to converting the disk if needed in gpt
conv gpt
Now it’s time to create the efi partition:
create par efi size=512
We formating it:
format fs=fat32 quick
We assign a letter to the par:
assign letter g
Same for the primary:
create par pri
format quick
if the following command don’t work, its because you have already have a volume with the same letter. Use another (its will be c: in windows)
assign letter c
Now we need to get the letter: of the ISO:
list vol
For me its d. We can now leave diskpart:
exit
With DISM we gonna list all the index in your ISO (Win11 home, pro, …):
DISM /Get-ImageInfo /imagefile:d:\sources\install.wim
If you have a error try with install.esd
With the previous command, you will need to find the good index/version that you wish to install. For me its 1 (custom edited iso). With the ID of the index:
DISM /apply-image /imagefile:d:\sources\install.wim /index:1 /applydir:c:\
DISM is gonna do all the job for us!
When its done. We need to fix the boot partiton with:
bcdboot c:\Windows /s G: /f ALL
And that all 

