Posting this as I couldn’t find a good single source of how to enable a FIDO2 hardware token to authenticate and unlock encrypted partitions on an encrypted EndeavourOS installation.
This information is applicable to Galileo Neo 2024.1 and may not work on other versions (or indeed, at all).
Please be sure you have a tested verifiably restorable backup of your system before attempting any of this, I am not responsible for your system or data.
That out of the way.
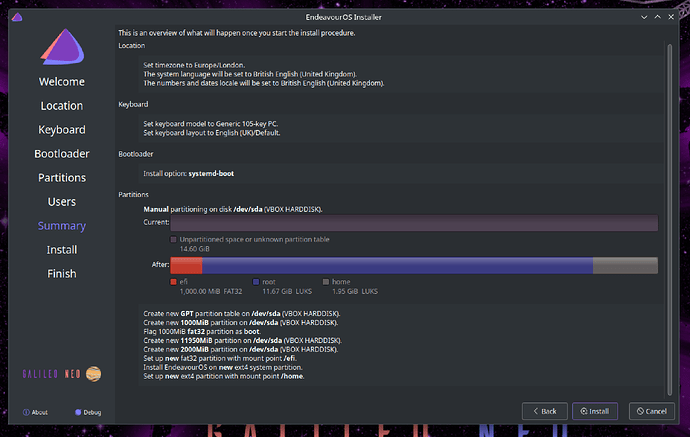
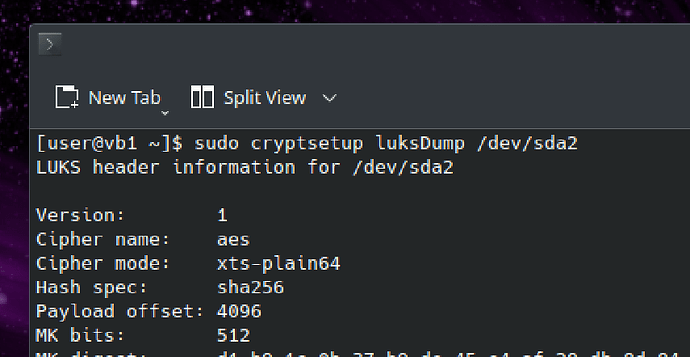
The first problem is that EndeavourOS when installed with encryption, will use LUKS1 format header. I did not know this would be a barrier at the time, but it is.
For many of these steps you need to know what your encrypted block devices are. Mine were /dev/nvme1n1p1 and also /dev/nvme1n1p3
You can find these before starting by using
lsblk
you should see information something like
nvme1n1                                       259:2    0   1.8T  0 disk
├─nvme1n1p1                                   259:3    0   250G  0 part
│ └─luks-807ec89e-ec42-4507-bda0-xxxxxxxxx 254:3    0   250G  0 crypt /
├─nvme1n1p2                                   259:4    0  64.5G  0 part  [SWAP]
├─nvme1n1p3                                   259:5    0   1.5T  0 part
│ └─luks-064a0641-f53e-4cb9-8c77-xxxxxxxxx 254:4    0   1.5T  0 crypt /home
The above would tell me that nvme1n1p1 and nvme1n1p3 are my encrypted devices, you should note yours in a similar way.
UPDATE: there is a suggestion that EndeavourOS might actually install LUKS2 as default in some circumstances. You can check by:
sudo cryptsetup luksDump /dev/nvme1n1p1
If you see:
LUKS header information
Version:        2
Then you already have a LUKS2 installation and you can skip the next section and go to STAGE 2 below.
If the Version is 1, then continue with the conversion.
So step 1 is to convert your encrypted partitions from LUKS1 header to LUKS2. This is necessary because the later steps require LUKS2 and won’t work on LUKS1 encryption.
- STAGE 1
- Boot from the 2024.1 USB media
Convert to luks2
- mount a USB flash drive or other location to hold header backups
- make header backups (substitute devices as from above)
sudo cryptsetup luksHeaderBackup /dev/nvme1n1p1 --header-backup-file /path/to/backups/nvme1n1p1.bin
sudo cryptsetup luksHeaderBackup /dev/nvme1n1p3 --header-backup-file /path/to/backups/nvme1n1p3.bin
And now convert to LUKS2
sudo cryptsetup convert --type luks2 /dev/nvme1n1p1
sudo cryptsetup convert --type luks2 /dev/nvme1n1p3
Answer the prompts in the appropriate manner (YES) or anything else to abort.
This does not take long (instant)
- reboot back into your regular system
This should proceed just as before, as all we have done is converted to the LUKS2 format. EndeavourOS already supports booting from both, but will only create LUKS1 at install time.
- STAGE 2
- install FIDO2 support package
pacman -Sy libfido2
- enrol each partition with the FIDO2 key
systemd-cryptenroll --fido2-device=auto --fido2-with-user-verification=true --fido2-with-client-pin=false /dev/nvme1n1p1
systemd-cryptenroll --fido2-device=auto --fido2-with-user-verification=true --fido2-with-client-pin=false /dev/nvme1n1p3
I configured mine to NOT require PIN (–fido2-with-client-pin=false), but to REQUIRE button press ( –fido2-with-user-verification=true )
You can change these options as you see fit. I might re-enroll with PIN but for now, I’m happy with the token being present, and button press only.
- modify /etc/crypttab
Change your /etc/crypttab to append fido2-device=auto to each encrypted device you enrolled
The fourth column on each line probably has:
luks
and this is changed to
luks,fido2-device=auto
- Set up initrd via dracut to allow the fido2 key to work
Create file /etc/dracut.conf.d/fido2.conf
install_items+=" /usr/bin/fido2-token "
add_dracutmodules+=" fido2 "
Spaces are significant there, be sure to include them. Use the calamares-luks.conf one as an example if you have it
- rebuild the init.d using dracut
dracut -f
Make sure there are no errors, and you should also see fido2 in the list of included modules.
Reboot and hope for success
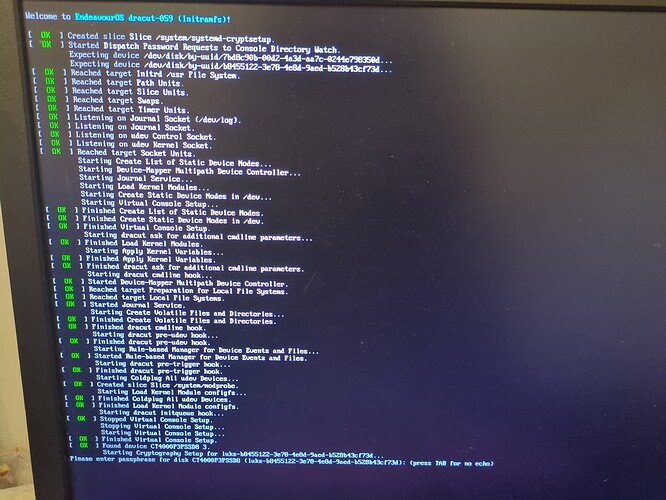
For me, the token flashes at root mount stage, I click it to authenticate, then it flashes again at home partition mount stage, click again, and boot continues.
Hope it works for you , I practised all of this in an EndeavourOS VM first, but it was still a bit sweaty palm doing it for real, even with all the backups.
Hope it’s useful to someone, I’ve been wanting to do this for a couple of years now, and finally bit the bullet.
Any errors or suggestions please do say and I’ll edit the post with corrections.

