The desktop environment XFCE seems to have an underlying issue when used in virtual machines powered by virt-manager and QEMU/KVM. Mainly when the VM is configured to use virtio with 3D acceleration. The issues are caused by the XFCE’s default compositor which is xfce4-compositor.
The below image shows what happens when XFCE boots up with virtio 3D enabled.

As of writing, there’s no exact fix for this but we can work around this issue. There are two workarounds.
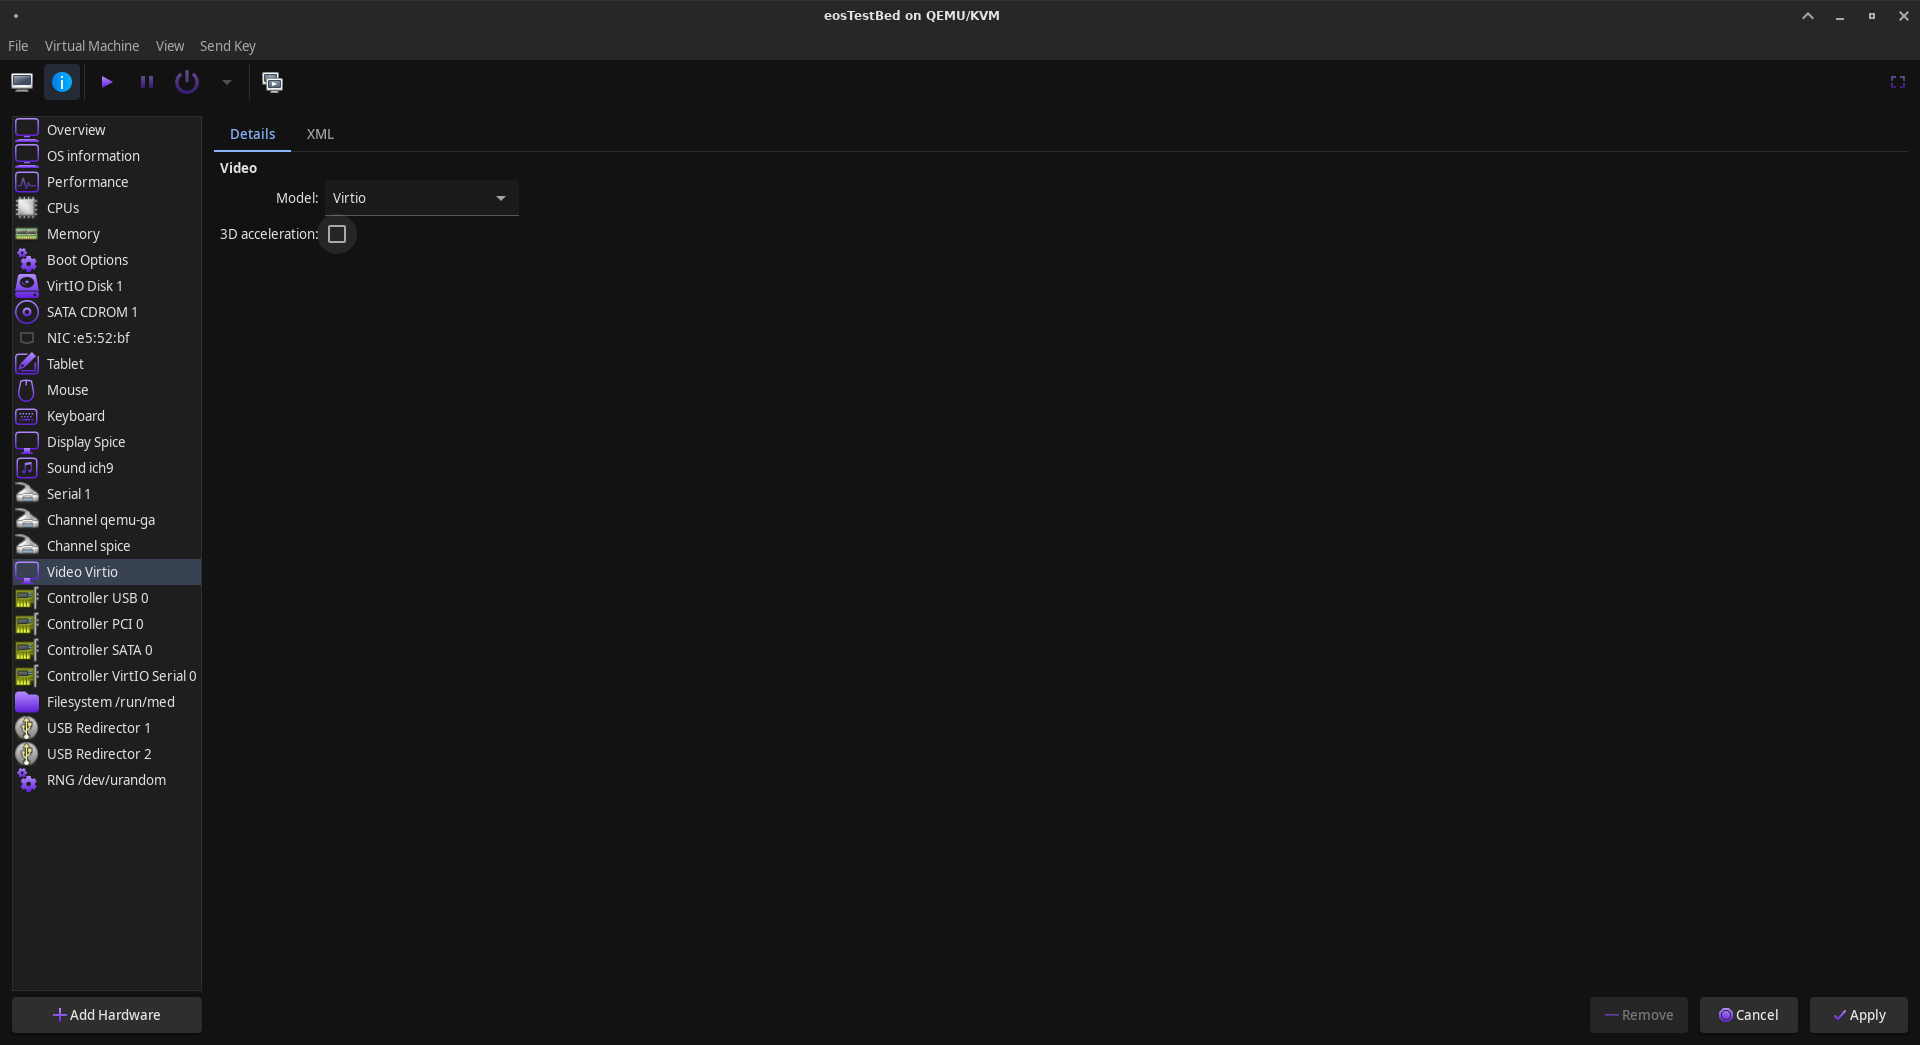
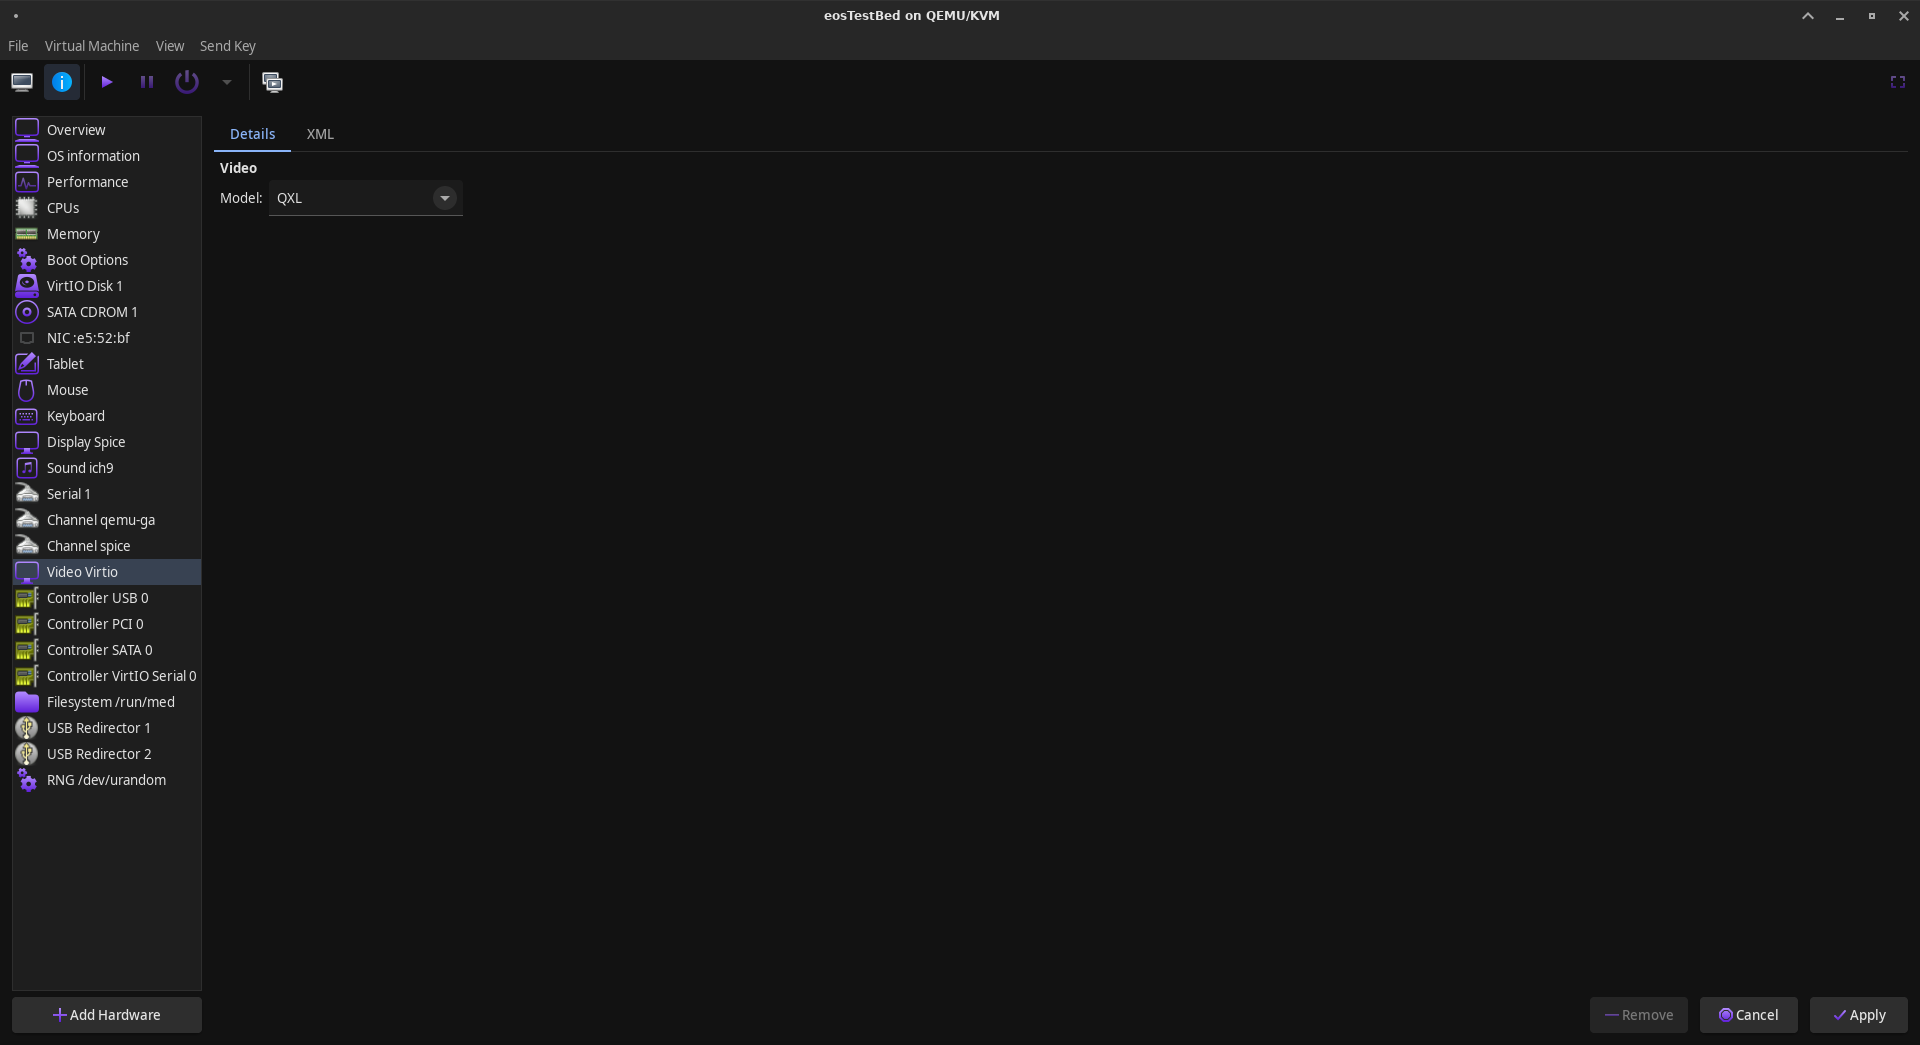
- Use
virtiowithout 3D acceleration or useQXLas the video component.
virtio with no 3D acceleration
With QXL
- Replace the default compositor with another one like
comptenorpicom.
In this article, we would be looking at how to replace the xfce4-compositor with picom. I do like to stretch that this is not a permanent solution but a workaround.
When creating the virtual machine
There’s nothing special to do just use the default settings for the video. Until you get the distribution installed. Once you’re done installing load it into the virtual machine and make sure everything is working. Once you’re sure everything is working without an issue it’s time for us to replace the default compositor with picom.
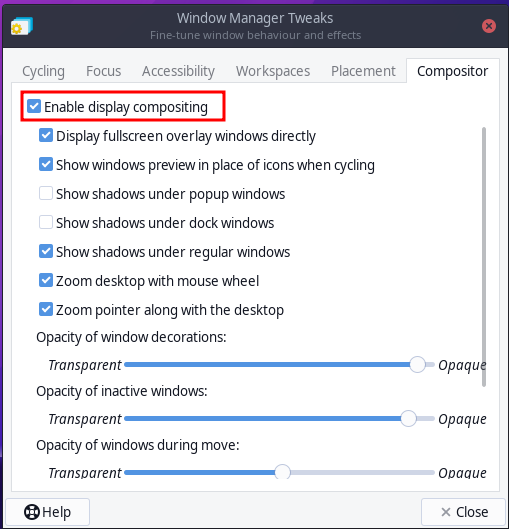
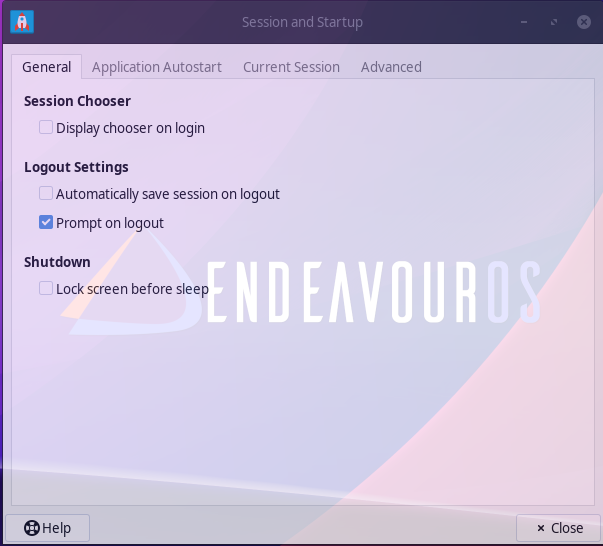
Disable default compositor
Load “Windows Manager Tweaker” and go to the last tab “compositor”. Now untick the check box in front of “Enable display composting”. As shown below images.
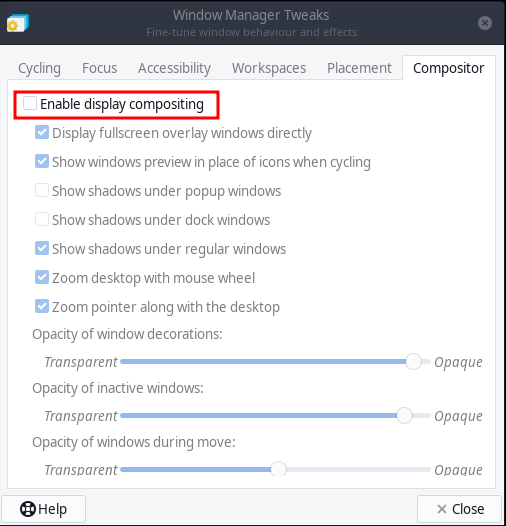
Don’t panic if your virtual screen flickers or goes black for few seconds. That is expected when the compositor is unloaded. Once unloaded you will see all the transparency and shadow effects are gone.
Now, shut down the virtual machine and go to your virtual machine’s hardware details. Click on “Video” and then enable “3D Acceleration” by checking the checkbox in front of it. Now boot into your virtual machine.
Installing and enabling picom
- Install
picom.
sudo pacman -S picom
- Make a directory in
./configto place thepicomconfig file.
mkdir -p ~/.config/picom
- Copy the default
picomconfig file to the folder we just made inside the~/.configfolder.
sudo cp /etc/xdg/picom.conf ~/.config/picom/picom.conf
- Now let’s create a script to launch
picomat the session start.
sudo nano ~/.config/picom/start.sh
NOTE: You can use any name you want for the file but use ‘.sh’ as the extension. Also, the file will be created once you save it.
- Use the below code in side the above file.
sleep 2 && picom -b --config /home/(your user name)/.config/picom/picom.conf
- sleep - To delay the command execution for 2 seconds. This is done because it sometimes mess up when we launch
picomwith the session start. - -b - To run
picomin the background. - –config - To define a custom path for the config file.
-
Save the file and exit nano or vi or vim.
-
Now we need to make the file executable by using the below command.
sudo chmod +x /home/(your user name)/.config/picom/start.sh
- Let’s make the above script launch at login. Launch “Session and Startup”.
- Click on the “Add” button at the bottom of the window. And create a new entry as shown below images.
Set the command to the the .sh script: /home/(your use name)/.config/picom/start.sh
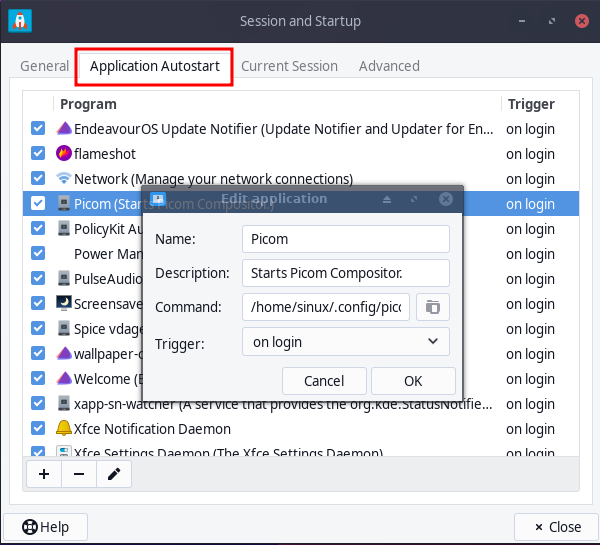
- Click “OK” and then “Close”. Now restart your virtual machine.
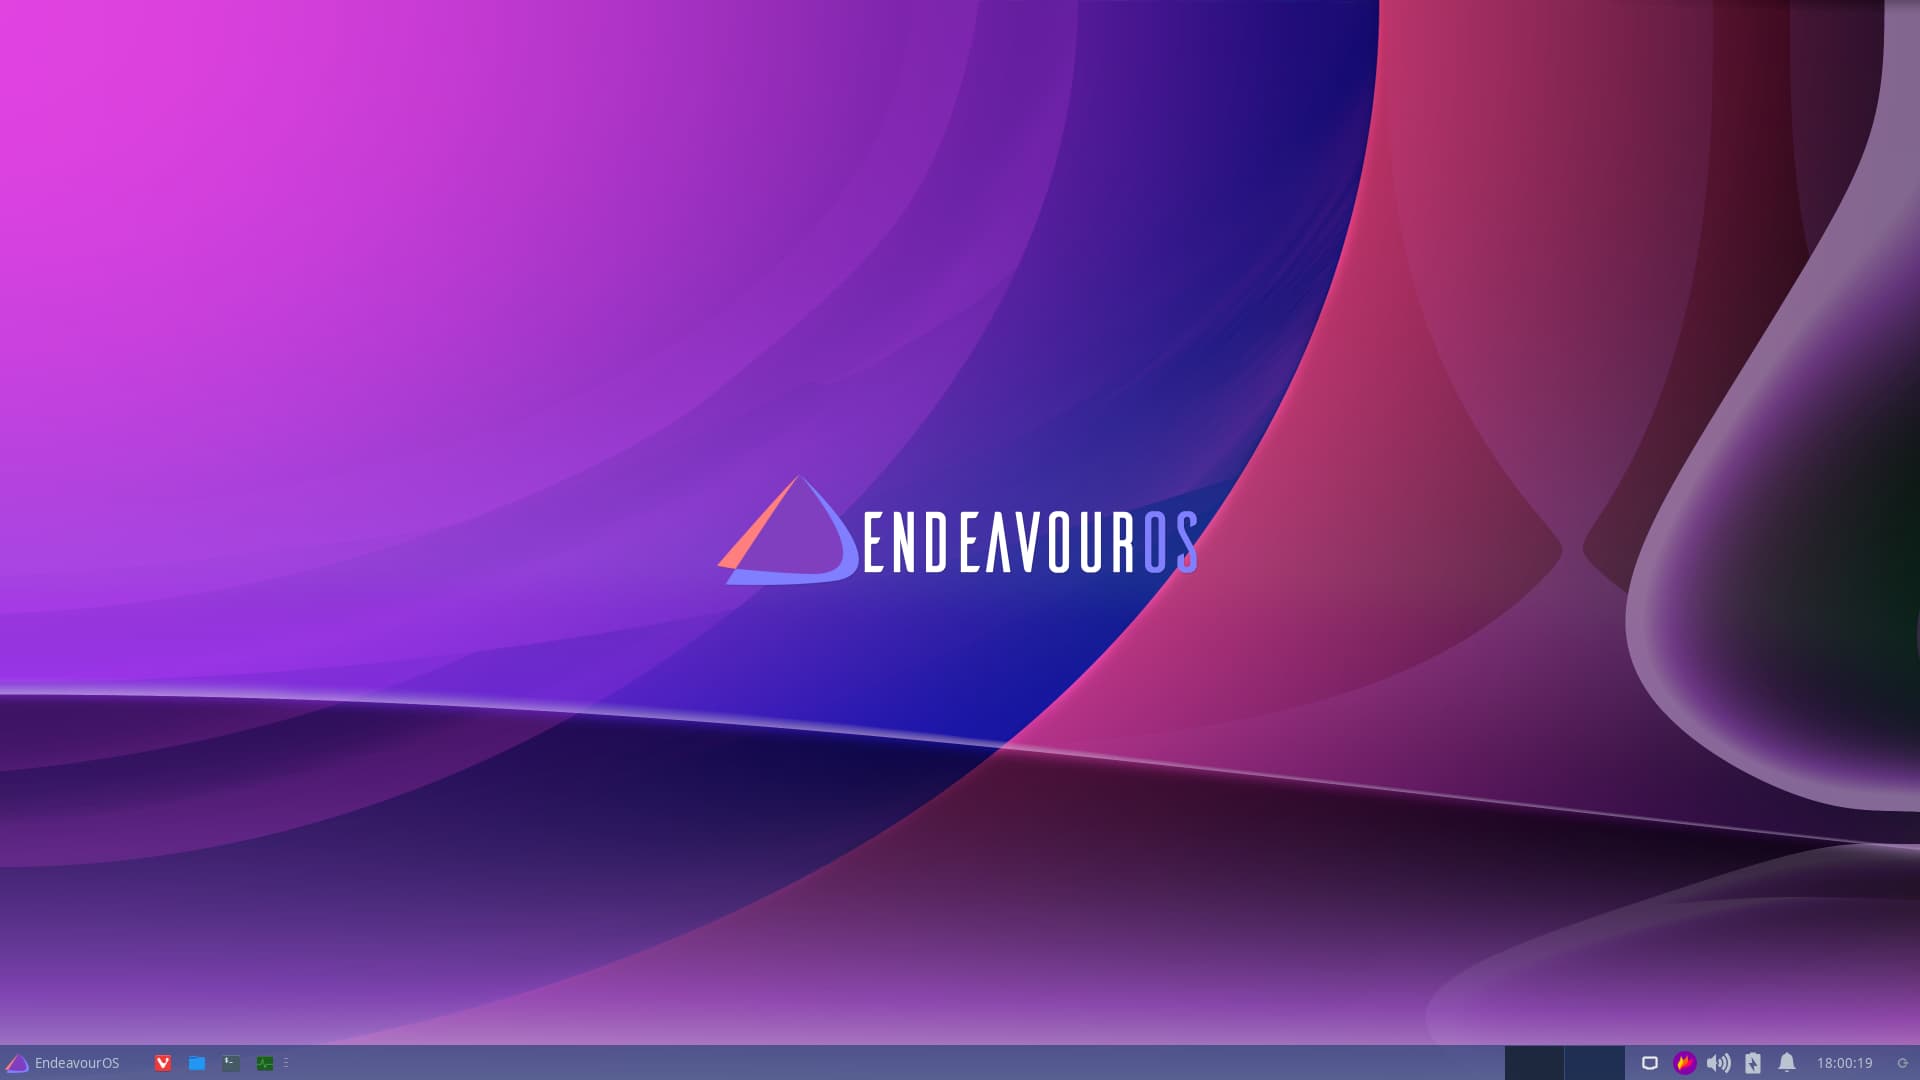
Hoping everything went well you will be loaded in too much better-looking XFCE desktop environment with 3D acceleration enabled and it should look like the below image.
NOTE: You can use the steps used to replace the default compositor in this article to replace your none virtual machines compositor as well. The XFCE compositor is famous for screen tearing and kind of looking bad.
Conclusion
In this article we only looked at how we can work around the virtio 3D acceleration issue by replacing the XFCE default compositor. Hope this would help some who is facing the same issue and if there’s any corrections or question please feel free to ask below.