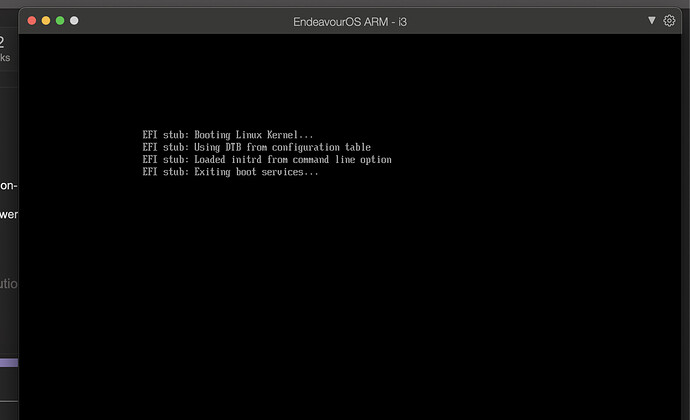
I have found out an easier way to get EndeavourOS ARM up and running on a Parallels VM… Instead of having to install another linux bistro, and hijacking one of the virtual drives, I found a reddit post where one of the Arch devs (Tobias Powalowski) posted a link to an Arch Linux ARM *.pvm image for parallels.
Basically this is a premade VM with a very minimal base arch install installed. (standard it has 2 cores, and 3gb’s of ram, but this can of course be increased afterwards through the parallels console)
Download here
At the moment of writing there were 2 folders:
5.15.x
5.16.x
These are the kernel versions… I went with 5.16.x for this guide.
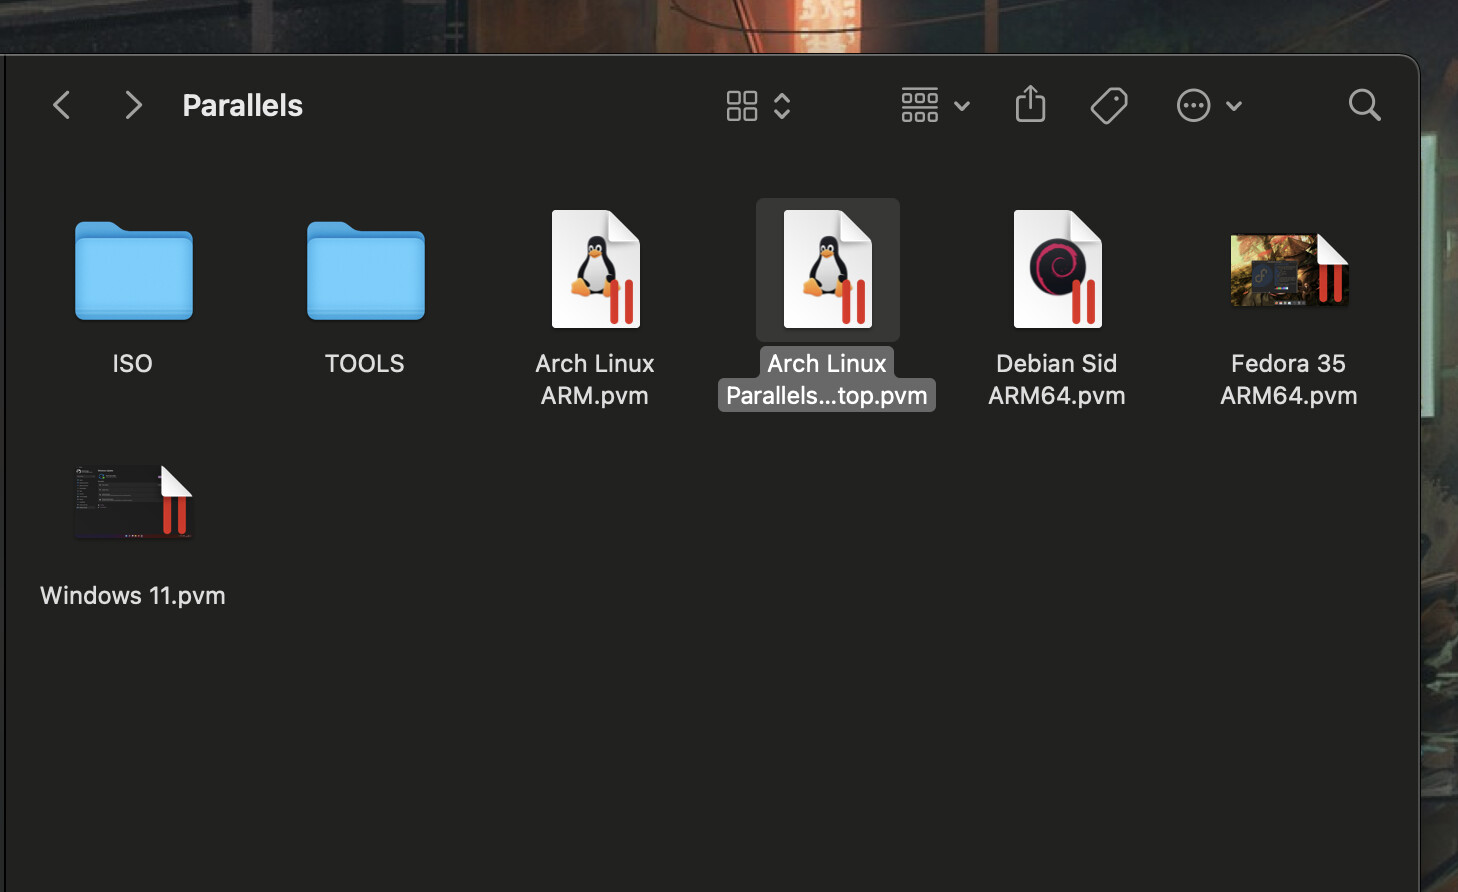
Just download Arch Linux Parallels Desktop.pvm.zip and extract. put it in the folder where your other parallels VM’s are stored, and simply double click it.
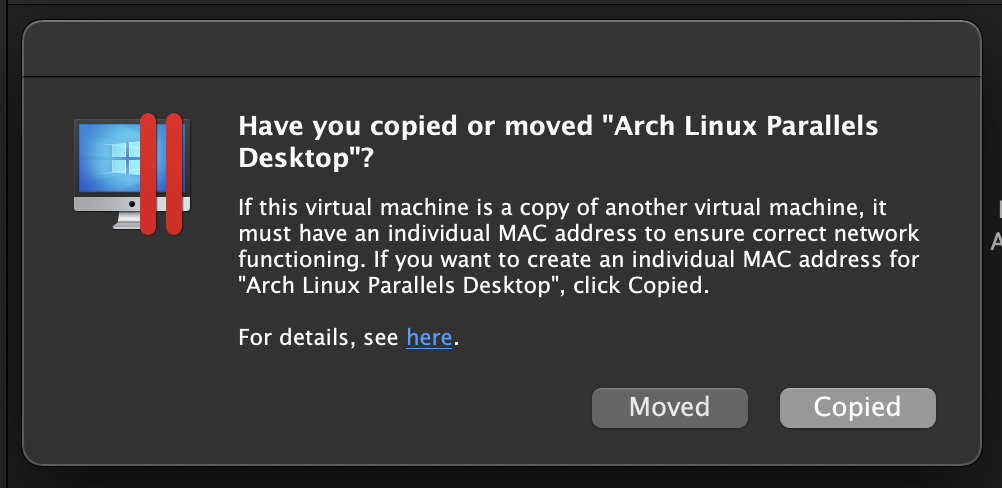
When it asks you if you moved or copied the VM, click ‘copied’
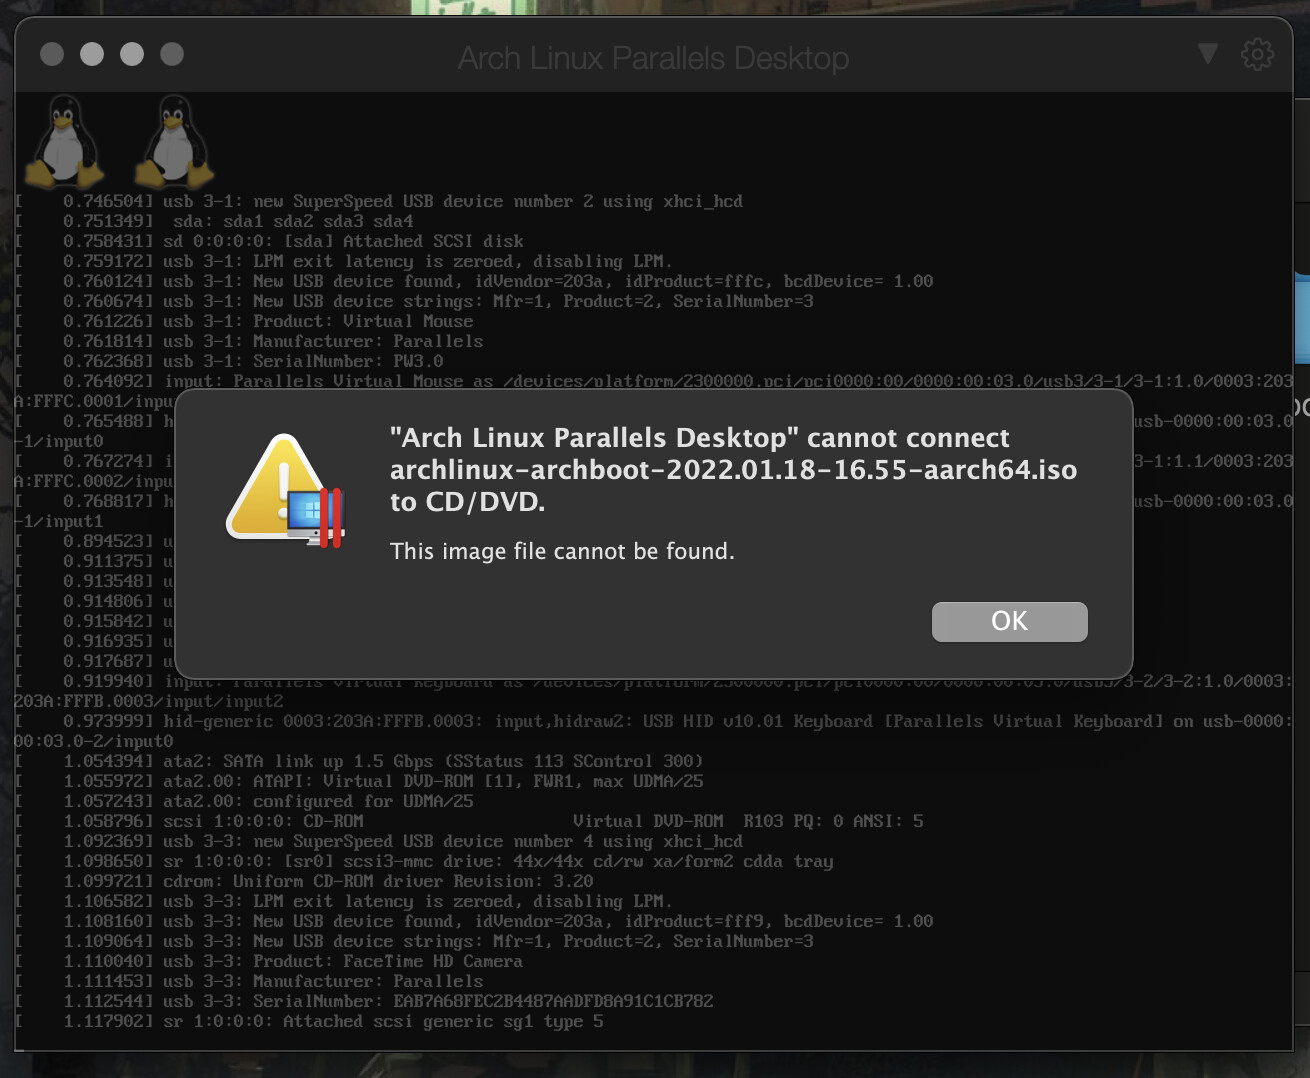
When it first starts, it will spit out an error that it can’t find an iso image… you can safely ignore that… my guess is the creator still had his archboot iso mounted in the vm when he uploaded it.
When it is booted up you can log in with the following secure username/password combination:
Username: “root”
Password: “123”
Once logged in, we have to update the vm
But before we do that, we better activate the parallel downloads option for pacman.
Firstly let’s install nano by entering ‘pacman -S nano’
Once nano is installed, we can edit the pacman config file by entering following command:
‘nano /etc/pacman.conf’
Inside nano, we can navigate down with the arrow keys until we reach a line looking like this:
‘#ParallelDownloads = 5’
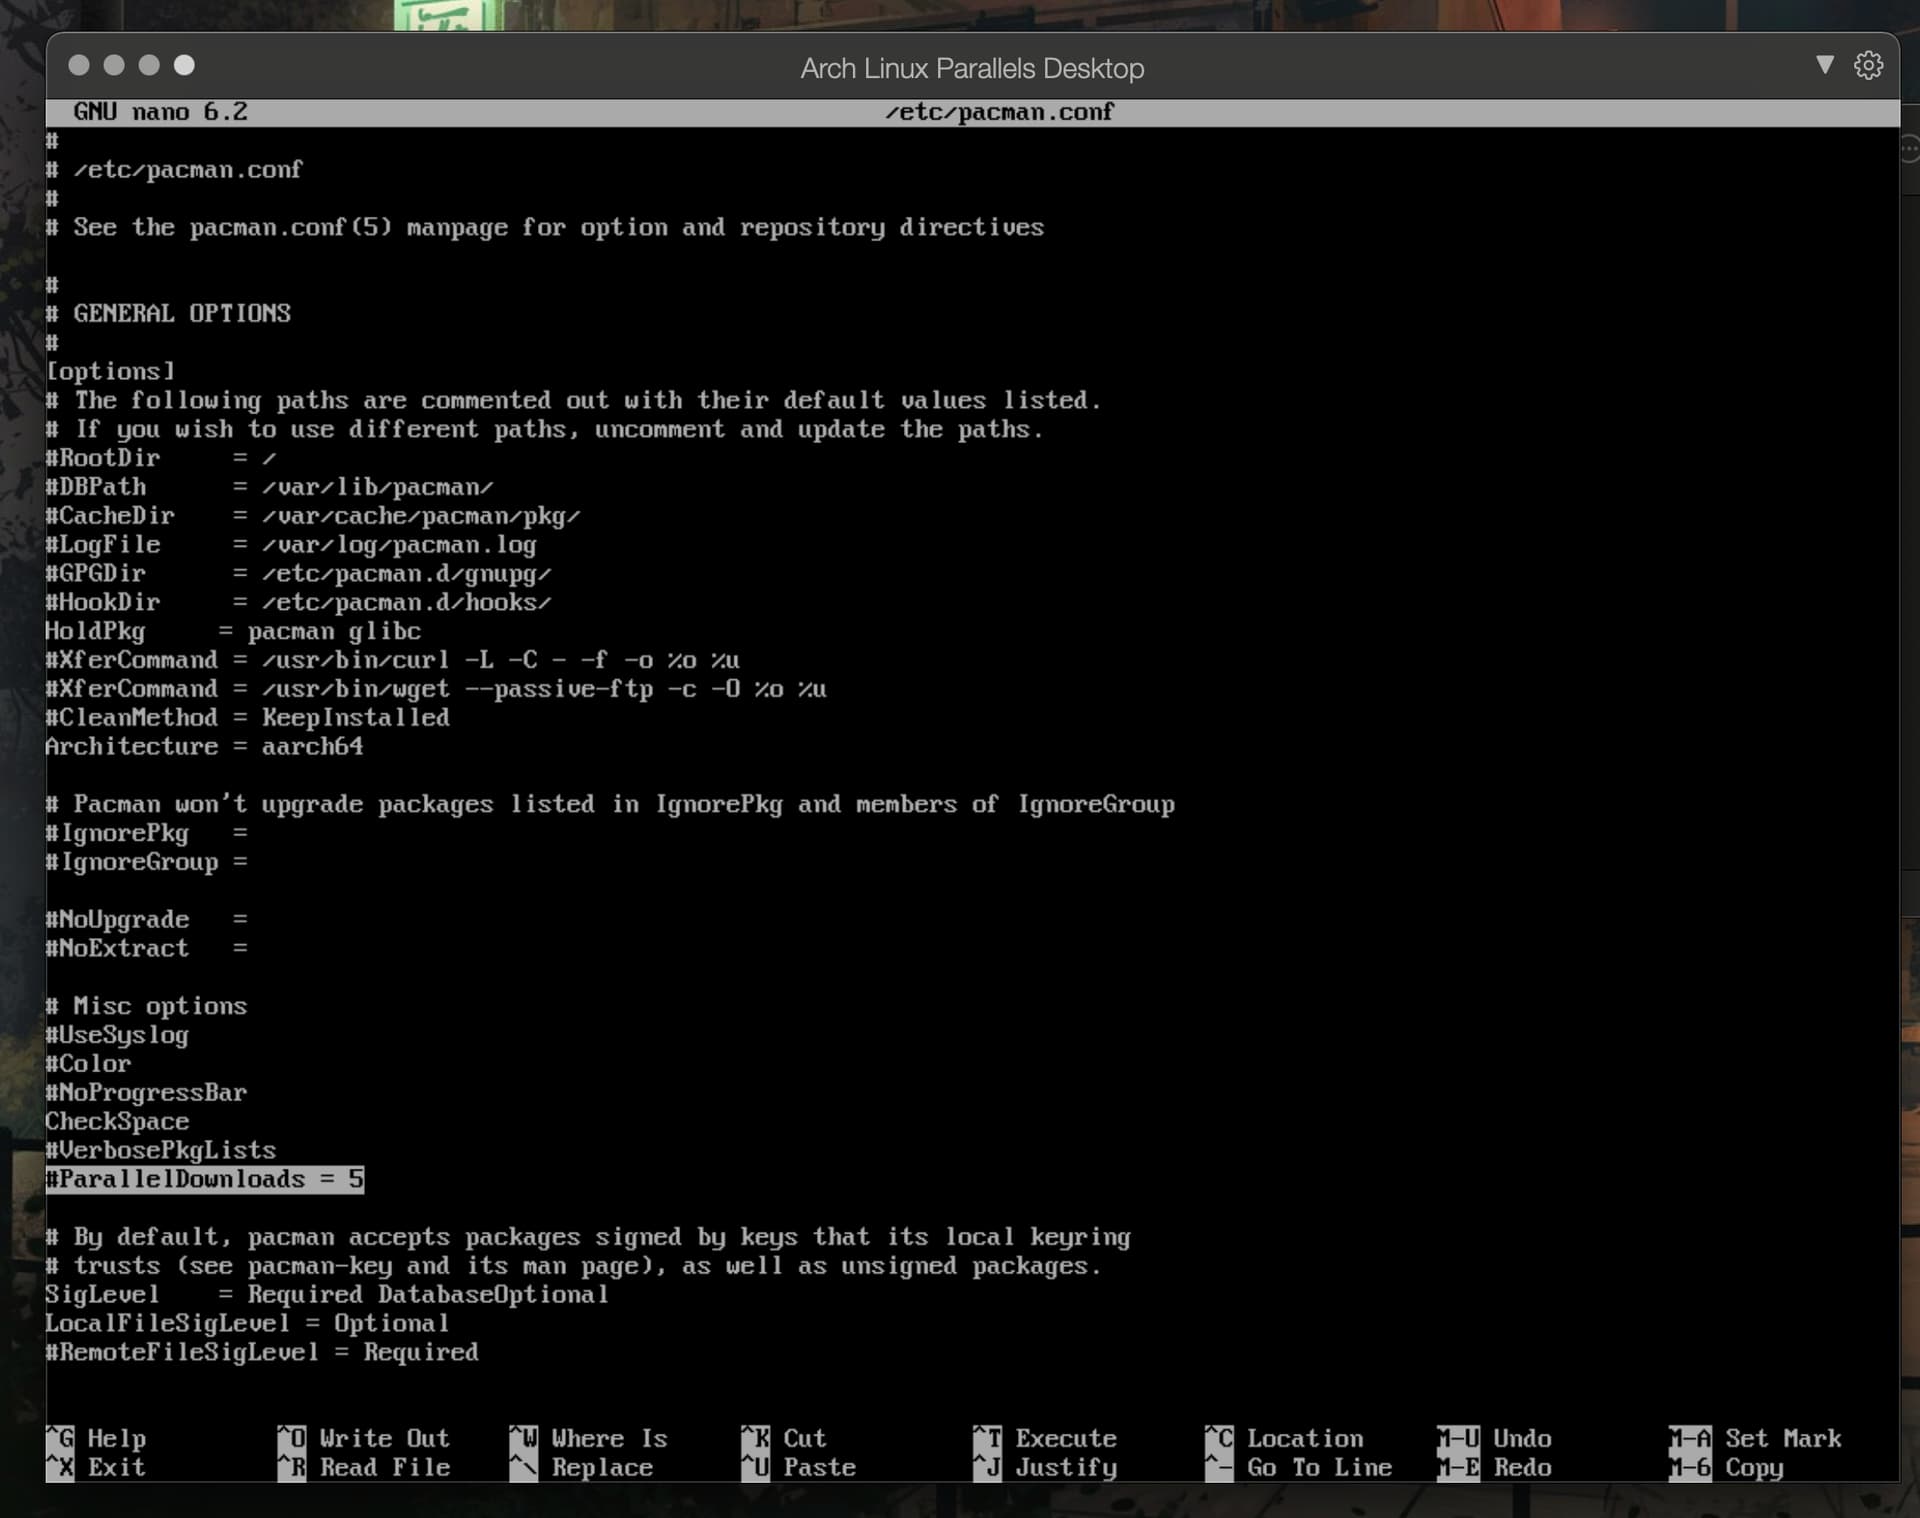
To enable parallels downloads, simple remove the hashtag, then press CTRL+O to save, and CTRL+X to close nano
Now we update the VM simply by doing the usual ‘pacman -Syu’ command
Go through the update process, like you would on any other arch install.
Once update is complete, lets install git
We’ll need this to download EndeavourOS ARM’s install script from the GitHub page
Simply enter ‘pacman -S git’ to install git
Followed by following command to download the script:
‘git clone https://github.com/endeavouros-arm/install-script.git’

Next we will need to enter it’s directory by simply entering
‘cd install-script’
Entering ‘ls’ will show you the folder’s contents you will see something like ‘endeavour-ARM-install-V2.6.sh’ (version number will probably change in the future, but V2.6 is the version at the moment of writing)

In order to make the script executable, simply enter following command:
‘chmod +x *.sh’ (this will make any shell script executable, but since there is only one in here, it should be fine)
Once that’s done, run the script by entering:
‘./endeavour-ARM-install-V2.6.sh’ (or whatever the scripts filename is by then) you can also enter the first part of the filename, and press tab to autocomplete it.

At this point the hardest part is done, and we should be in the terminal based installer.
Here it asks us whether we want to install a desktop environment, or a headless server.
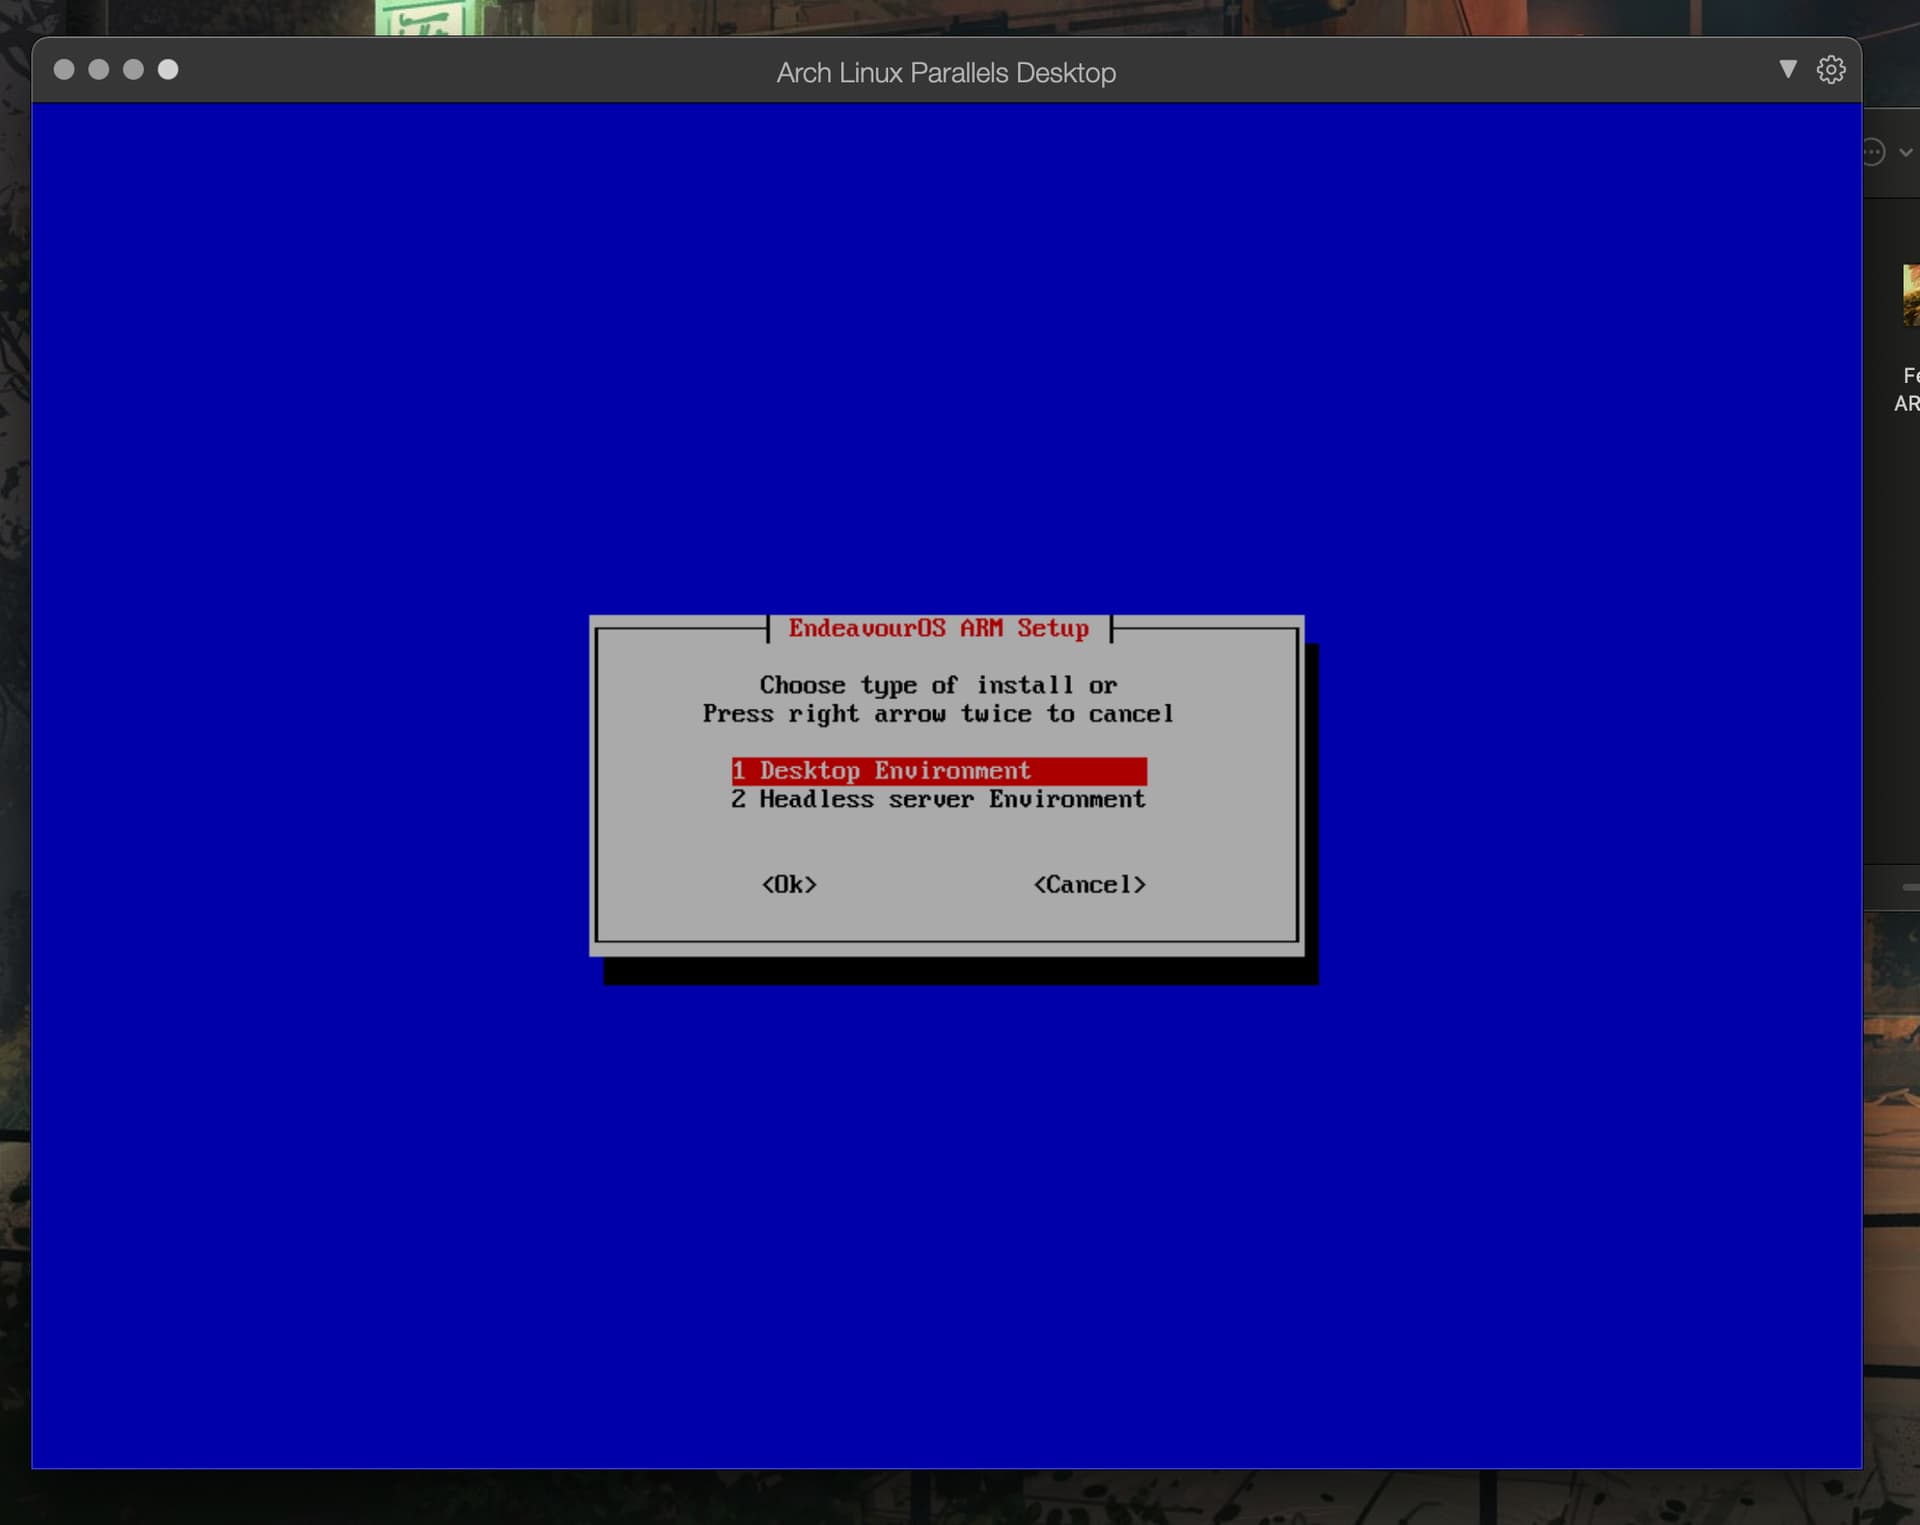
For this guide, let’s go with Desktop Environment
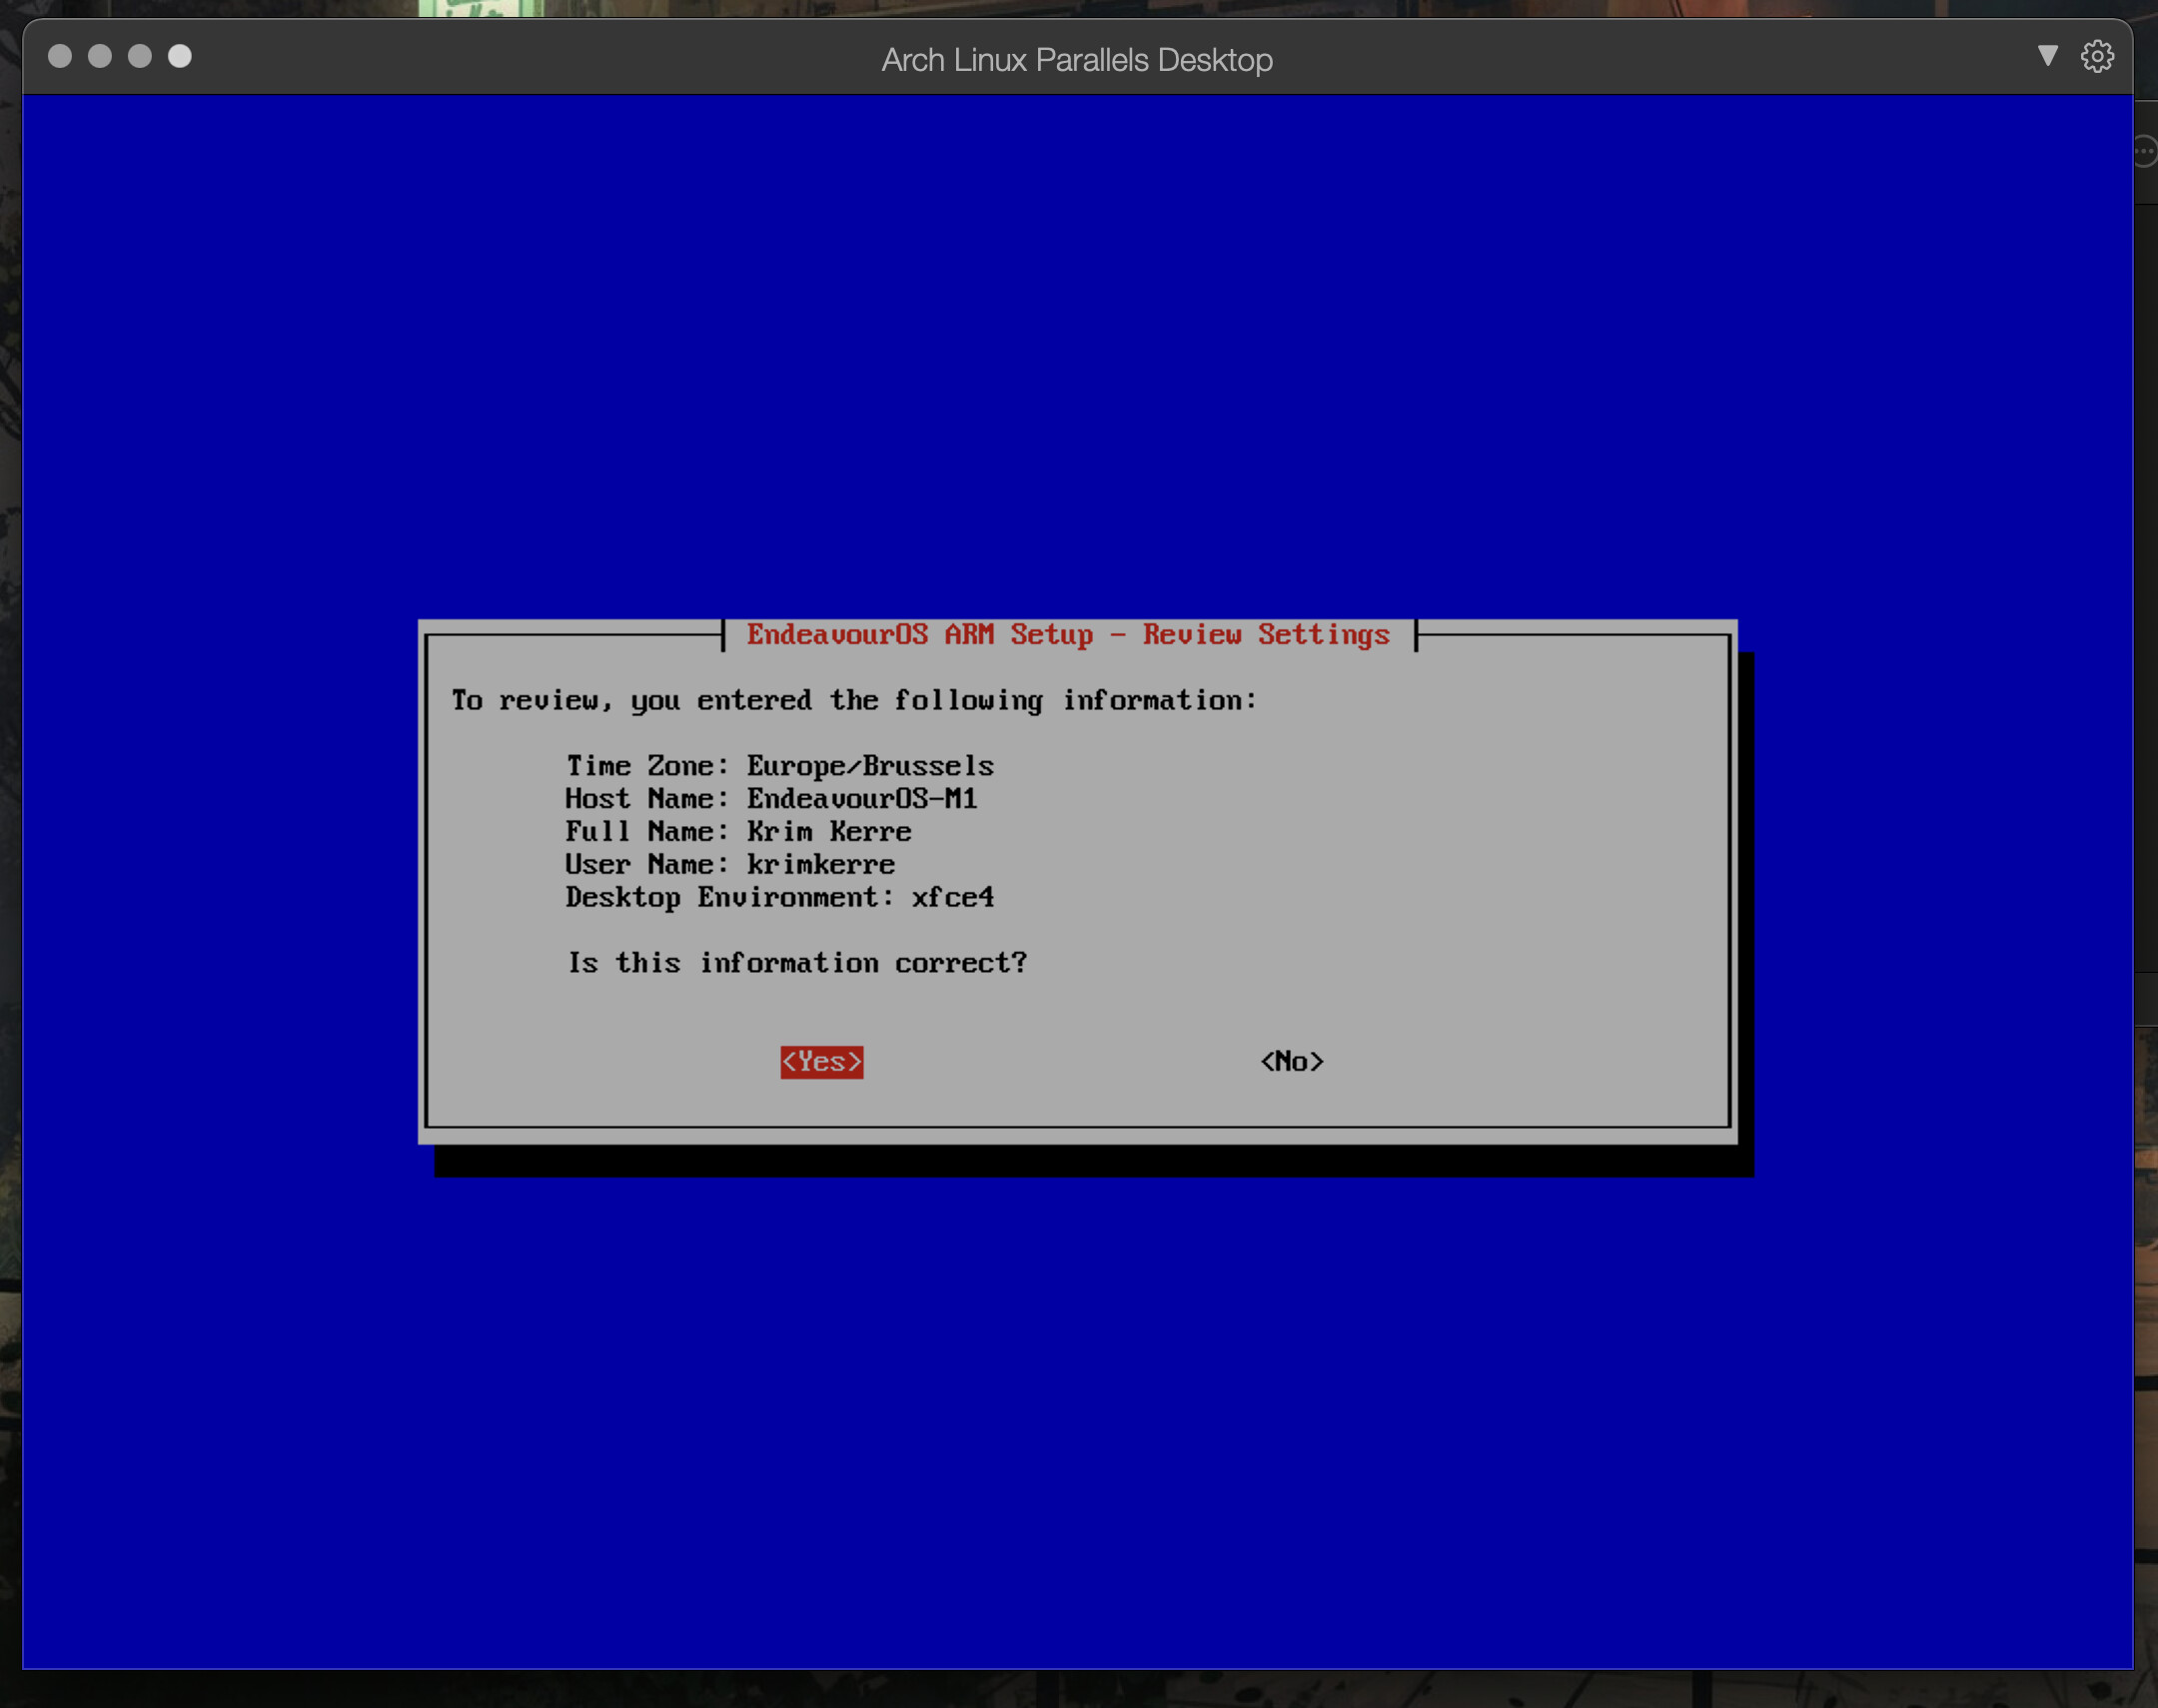
Next it will ask for basic things, like timezone, hostname, username, and the passwords for both the user and root.
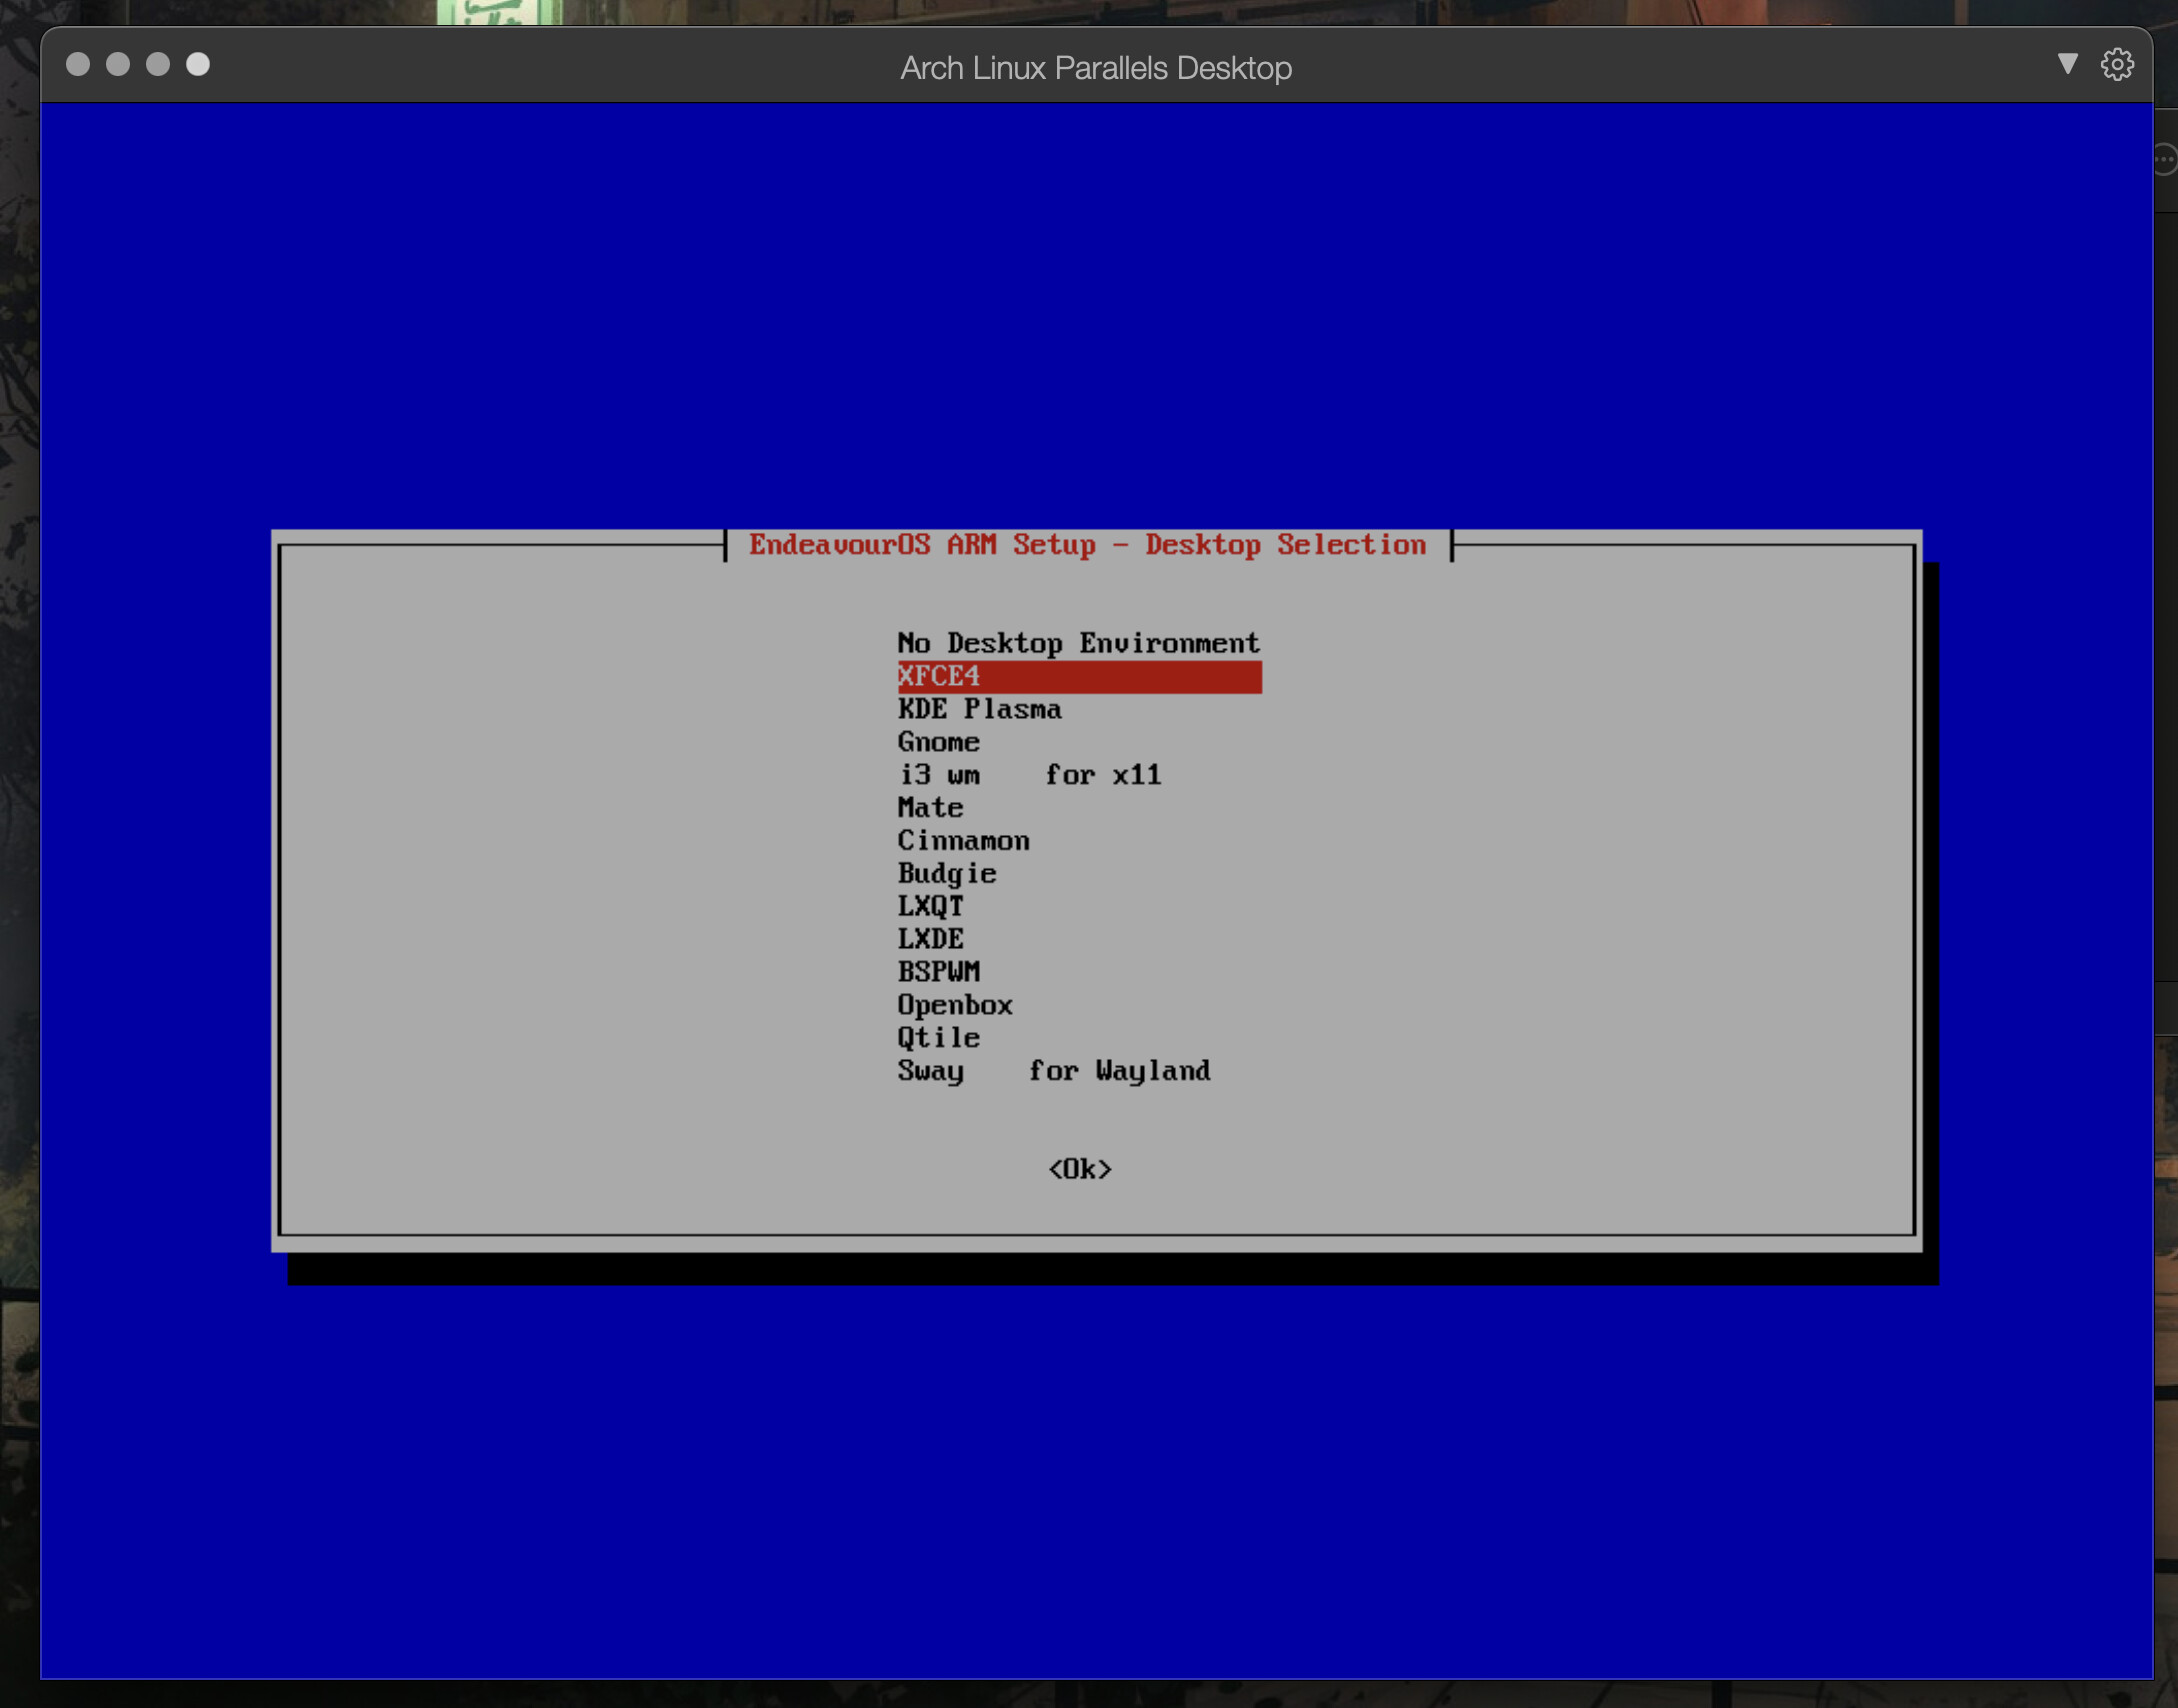
Once that is finished we are asked which desktop environment we want.
For this guide, let’s go with XFCE4…
I will ask you to confirm if everything you entered thus far is correct, if so press ‘Yes’
Now is the time to grab a cup of coffee/tea… it will now automatically download everything it needs, and then install it
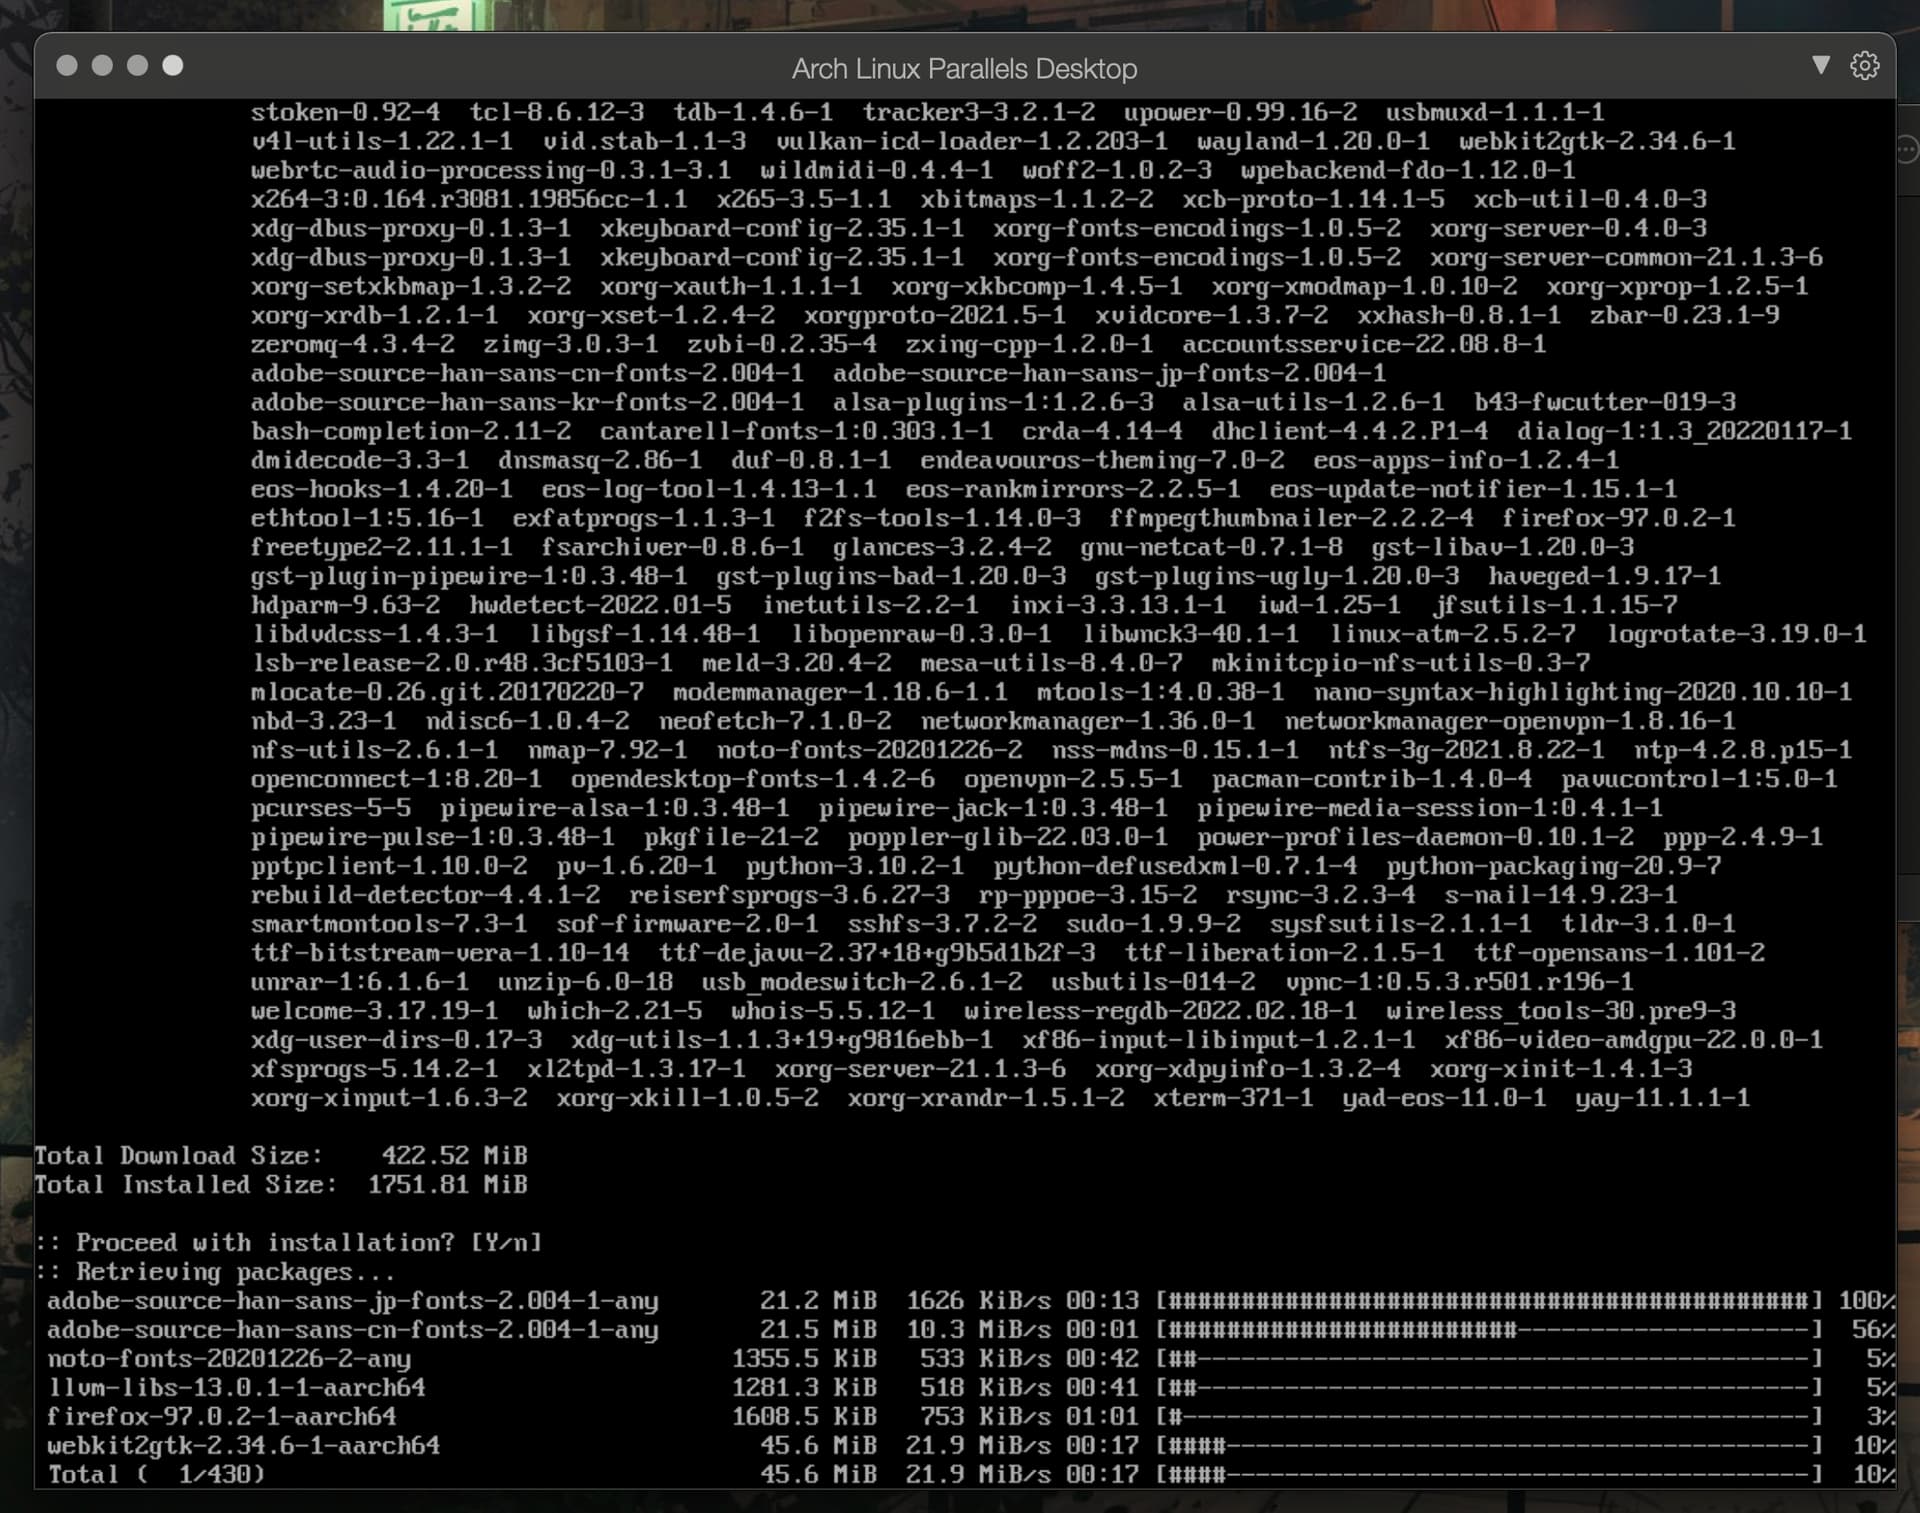
The amount of time this takes will depend on your internet connection speed.
Once it’s finished, it will ask you to press any key to reboot

Once rebooted you should be greeted with our login screen
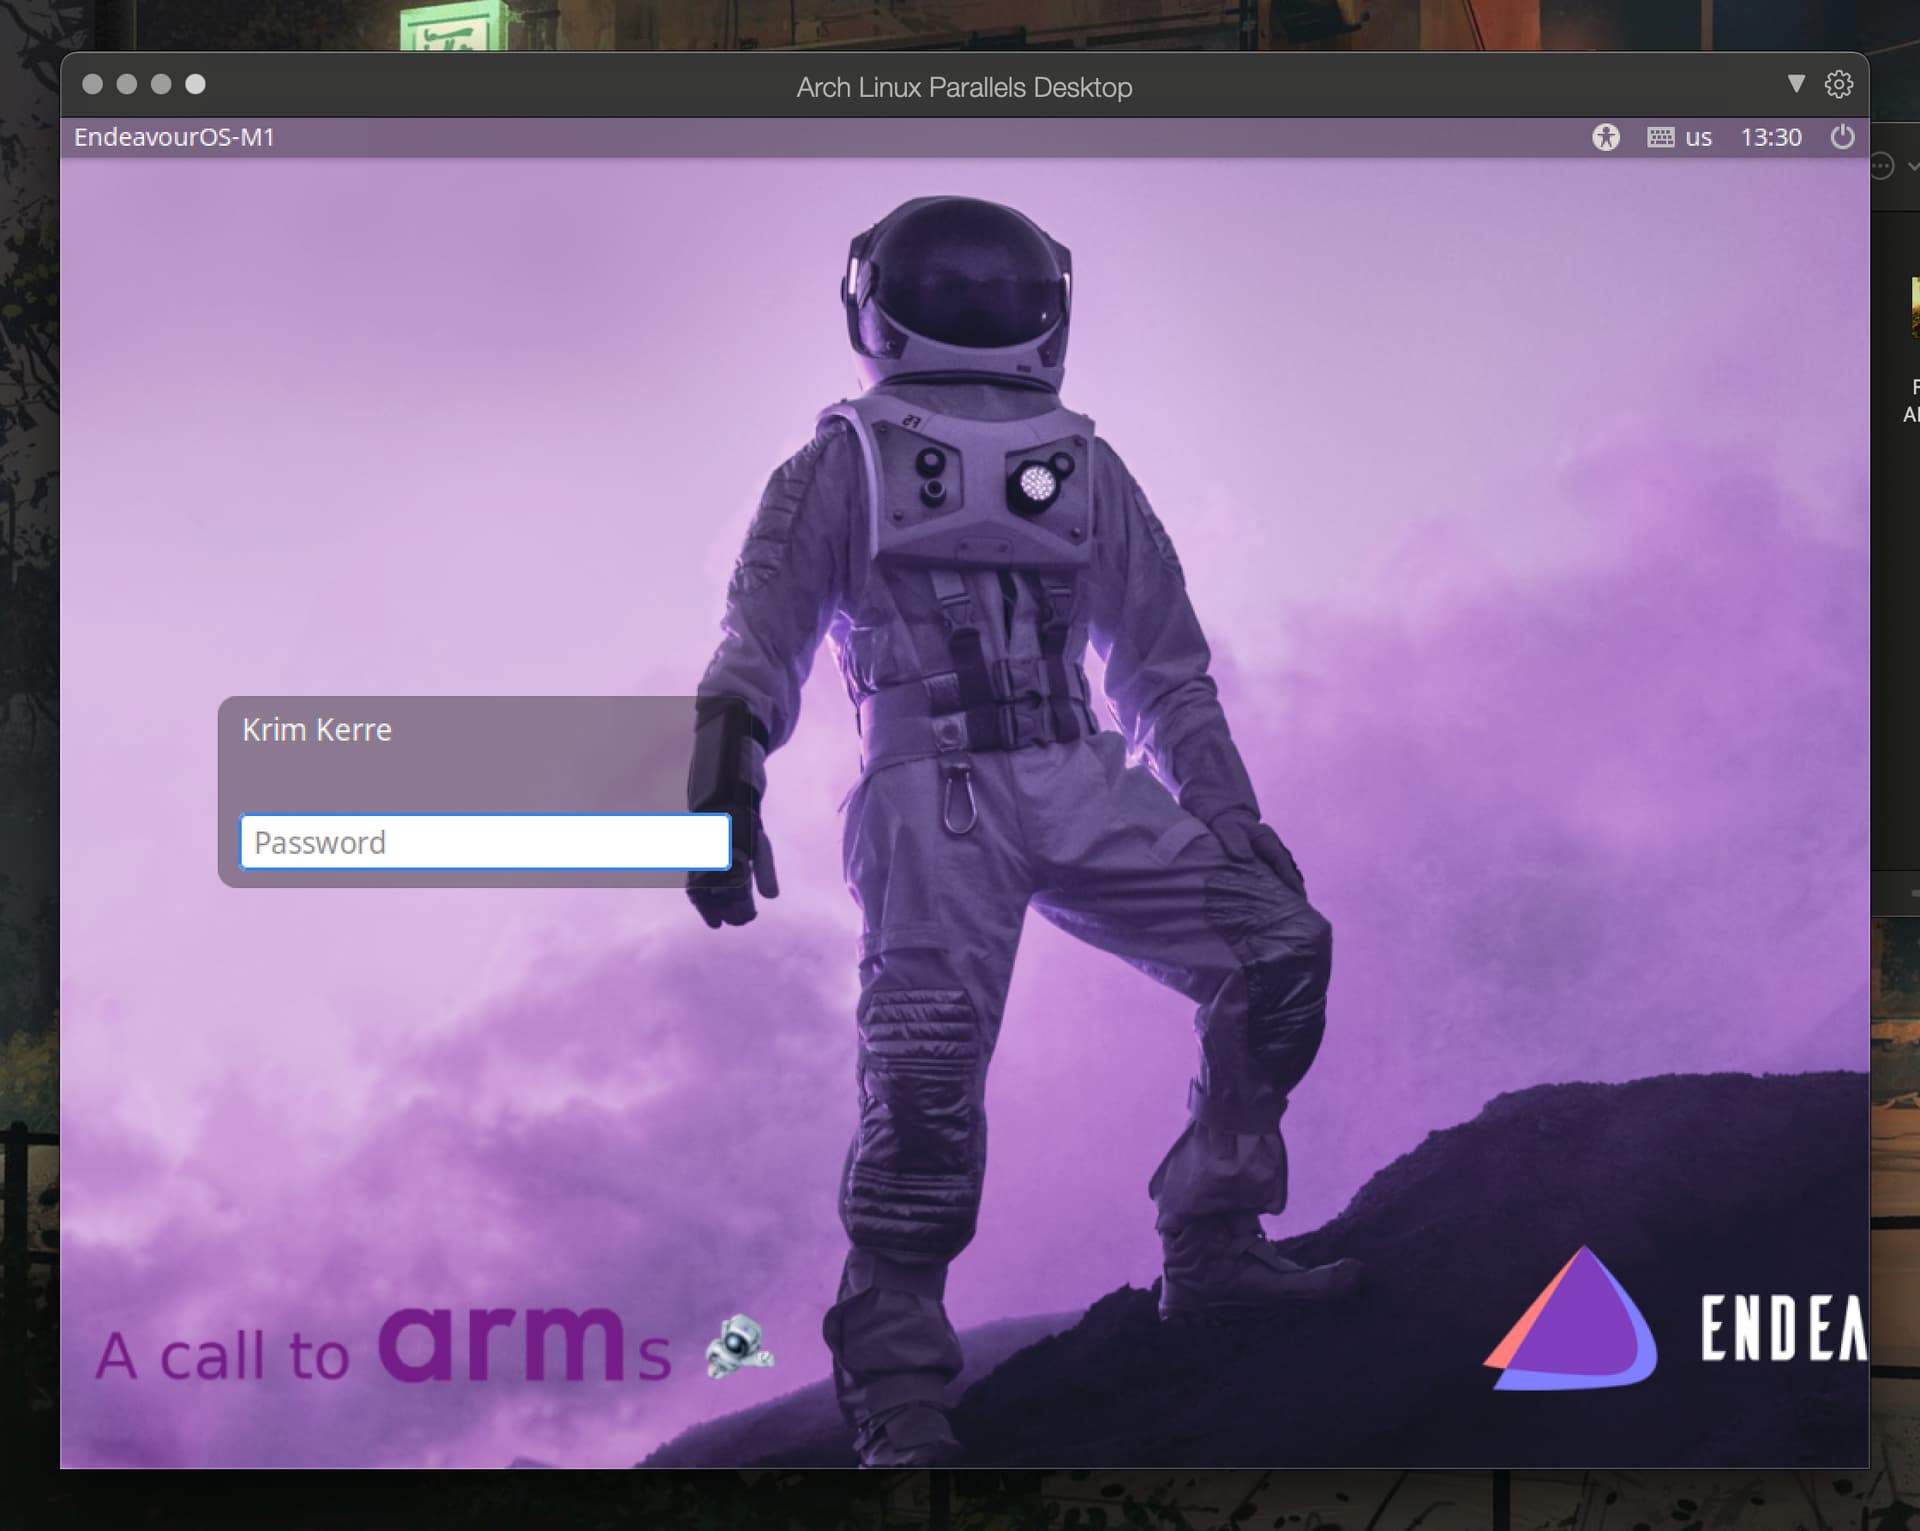
After logging in, we are greeted with our beautiful XFCE desktop!
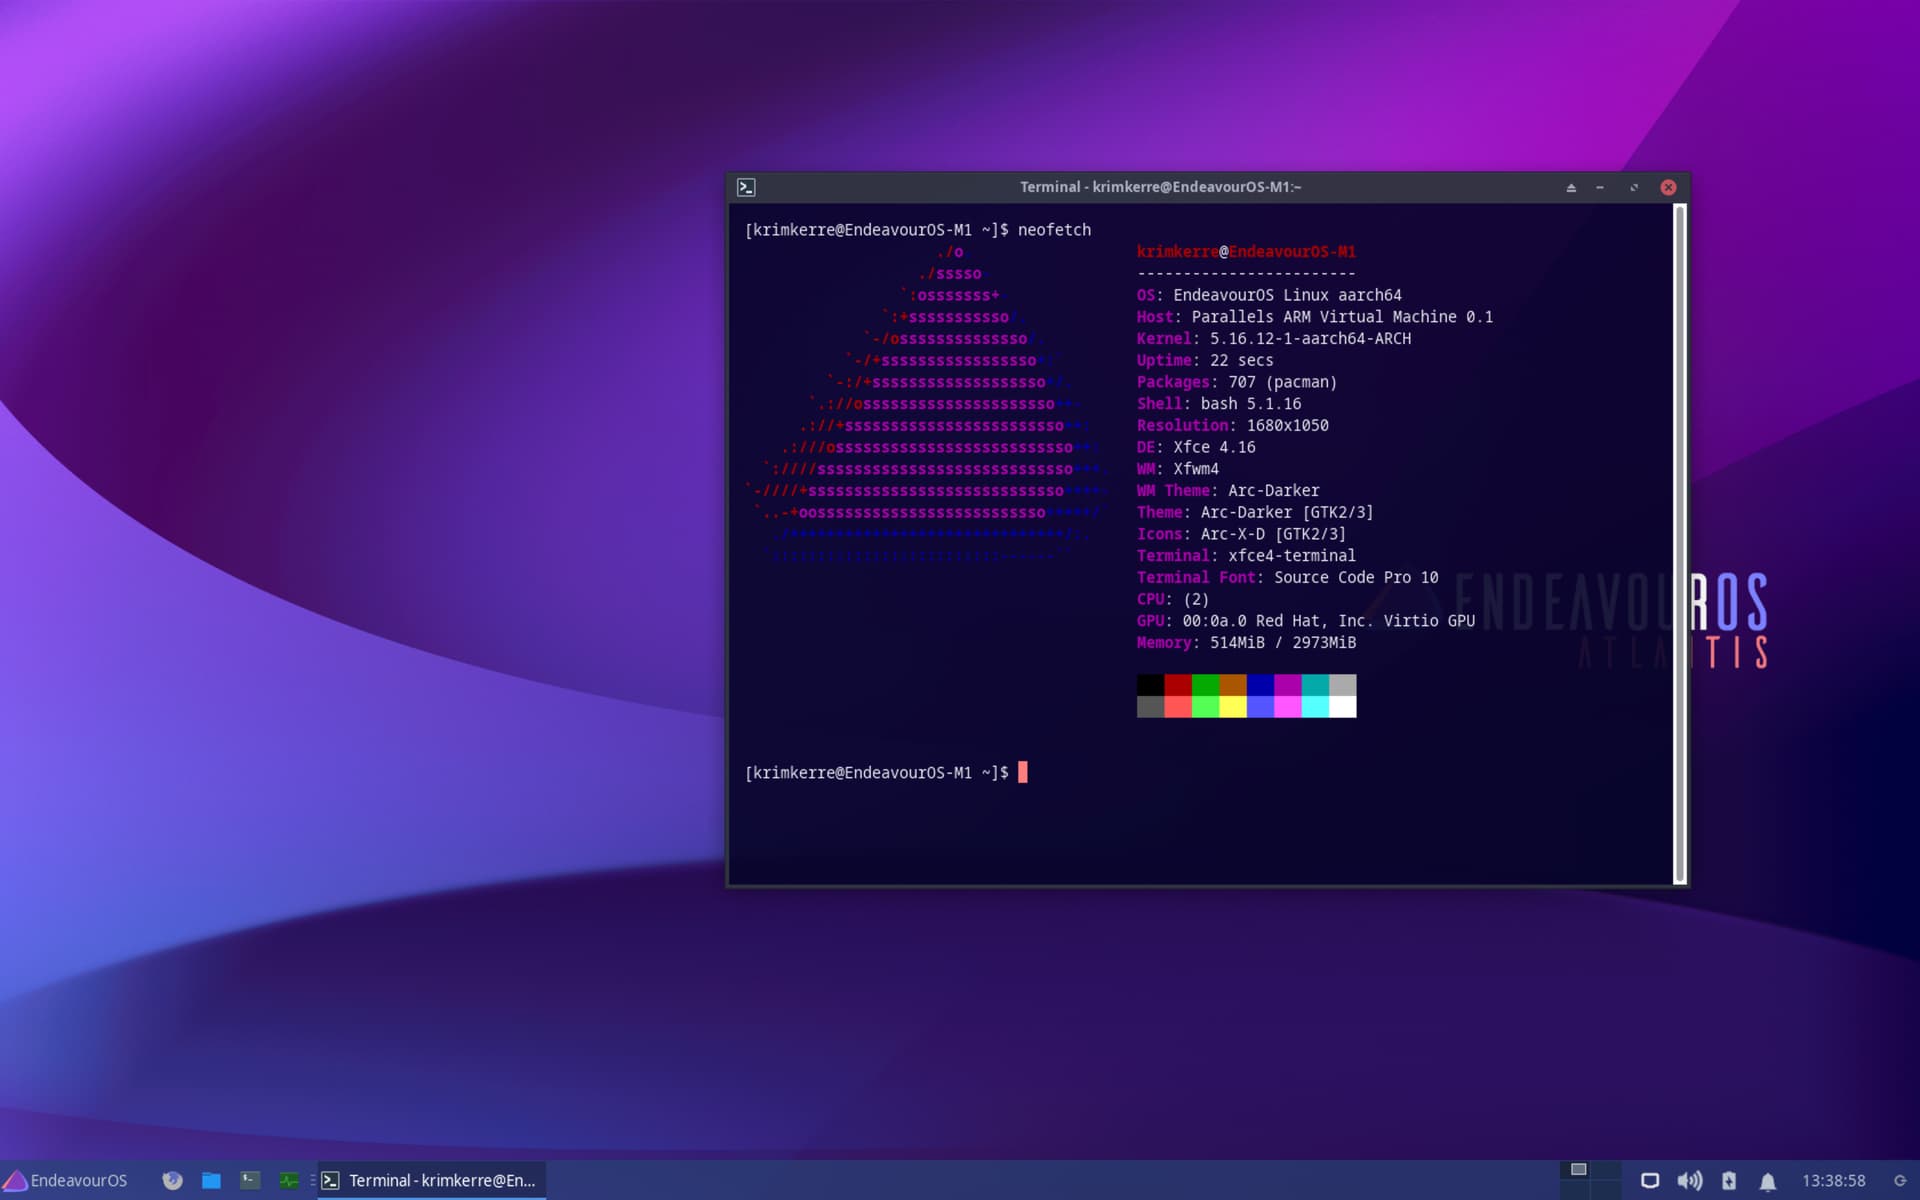
If you want more integration between Host and VM, there is a guide on how to install ‘Parallels Tools’ manually on their own website.
In order to get the parallels tools iso:
Open your Applications folder on your Mac,
Right click Parallels Desktop, and click ‘Show Package Contents’
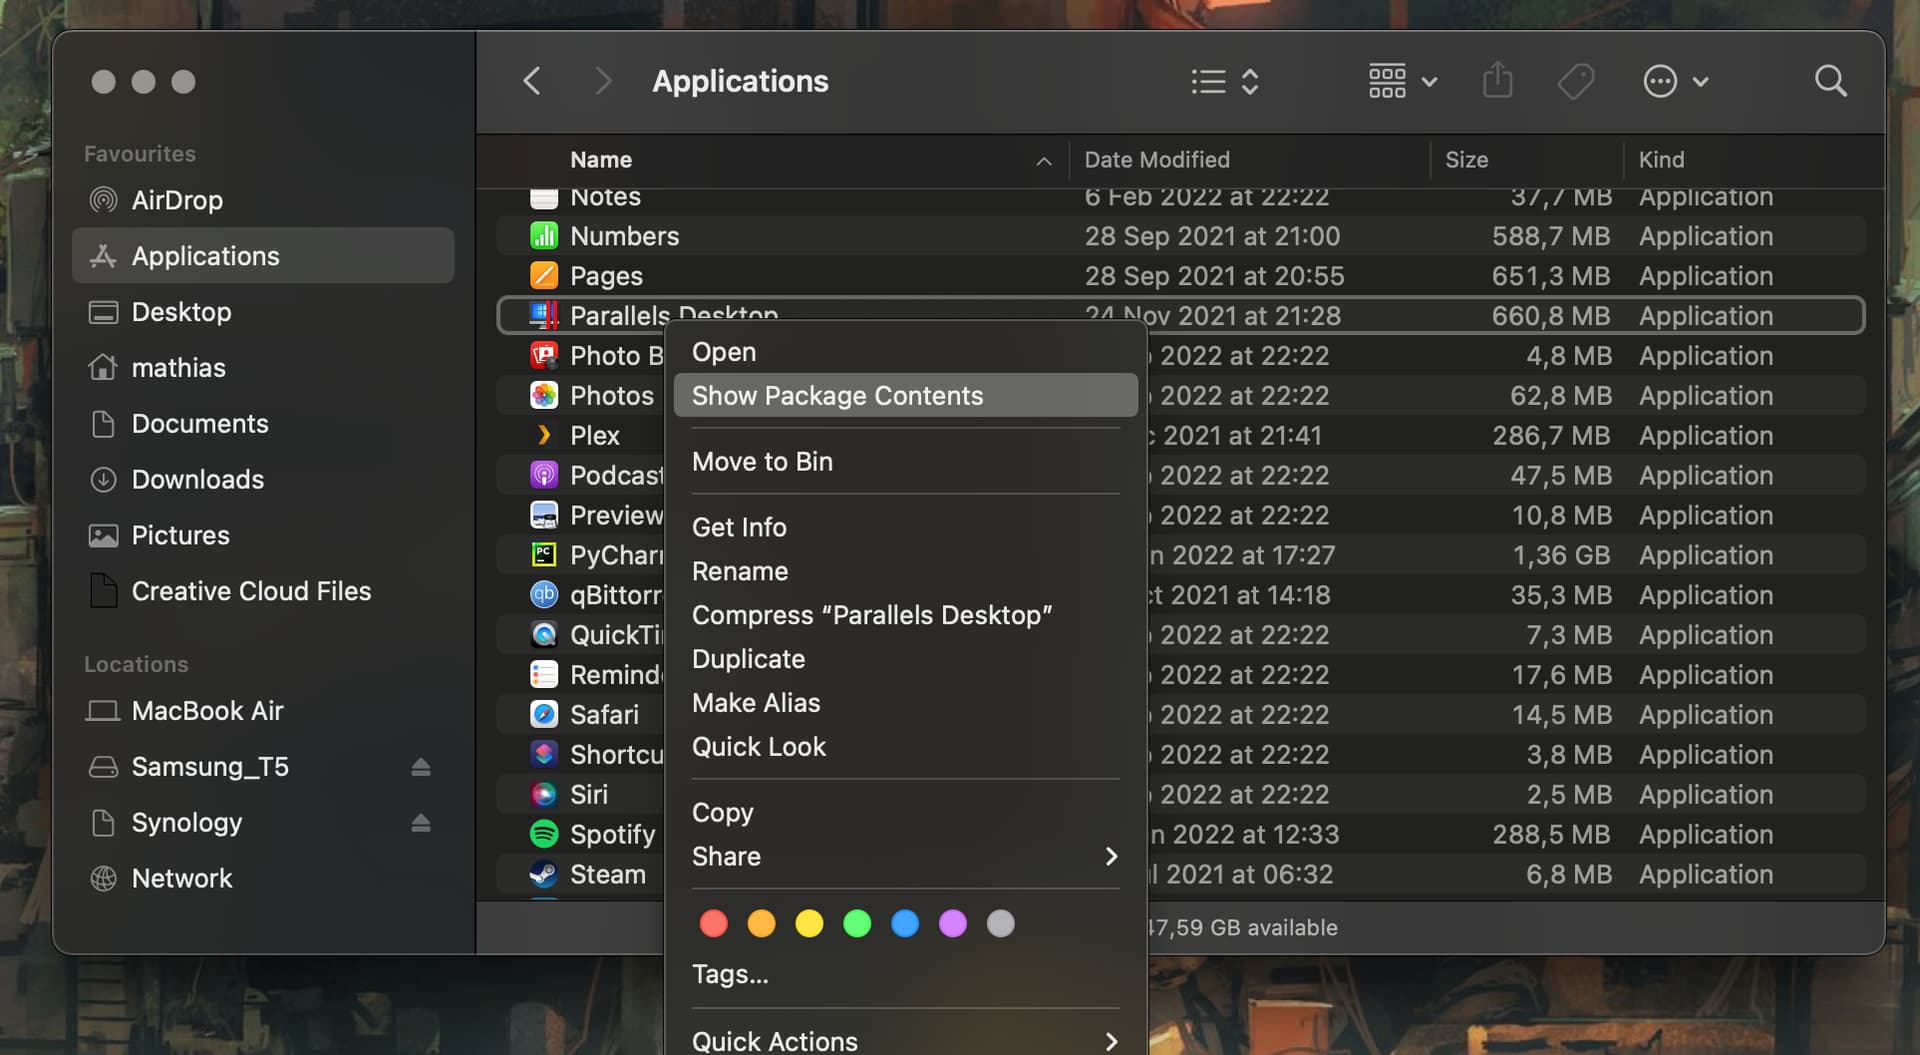
In there you’ll want to navigate to Resources/Tools
From there copy ‘prl-tools-lin-arm.iso’ to somewhere you’ll navigate easily to… You’ll need to mount it into your Vm by going to
Devices - CD/DVD - Connect Image

Then go to the guide here:
And start from step 14
(ignore the last line though of step 14 though, unless you really want a symlink between python and python2)

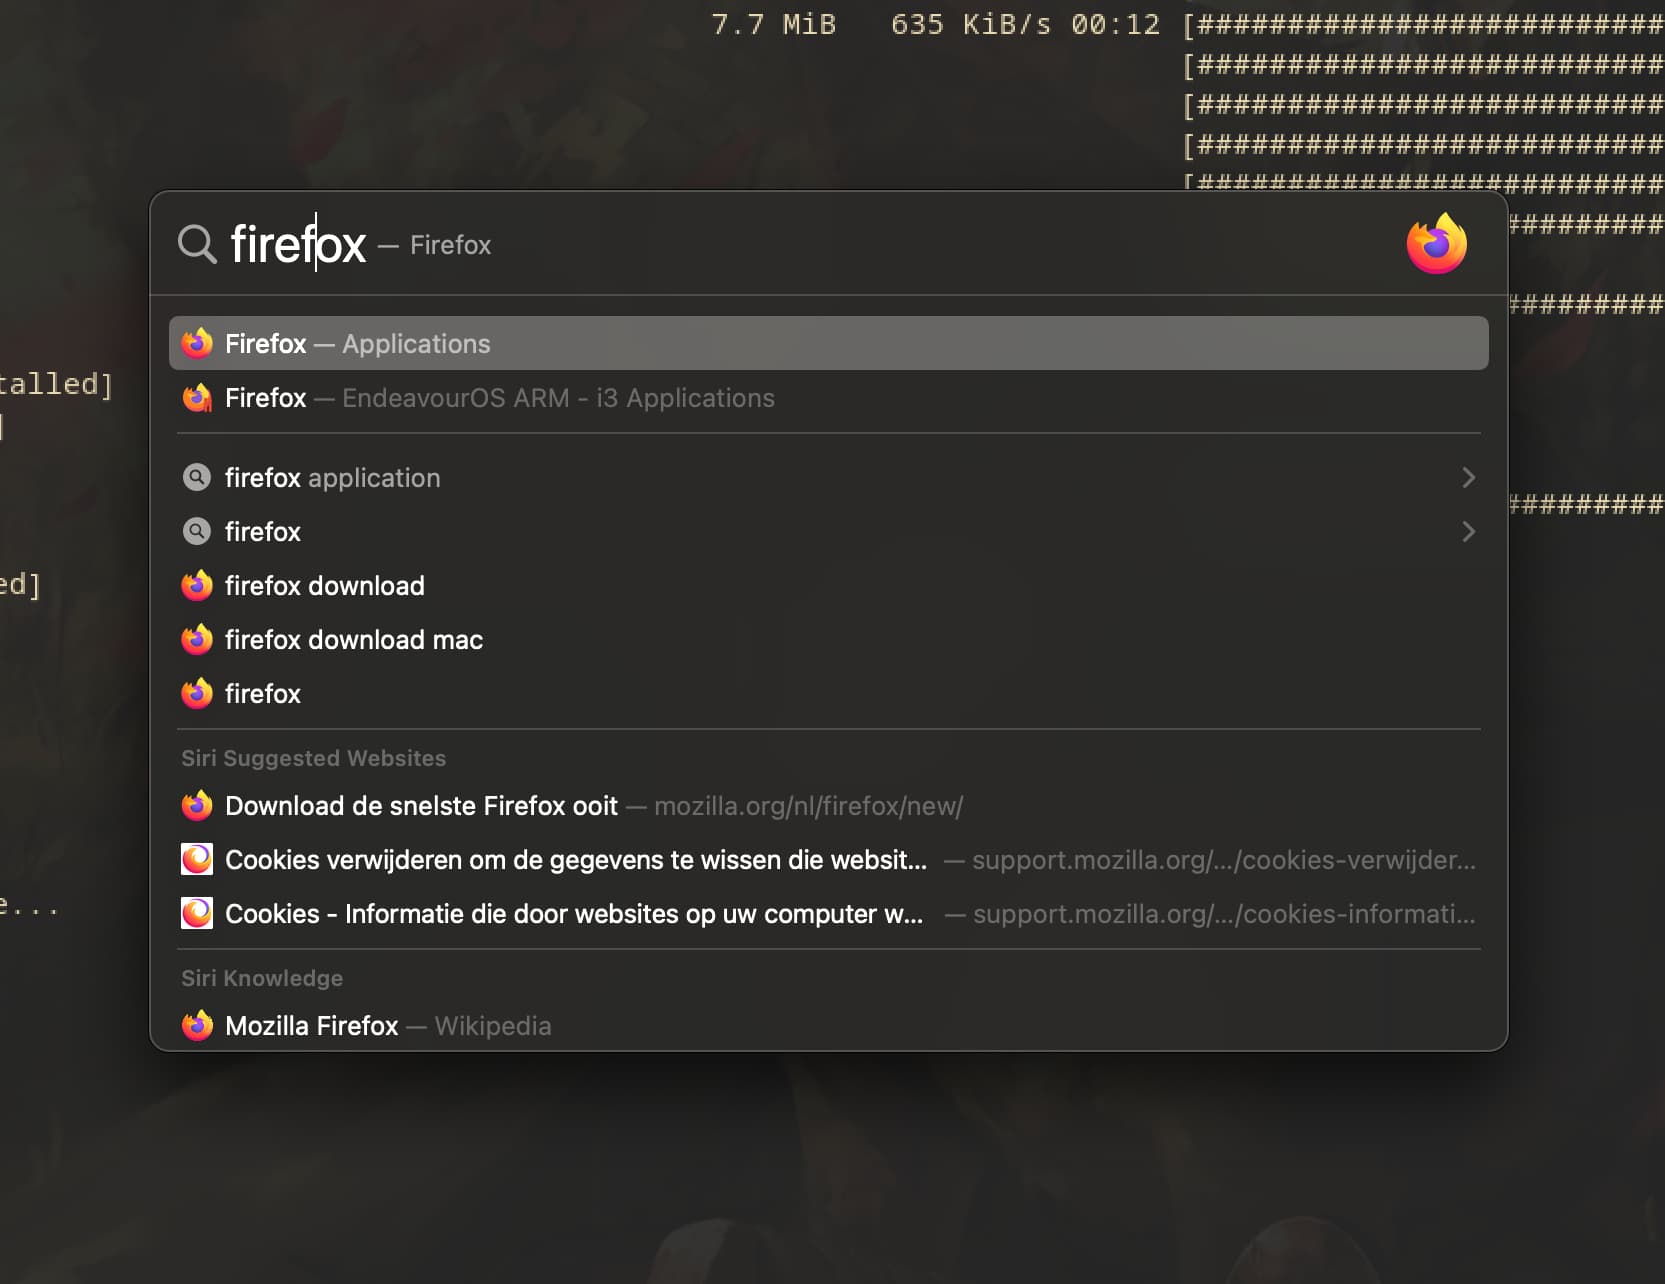
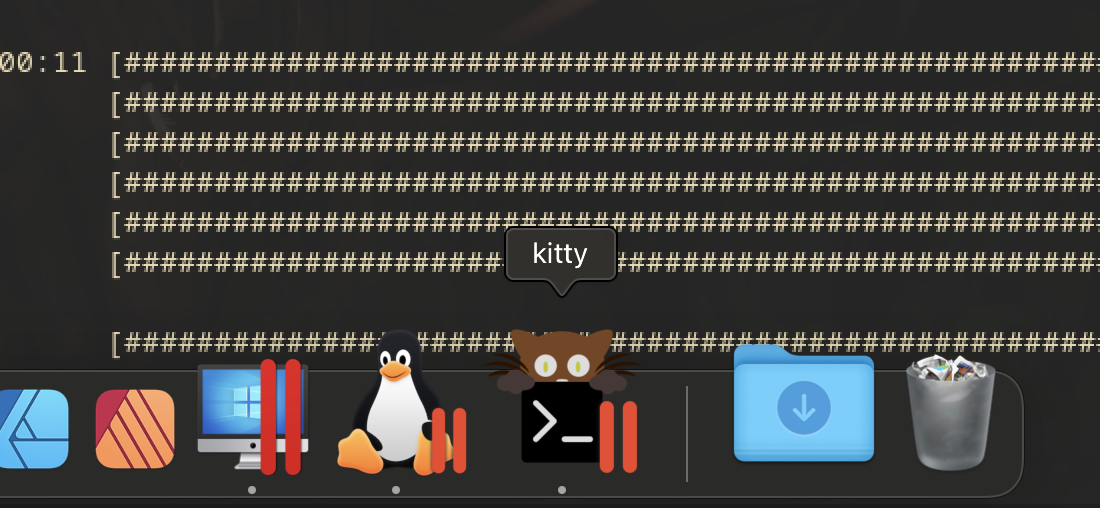
Once that is all done, and you rebooted, you should have spotlight integration in your EndeavourOS VM, and your running linux apps should also appear on the MacOS dock.
Sharing certain folders between the host’s Home and the VM’s home should also be possible now,
And of course automatic resolution changing when changing from full screen to windowed mode!
Many thanks to Tobias Powalowski for making this easy to use Arch Linux Arm image for Parallels.
(Original Reddit post here)
oh and if i made any mistakes, feel free to ask me, or any moderator to edit this guide
