if you install from AUR it is simple ventoy as command: sudo ventoy -i -g /dev/sdx
command usage
-i install ventoy to sdX (fail if disk already installed with ventoy)
-I force install ventoy to sdX (no matter installed or not)
-u update ventoy in sdX
OPTION: (optional)
-r SIZE_MB preserve some space at the bottom of the disk (only for install)
-s enable secure boot support (default is disabled)
-g use GPT partition style, default is MBR style (only for install)
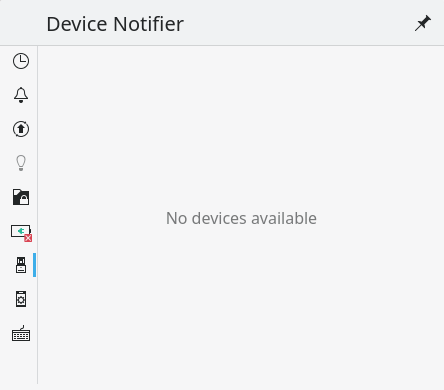
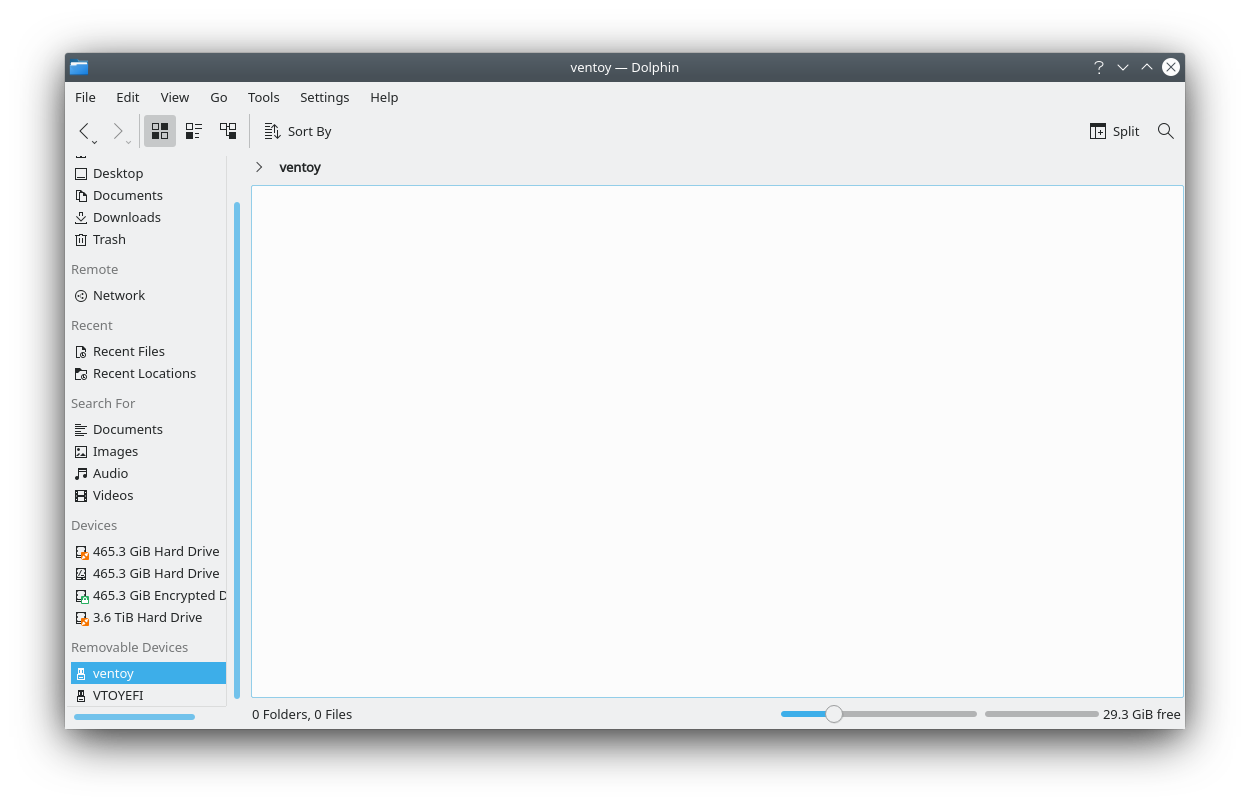
after succeed with the command you simple can copy any ISO to the partition on the stick:
-r to save part of the stick to use for storage
will be that:
sudo ventoy -i -g -r 6000 /dev/sdx saving 6GB at the end of the stick what you can format as you like then
Disk : /dev/sdc
Model: Verbatim STORE N GO (scsi)
Size : 29 GB
Style: GPT
Attention:
You will install Ventoy to /dev/sdc.
All the data on the disk /dev/sdc will be lost!!!
Continue? (y/n)
Edit:
Continue? (y/n) y
All the data on the disk /dev/sdc will be lost!!!
Double-check. Continue? (y/n) y
Create partitions on /dev/sdc by parted in GPT style ...
Done
mkfs on disk partitions ...
create efi fat fs /dev/sdc2 ...
mkfs.fat 4.1 (2017-01-24)
success
mkexfatfs 1.3.0
Creating... done.
Flushing... done.
File system created successfully.
writing data to disk ...
sync data ...
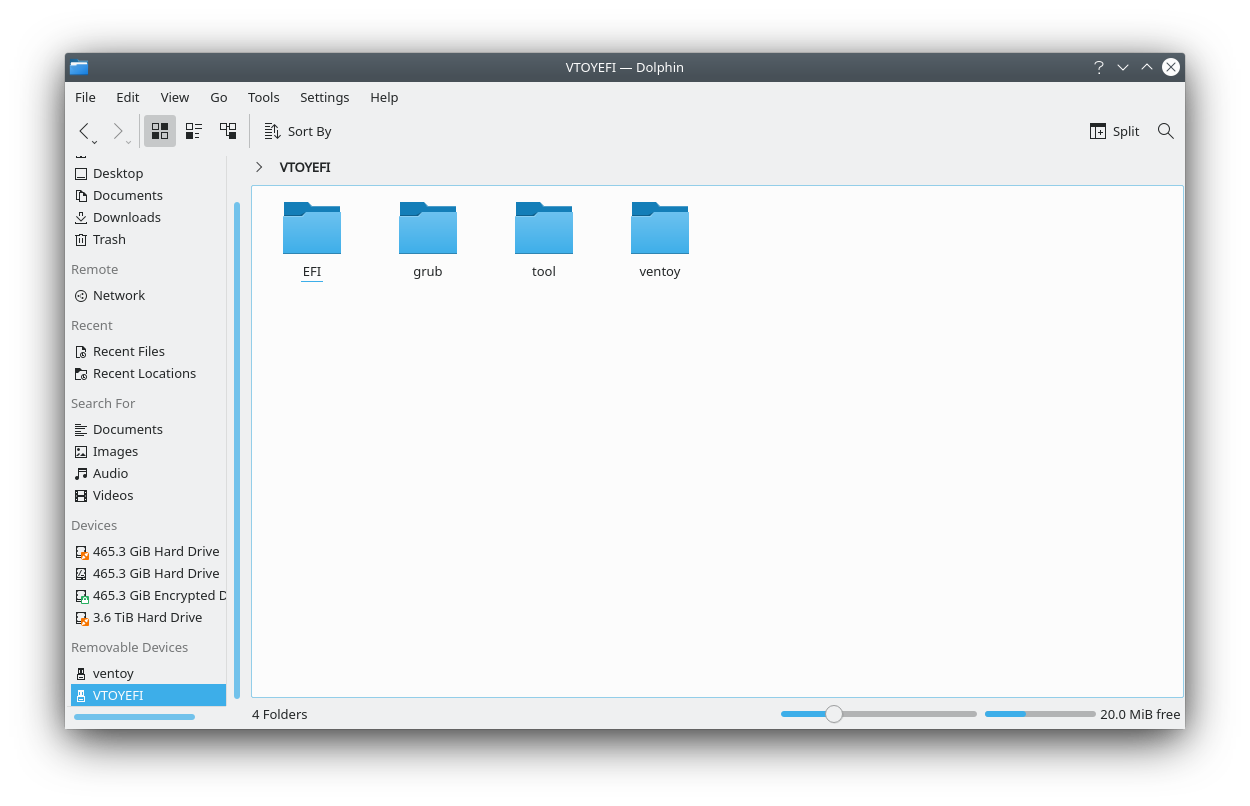
esp partition processing ...
Install Ventoy to /dev/sdc successfully finished.
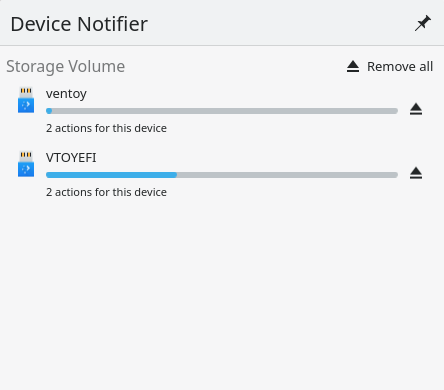
for me it was working on a stick with iso on it before and mounted… so iut should work on any stick… but you ca try to erase first bytes of the stick: sudo dd if=/dev/zero of=/dev/sdX bs=1M count=8
╰─$ sudo ventoy -I -r 6000 /dev/sdd
/opt/ventoy /home/joekamprad
**********************************************
  Ventoy: 1.0.21
  longpanda admin@ventoy.net
  https://www.ventoy.net
**********************************************
Disk : /dev/sdd
Modell: Verbatim STORE N GO (scsi)
Size : 14 GB
Style: MBR
You will reserve 6000 MB disk space
I have had enough failures with ventoy that it isn’t worth the hassle for me.
When it works it is great but when it doesn’t you then have to write it to a USB the normal way at which point I always wish I had done that to begin with.
If you do use it, make sure you test the integrity of the ISO after you copy the file to the USB.