I am splitting the post
“RPi 4 B: overclocking, cpu temp”
and putting the server posts here.
Pudge
I am splitting the post
“RPi 4 B: overclocking, cpu temp”
and putting the server posts here.
Pudge
If someone has an extra micro SD card, a USB Thumb drive available, and an extra ethernet input on a router or switch, in Step 3 install a headless server instead of DE / WM. This is in sore need of testing.
The micro SD will contain the OS, and the USB Thumb drive will be used for DATA storage. A USB Thumb drive won’t have much storage, but will work for testing or just trying out.
https://arm.endeavouros.com/headless-server-install/
Then go through
https://discovery.endeavouros.com/arm/homeserver-set-up-a-linux-client-computer/2021/03/
From there do what you want with it. RPi 4 SAMBA server, minidlna media server.
By testing I mean does the install work? Are the instructions correct and easy to follow? Just generally your experience with it.
You will be like Pioneers, boldly going where no EnOS user has gone before.
Pudge
That’s a great pitch! You got me hooked!
I love the idea of breaking new ground, to put feet where never man before. That’s the spirit of our Endeavour!
I’ve got two SD cards, both of which are “occupied” but perhaps I can manage to move things around to free one of them. Also I might be able to order a couple more to have at hands. The Pi is “getting the better of me” so I am all in.
I’ll read through the instructions you have posted. I hope I can get back to you if I have questions or doubts.
By the way, what’s your thought on RPi 400? Performance-wise or else.
Absolutely, that goes without saying.
Performance is the same as the RPi 4b. The only thing I cannot get used to is the keyboard. First it has “chiclets” key caps,
flat keys that only depress 1 mm, and I have hardly ever used any keyboard with less than 104 keys.
Unfortunately one cannot grab a “regular” keyboard and use it with the RPi 400.
Also, one is stuck pretty much with the built in cooling solution without MAJOR dremel work.
Although the RPi 400 cooling solution is fairly good for general usage.

Go to 1:30 for the beginning of the tear down
Go to 2:55 for the heat sink being exposed.
My opinions on the RPi 400.
Pudge
Were the instructions OK and logical?
Have you set up your daily driver to access the server using sshfs?
sshfs is really the neat part of how this works. When you log into your daily driver, the server is mounted on a folder in your home directory and the server can be accessed like any other local folder.
Thanks for the help. Much appreciated.
Pudge
Yes, they were/are!
Basically, I did a base install (step 1+2) and at step 3, as per your instructions at:
I choose “Headless Server Environment”. The rest was to fill in the info and click OK. Smooth.
Then I set up the client following the instructions here:
https://discovery.endeavouros.com/arm/homeserver-set-up-a-linux-client-computer/2021/03/
Also very straightforward. I have only done the first part. I will save “bypassing the password” part until tomorrow. I am running a bit late here.
The only thing I had to fiddle a bit with was to set up some new rules for UFW in order to allow access to my client on the LAN. Previously I had configured UFW with rules that works as a killswitch for my VPN connection (hope I am making sense ![]() ).
).
I haven’t come that far yet. I’ll look into it tomorrow.
This sounds pretty nice! I certainly will have to do it. I’ll post back here tomorrow or during the week.
Thanks @pudge for all your work!
Thanks for your help and feedback.
Pudge
I am learning a whole bunch of new things thanks to the work you have done so I am the one to thank you.
If there is anything else, anytime, you want me to try, just let me know. I will do my best within the limitation of my technical capacity and hopefully will push them a bit further.
Done!
It worked out just fine following the instructions. Thanks!
I just made keyboard shortcuts instead of making launchers to mount and unmount /server.
The only one odd issue that I have stumbled upon is that, even though I have changed the port from the default 22 to the one for the server in /etc/ssh/ssh_config , I can still not connect to it without passing the -p xxxx to ssh command. Can’t figure out why.
Cool. I never thought of that.
I have never seen a problem with that.
Go back to /etc/ssh/ssh_config file in the CLIENT (daily driver) computer and double check for typos, wrong port number, left in the # at the beginning, etc.
From
# Port 22
TO
Port XXXX
Pudge
Have you also uncommented Host *?
An alternative may be to create a ~/.ssh/config file and specify there:
Host your_pi
    Port pi's_port
That is understandable - if you use it as an interactive desktop then OC may provide some nice boost.
I use mine only as a headless server so maybe I do not put so much stress on it. I just prefer rock solid stability without a worry if the overclocking causes some malfunction. And lower power consumption is important for me as well even though it is still very small when OC.
I even tried to encode x265 movie on it and that worked relatively nicely - took about a week at 100% CPU load ![]() but it was running 24/7 anyway.
but it was running 24/7 anyway.
What I would like to improve is file copy through sftp. It utilises only one thread and at 100% CPU load I get “only” 400 Mbit/s on my Gbit lan.
Shame on me!
I had changed the port from 22 to xxxx but forgot to remove the # ![]()
It works fine now. So sorry for the false alarm!
Thanks for this! I’ll keep a note of it.
In this case, this is a perfectly reasonable approach.
It does! So far I have been using it on and off as an interactive desktop.
This is my first RPi and it’s fun to play around with it and try out some of the distros out there. I think I will eventually set it up as a server as well.
For now it’s a pretty fun toy to play with.
Thanks guys for your replies and support!
How could that have possibly happened? Never has that ever happened to me in my entire life. ![]()
I like how you used keyboard shortcuts instead of making launchers to mount and unmount /server. That is cool if you want complete control of when the server is mounted or not mounted.
In the future, if you want to have the server mounted automatically upon log-in you can do the following
If it doesn’t exist, create a folder named “bin” in your home folder on the CLIENT computer.
Then create the following file I have named “AutoMountServer”
#!/bin/bash
sshfs pshare@enosServer:/server /home/$USER/enosServer
exit
change username, hostname of the server as appropriate and the mount folder in the CLIENT.
Make it executable.
Each DE and I assume WM has a way to run an app at log-in. I forget the exact process in GNOME, but just make “/home/username/bin/AutoMountServer” execute on log-in.
Then I just let logout, restart, or poweroff unmount the server.
Pudge
If you want to make this a permanent server, obtain two SSDs of the desired Size, and preferably the same manufacturer and model. Install them in USB 3.0 SSD enclosures. One SSD will be the DATA SSD, and the other SSD will be the DATABKUP SSD.
Then you can plug-in the DATABKUP SSD, mount it, and as user (not root) rsync to backup the DATA SSD. Un-mount the DATABKUP SSD, and unplug it from the RPi 4.
If desired, every six months or so, swap the DATA SSD and the DATABKUP SSD, change the UUID in the server’s /etc/fstab for the new DATA SSD. Now you are sharing the usage between both SSDs.
Pudge
I know. This sort of things happens only to me. It’s always me ![]()
Nice! I am glad to hear you liked it. It is a couple of key presses and as you say I can control when I mount and unmount it “on-demand”.
That’s great! I’ll make a note of it and try it later.
In Gnome, I think you would also need to use alacarte to make a new launcher and then add it to Startup Applications in gnome-tweaks. Alternatively, you could perhaps put the script in ~/.config/autostart. I need to try it though to see if it will work.
Wow, thanks so much for all the great pieces of advice!
This would be a very nice way to set it up.
Ideally, I would like to have two Pi:s. One to set up as a server to do some “serious” work and one to use as a desktop alternative, well, to have fun with. I am just beginning to discover the potential of this little great device.
I hope to rejoin this march soon: I’ll also try the instructions and perhaps provide the perspective of a layman, given that I don’t understand servers very well, having been but a desktop user only.
Let me thank all of you for the guidance you provided above (and beyhond).
And let me quote WW, , using Pudge’s punchline yet again I can’t resist calling him to arms as well:
COME my tan-faced children,
Follow well in order, get your weapons ready,
Have you your pistols? have you your sharp-edged axes?
Pioneers! O pioneers!For we cannot tarry here,
We must march my darlings, we must bear the brunt of danger,
We the youthful sinewy races, all the rest on us depend,
Pioneers! O pioneers!
That would be great!
The more the merrier!
I am myself pretty much at the beginning of my learning curve. I think that more perspectives and insights will be enriching for me personally and I am sure for many more starting on this. I look forward for you sharing your thoughts, comments and insights.
Join in and enjoy yourself!
![]()
![]()
![]() I have read , it interesting very . i find your posts helpful very
I have read , it interesting very . i find your posts helpful very ![]() After small play I now need a 4Gb rpi4
After small play I now need a 4Gb rpi4 ![]() for this .
for this .
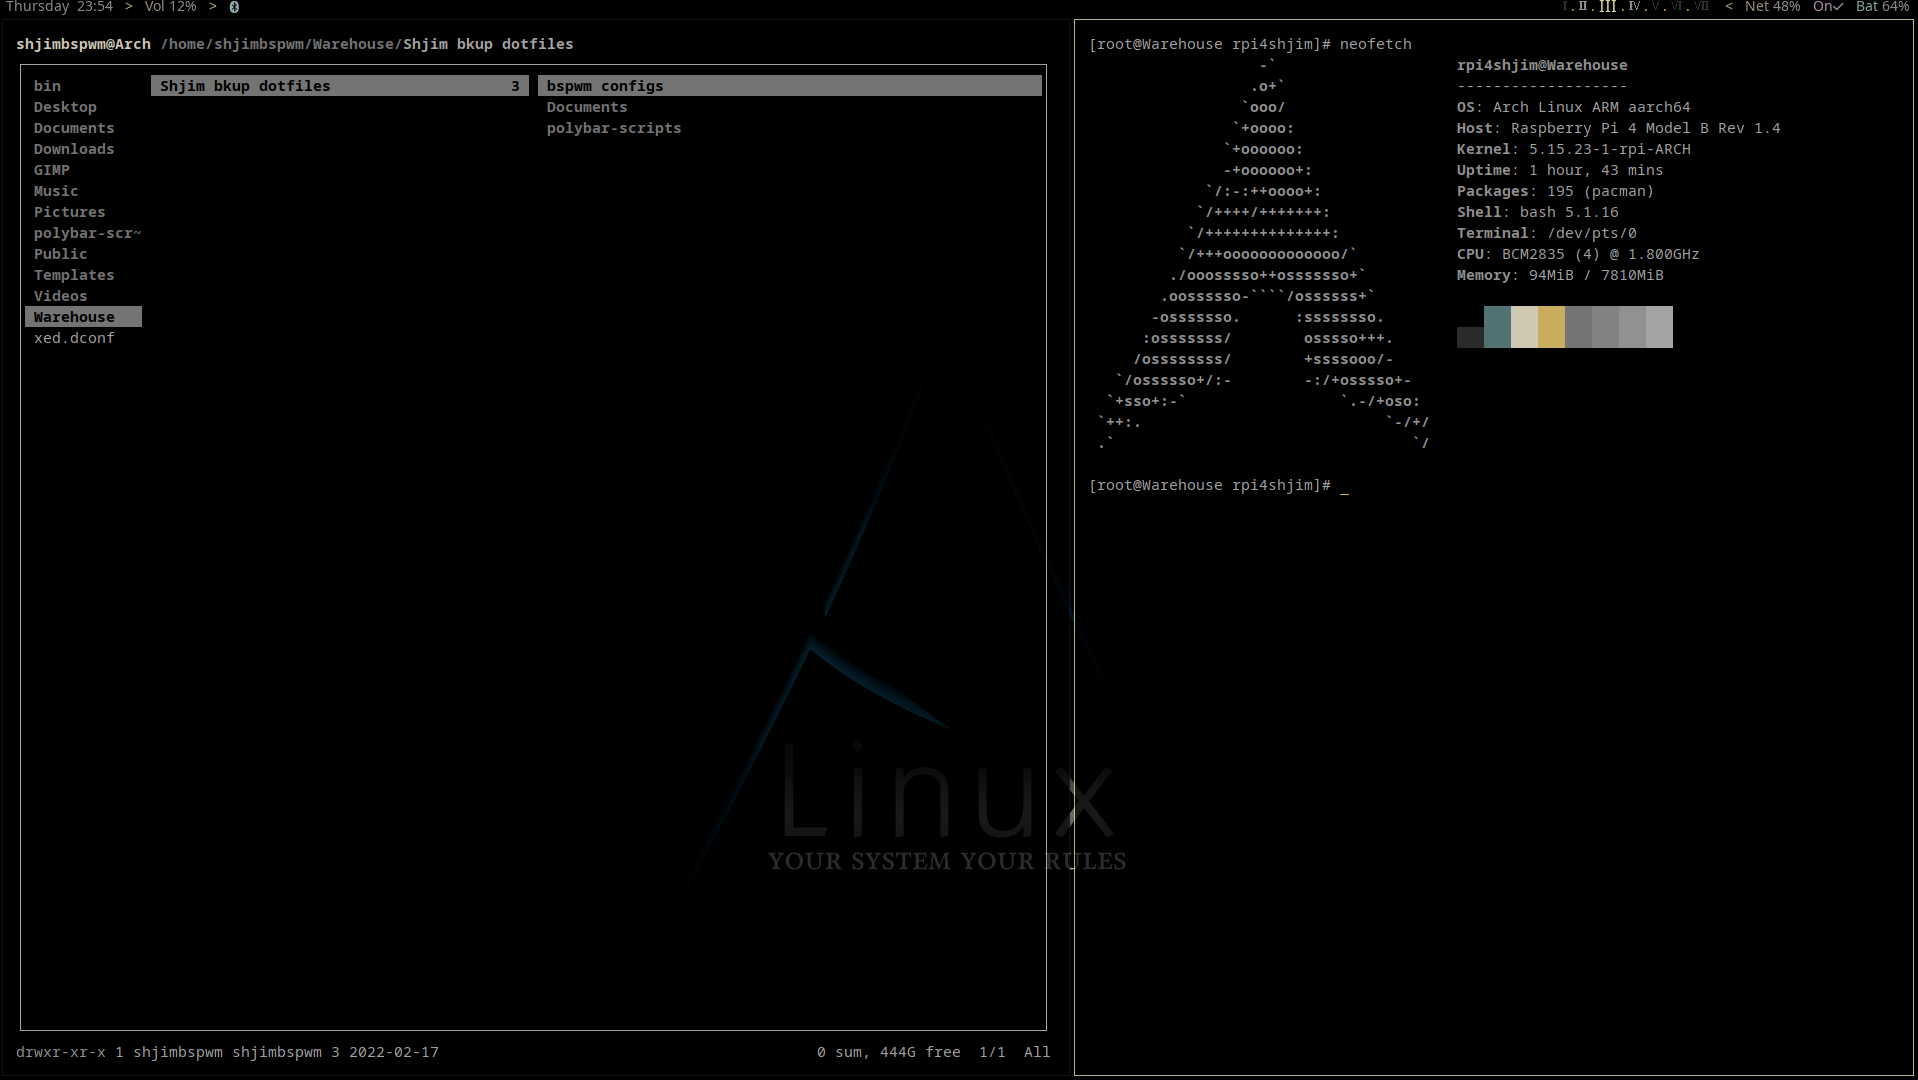
Ranger
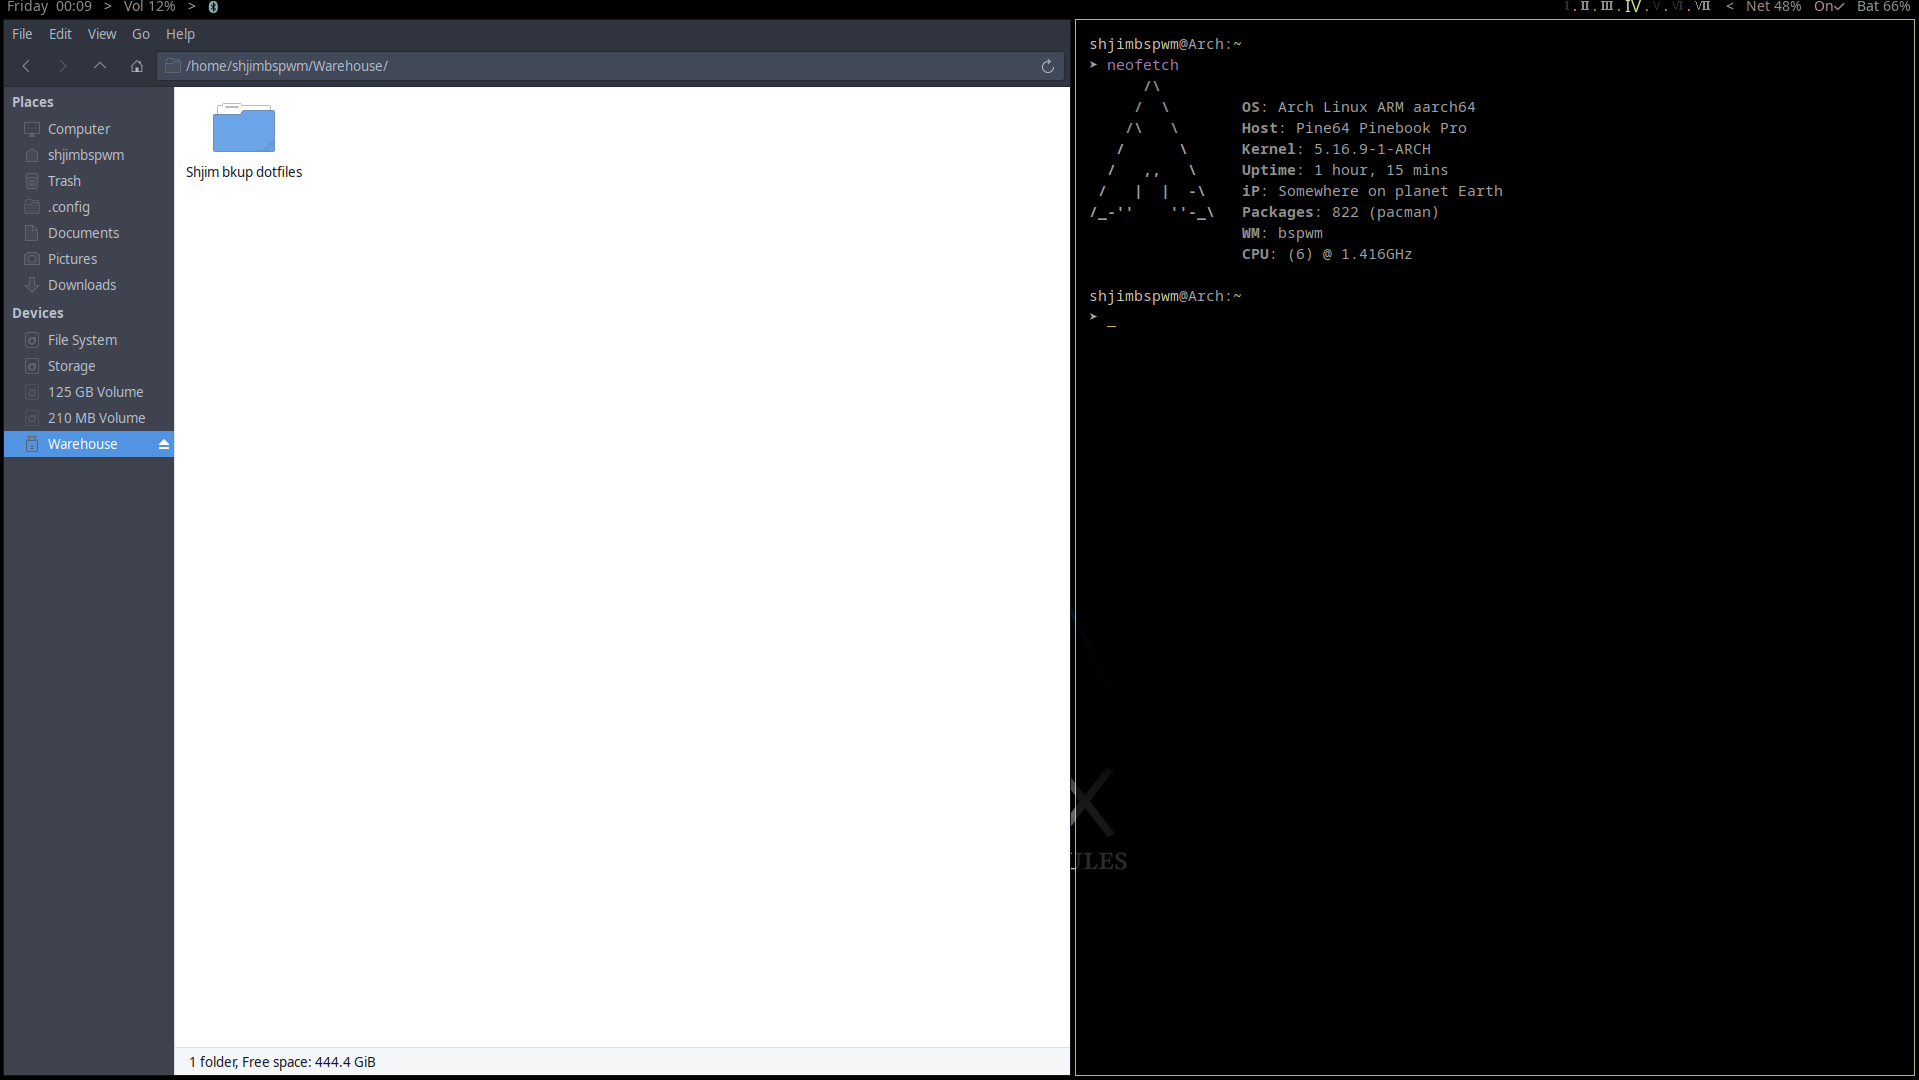
Thunar view
EDit … ![]() little off topic
little off topic ![]()