With the latest Apollo ISO being released, we made some changes to make installing on zfs possible.
However, support for zfs isn’t setup by default. You will need to make a handful of manual changes to do a zfs install.
Here are the instructions for an online or community edition install. Without zfs modules being included, an offline install is not easily possible.
First we need to add zfs support to the ISO because we don’t ship the ISO with zfs modules.
sudo pacman -Sy zfs-dkms
sudo modprobe zfs
You will get some errors when mkinitcpio runs, you can ignore those since we are on the live ISO and any generated initramfs would never be used anyway
Now we need to make some changes to the Calamares config:
Next open up /etc/calamares/modules/pacstrap.conf and add zfs-dkms to the basePackages array. It should look something like this:
# basePackages is an array of package names to pass to pacstrap
#
basePackages:
  - zfs-dkms
  - base
  - base-devel
I added it at the top but it can be added anywhere in the list
Edit /etc/calamares/modules/partition.conf and find the key availableFileSystemTypes and add "zfs" to the list. Like this:
availableFileSystemTypes: ["ext4","btrfs","xfs","zfs"]
Next edit the appropriate settings file in /etc/calamares/. For example, if you doing an online install, edit /etc/calamares/settings_online.conf. You need to add zfs between partition and mount in the exec section. Like this:
- exec:
  - partition
  - zfs
  - mount
Be careful because yaml is very sensative to whitespace. Make sure you have the same number of spaces as the other lines.
We need to make two changes to /etc/calamares/modules/services-systemd.conf
First edit the services array by adding zfs-import-cache and zfs-mount. When you are done, it might look something like this:
   - name: "vmtoolsd"
     mandatory: false
   - name: "vmware-vmblock-fuse"
     mandatory: false
   - name: "zfs-import-cache"
     mandatory: false
   - name: "zfs-mount"
     mandatory: true
In the same file, edit the targets array to add zfs-import and zfs. Be sure to remove the []. It should look like this:
 targets:
   - name: "zfs"
     mandatory: true
   - name: "zfs-import"
     mandatory: true
If you would like to change any of the zfs defaults, you can edit that /etc/calamares/modules/zfs.conf. Otherwise, feel free to leave it at the defaults.
Lastly, make one modifcation to /etc/calamares/scripts/chrooted_cleaner_script.sh, Near the bottom of the script add export ZPOOL_VDEV_NAME_PATH=1 like this:
########################################
########## SCRIPT STARTS HERE ##########
########################################

export ZPOOL_VDEV_NAME_PATH=1
_check_install_mode
_endeavouros
_virtual_machines
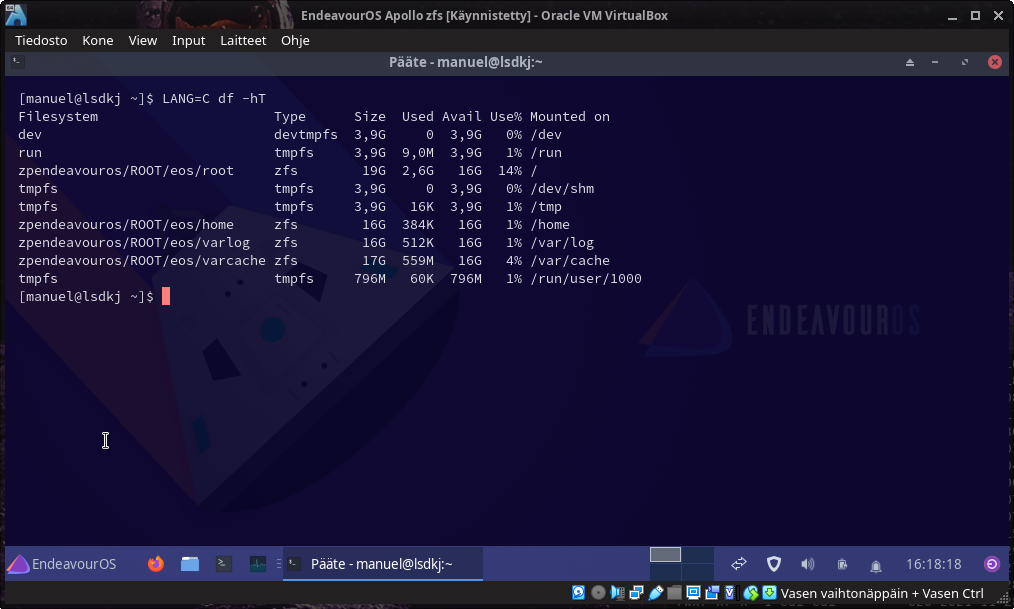
That’s it! From here you can run the installer as normal.
NOTE: I recommend you not use a swapfile on zfs. Either use zram or a dedicated swap partition.