So, You have a nice shiny Audio Interface or maybe just want to take full control of your integrated sound. Well this will be a “sorta” guide as to how you go about that and enable Pro Audio in Pipewire.
In Pipewire all audio devices now have what is known as a “Pro Audio” Profile. This disables all the mixer options but separates every channel into several AUX# channels depending on the number of ins and outs. This allows much finer control of inputs on outputs and allows you to use loopback devices and such for specific audio routing. You can use loopback without this but mapping things when theyre all separate in pro audio is easier.
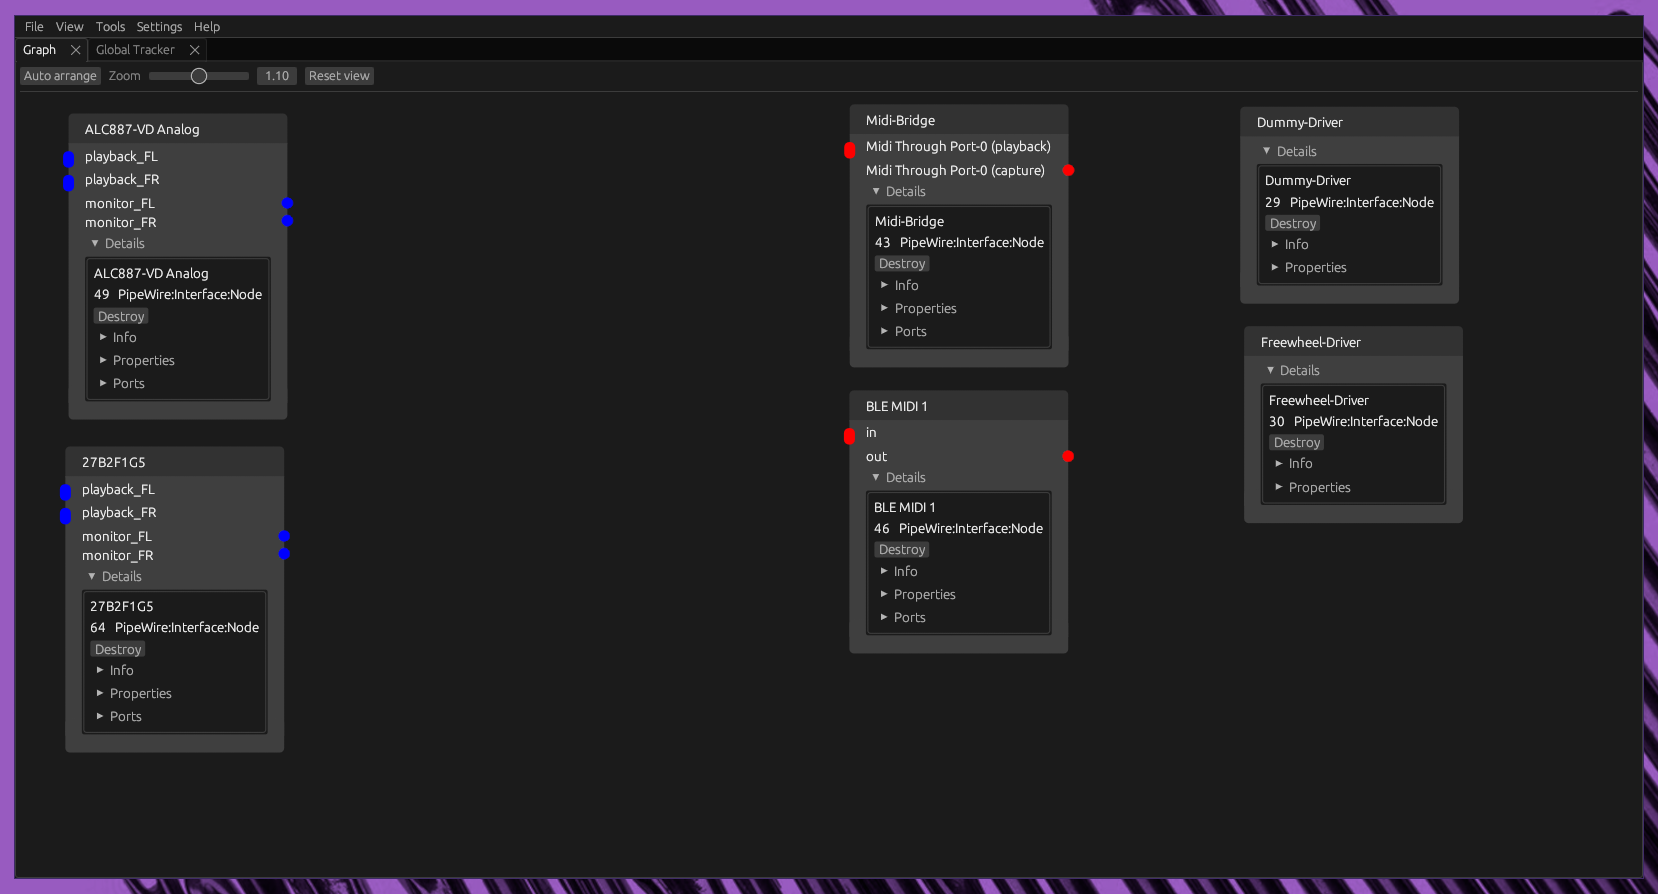
In Example, when in pro audio mode my motu M4 looks like this to pipewire
object.path = "alsa:pcm:0:hw:0,0:playback"
		api.alsa.path = "hw:0,0"
		api.alsa.pcm.card = "0"
		api.alsa.pcm.stream = "playback"
		audio.channels = "4"
		audio.position = "AUX0,AUX1,AUX2,AUX3"
		device.routes = "0"
		alsa.resolution_bits = "32"
		device.api = "alsa"
		device.class = "sound"
		alsa.class = "generic"
		alsa.subclass = "generic-mix"
		alsa.name = "USB Audio"
		alsa.id = "USB Audio"
		alsa.subdevice = "0"
		alsa.subdevice_name = "subdevice #0"
		alsa.device = "0"
		alsa.card = "0"
		alsa.card_name = "M4"
		alsa.long_card_name = "MOTU M4 at usb-0000:08:00.0-2, high speed"
		alsa.driver_name = "snd_usb_audio"
		device.profile.name = "pro-output-0"
		device.profile.description = "Pro"
		card.profile.device = "0"
		device.id = "56"
		factory.name = "api.alsa.pcm.sink"
		priority.driver = "1000"
		priority.session = "1000"
		media.class = "Audio/Sink"
		node.nick = "M4"
		node.name = "alsa_output.usb-MOTU_M4_M40000066088-00.pro-output-0"
		node.description = "M Series Pro"
		device.icon-name = "audio-card"
Notice the audio.position = “AUX0,AUX1,AUX2,AUX3” which normally would be setup as a 4.0 channel surround with AUX2/3 as rear channels. This in my case isnt desirable as those arent rear channels but L/R on my line level outputs.
to switch your device to “Pro Audio” youll need to get your cards ID. This can be done with
pw-cli ls Device
here is my output
id 56, type PipeWire:Interface:Device/3
 		object.serial = "56"
 		factory.id = "14"
 		client.id = "35"
 		device.api = "alsa"
 		device.description = "M Series"
 		device.name = "alsa_card.usb-MOTU_M4_M40000066088-00"
 		device.nick = "M4"
 		media.class = "Audio/Device"
in this case mine is ID 56 which is the very first id listed there.
Next you need the card # from Alsa which you can get with
arecord -l
mine is
**** List of CAPTURE Hardware Devices ****
card 0: M4 [M4], device 0: USB Audio [USB Audio]
  Subdevices: 1/1
  Subdevice #0: subdevice #0
There are other ways to get that # but this ones easy and simple. So now that we have the card # lets get the profile index # with
spa-acp-tool -c "card #" lv
example output
spa-acp-tool -c 0 lv

card 0: profiles:5 devices:4 ports:2
    properties: (8)
        use-ucm = "true"
        verbose = "true"
        alsa.card = "0"
        alsa.card_name = "M4"
        alsa.long_card_name = "MOTU M4 at usb-0000:08:00.0-2, high speed"
        alsa.driver_name = "snd_usb_audio"
        device.string = "0"
        device.description = "M4"
    profile 0: name:"off" prio:0 (available: yes)
        description:"Off"
        devices: (0)
    profile 1: name:"output:analog-surround-40+input:analog-surround-40" prio:1212 (available: unknown)
        description:"Analog Surround 4.0 Output + Analog Surround 4.0 Input"
        devices: (2)
            device 3: direction:playback name:"analog-surround-40" prio:12 flags:00000000 devices: "surround40:%f"
            device 2: direction:capture name:"analog-surround-40" prio:12 flags:00000000 devices: "surround40:%f"
    profile 2: name:"output:analog-surround-40" prio:1200 (available: unknown)
        description:"Analog Surround 4.0 Output"
        devices: (1)
            device 3: direction:playback name:"analog-surround-40" prio:12 flags:00000000 devices: "surround40:%f"
    profile 3: name:"input:analog-surround-40" prio:12 (available: unknown)
        description:"Analog Surround 4.0 Input"
        devices: (1)
            device 2: direction:capture name:"analog-surround-40" prio:12 flags:00000000 devices: "surround40:%f"
  * profile 4: name:"pro-audio" prio:1 (available: yes)
        description:"Pro Audio"
        devices: (2)
          * device 0: direction:playback name:"pro-output-0" prio:0 flags:00000001 devices: "hw:0,0"
          * device 1: direction:capture name:"pro-input-0" prio:0 flags:00000001 devices: "hw:0,0"
This isnt the entire output just the important part, here we see Profile 4 is the “Pro Audio” profile so for my card that is index # 4.
Now you need to assign the pro audio profile. You can use Pavucontrol to do this but i prefer the native pipewire way to set it permanently
remember that card ID we got earlier? well now you need it, you can set “Pro Audio” as the default for your device with
pw-cli s "card-id" Profile '{ index: "Profile-Index", save: true }'
for me thats
pw-cli s 56 Profile '{ index: 4, save: true }'
You are now permanently using pro audio profile.
So the question is, what can you do with this? Well in my case it allows me to properly map my channels on my Motu M4 with this
in ~/.config/pipewire/media-session.d/media-session.conf in the context.modules = [ section i added
{   name = libpipewire-module-loopback
        args = {
            node.name = "M4_Line_Out"
            node.description = "M4 Line Out"
            capture.props = {
                media.class = "Audio/Sink"
                audio.position = [ FL FR ]
            }
            playback.props = {
                audio.position = [ AUX2 AUX3 ]
                node.target = "alsa_output.usb-MOTU_M4_M40000066088-00.pro-output-0"
                stream.dont-remix = true
                node.passive = true
            }
        }
    }

    {   name = libpipewire-module-loopback
        args = {
            node.name = "M4_Monitor_Out"
            node.description = "M4 Monitor Out"
            capture.props = {
                media.class = "Audio/Sink"
                audio.position = [ FL FR ]
            }
            playback.props = {
                audio.position = [ AUX0 AUX1 ]
                node.target = "alsa_output.usb-MOTU_M4_M40000066088-00.pro-output-0"
                stream.dont-remix = true
                node.passive = true
            }
        }
    }

    {   name = libpipewire-module-loopback
        args = {
            node.name = "M4_Input_L"
            node.description = "M4 Input L"
            capture.props = {
                audio.position = [ AUX0 AUX1 ]
                stream.dont-remix = true
                node.target = "alsa_input.usb-MOTU_M4_M40000066088-00.pro-input-0"
                node.passive = true
            }
            playback.props = {
                media.class = "Audio/Source"
                audio.position = [ MONO ]
            }
        }
    }

    {   name = libpipewire-module-loopback
        args = {
            node.name = "M4_Input_R"
            node.description = "M4 Input R"
            capture.props = {
                audio.position = [ AUX2 AUX3 ]
                stream.dont-remix = true
                node.target = "alsa_input.usb-MOTU_M4_M40000066088-00.pro-input-0"
                node.passive = true
            }
            playback.props = {
                media.class = "Audio/Source"
                audio.position = [ MONO ]
            }
        }
    }
What this does is map my Line Out, Monitor Out, and L/R Mic/Instrument inputs to their proper ports on my physical interface which Pipewire didnt have a proper default setup for. You can also use this to merge multiple outputs so you can have the same audio output to multiple devices from a single source and much much more. The pipewire wiki has a decent guide on how to set this and other things up here
The on thing you may have a hard time with on that wiki is figuring out your node target, you can find that using
pw-cli dump node
part of my output in example
id: 44
	permissions: rwxm
	type: PipeWire:Interface:Node/3
	input ports: 4/64
	output ports: 4/0
	state: "suspended"
	properties:
		object.path = "alsa:pcm:0:hw:0,0:playback"
		api.alsa.path = "hw:0,0"
		api.alsa.pcm.card = "0"
		api.alsa.pcm.stream = "playback"
		audio.channels = "4"
		audio.position = "AUX0,AUX1,AUX2,AUX3"
		device.routes = "0"
		alsa.resolution_bits = "32"
		device.api = "alsa"
		device.class = "sound"
		alsa.class = "generic"
		alsa.subclass = "generic-mix"
		alsa.name = "USB Audio"
		alsa.id = "USB Audio"
		alsa.subdevice = "0"
		alsa.subdevice_name = "subdevice #0"
		alsa.device = "0"
		alsa.card = "0"
		alsa.card_name = "M4"
		alsa.long_card_name = "MOTU M4 at usb-0000:08:00.0-2, high speed"
		alsa.driver_name = "snd_usb_audio"
		device.profile.name = "pro-output-0"
		device.profile.description = "Pro"
		card.profile.device = "0"
		device.id = "56"
		factory.name = "api.alsa.pcm.sink"
		priority.driver = "1000"
		priority.session = "1000"
		media.class = "Audio/Sink"
		node.nick = "M4"
		node.name = "alsa_output.usb-MOTU_M4_M40000066088-00.pro-output-0"
		node.description = "M Series Pro"
		device.icon-name = "audio-card"
		device.bus = "usb"
		device.bus-path = "pci-0000:08:00.0-usb-0:2:1.0"
		node.pause-on-idle = "false"
		resample.quality = "5"
		channelmix.normalize = "true"
		channelmix.mix-lfe = "true"
		audio.rate = "44100"
		factory.id = "18"
		client.id = "36"
		clock.quantum-limit = "5248"
		node.driver = "true"
		factory.mode = "merge"
		audio.adapt.follower = ""
		library.name = "audioconvert/libspa-audioconvert"
		object.id = "44"
		object.serial = "58"
		node.max-latency = "10496/44100"
in this case its part of my output node, the target for my output loopback would be node.name = “alsa_output.usb-MOTU_M4_M40000066088-00.pro-output-0” .
If you have any questions or need help setting up something specific feel free to ask and we can try and figure it out. Pipewire is both decently and poorly documented so sometimes specific setups can be a pain.
Good luck and hope this helps