This is a small set of configuration files i put together for normalizing volume on your audio output and suppressing noise on your mic using ladspa plugins.
plugins come from
https://archlinux.org/packages/community/x86_64/noise-suppression-for-voice/
and
https://archlinux.org/packages/community/x86_64/swh-plugins/
If you wish to check the authenticity of the .so files in the zip they are ripped directly from those 2 sources just packaged in a zip to make setup easy for people
https://gitlab.com/echoa/normalize-supression/-/blob/main/normalize-supress.zip
download the zip and if you have no pipewire configured copy both .local and .config to your home directory. if you have pipewire configured you just need the .local folder copied.
How it Works
Mostly i will be explaining the normalizer here as the creator of the voice plugin has a nice explanation there if you wish to look at it.
Using this filter chain first the audio is passed into an sc4 compressor, this compressor is set to lower the dB on audio as it passes a set threshold (-12 here on default) by a factor (12 here) then add a makeup gain to fix some of the lost volume.
Next this gets passed to a limiter which boosts the input which raises the volume before limiting it to a maximum (-6 dB here) it cant go over.
These settings largely shouldnt need much tweaking to avoid peaking in most situations but if you need to the settings are in this section and I will explain what they do.
normalizer.conf
nodes = [
                 {
                     type   = ladspa
                     name   = compressor
                     plugin = /home/username/.local/share/ladspa/sc4_1882.so
                     label  = sc4
                     control = { "RMS/peak" = 0 "Attack time (ms)" = 60 "Release time (ms)" = 600 "Threshold level (dB)" = -12 "Ratio (1:n)" = 12 "Knee radius (dB)" = 2 "Makeup gain (dB)" = 12 }
                 }
                 {
                     type   = ladspa
                     name   = limiter
                     plugin = /home/username/.local/share/ladspa/fast_lookahead_limiter_1913.so
                     label  = fastLookaheadLimiter
                     control = { "Input gain (dB)" = 6 "Limit (dB)" = -6 "Release time (s)" = 0.8 }
                 }
             ]
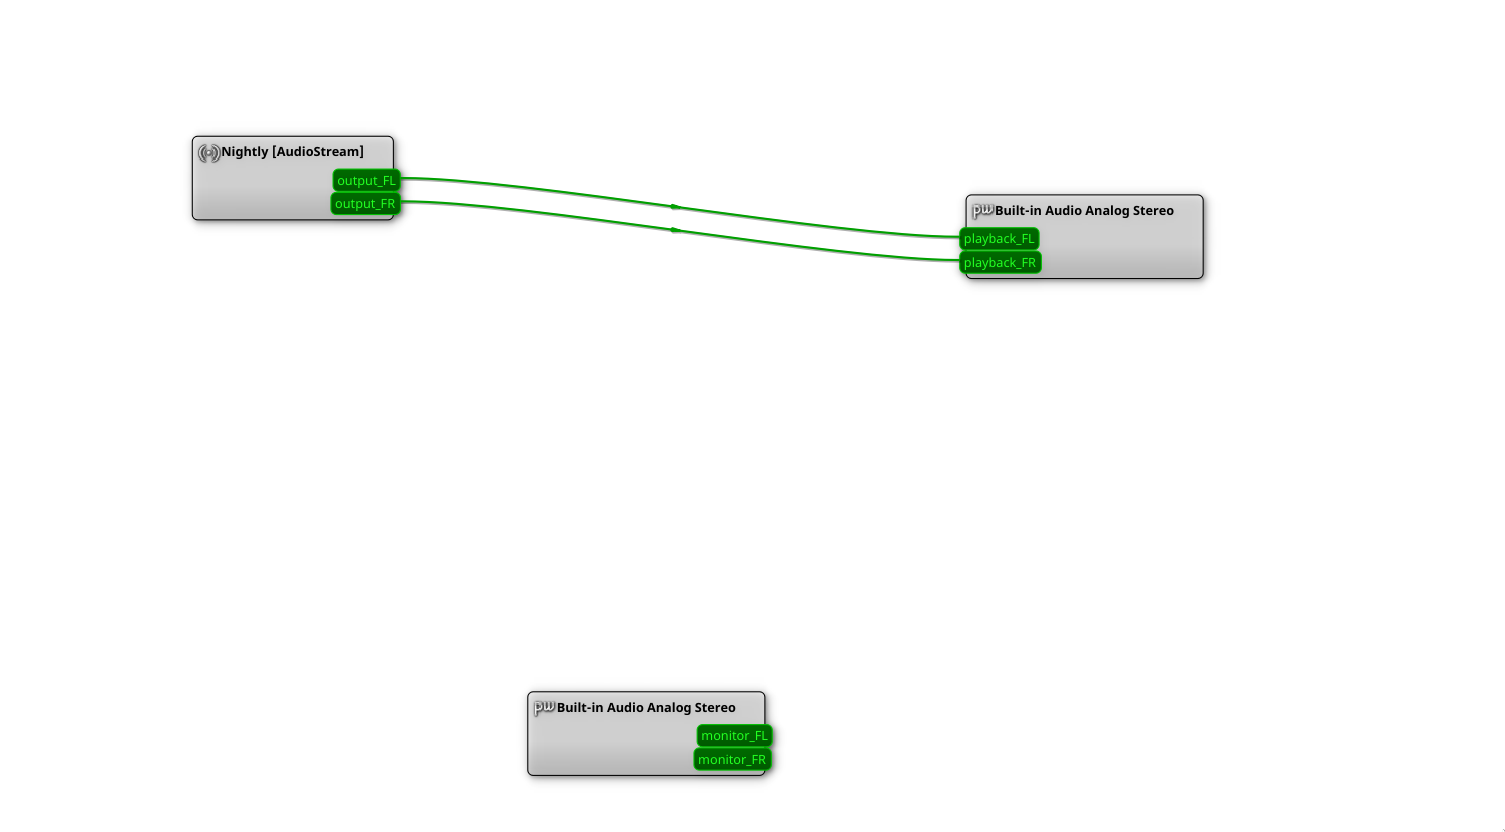
playback.props = {
             node.name      = "effect_output.normalized"
             node.passive   = true
             audio.channels = 2
             audio.position = [ FL FR ]
             node.target    = "alsa_output.target"
         }
input-denoising.conf
capture.props = {
            node.name    =  "capture.rnnoise_source"
            node.passive = true
            audio.rate   = 48000
            node.target  = "alsa_input.target"
        }
Compressor settings
RMS/peak = this supposedly has to do with how the compressor responds but i didnt really see a difference between the allowed values of 0 & 1. You can try tinkering with it if you want
Attack time : How quickly the compressor responds, you dont want it to respond too slowly or too quickly but only when it absolutely has to so as to preserve audio quality. Values are between 1.5-400 but you really shouldnt need to mess with it
Release time : How long before the compressor stops compressing the signal once it has dropped below the threshold value. Having a higher value here prevents the compressor from too quickly dropping its compression so as to prevent the audio peaking too much and make the compression more stable/consistent when its needed and to only stop when it absolutely isnt needed anymore. Values 2-800
Threshold level : This ones easy, anything above this is compressed and anything below is left alone. Values -30 - 0
Ratio : This is how much the audio is compressed/how much the volume is reduced, the higher the value the more compressed. You want this to be just high enough you get the results you want as too high reduces quality. Values 1-20
Knee radius : This is how quickly the compressor switches into heavier amounts of compression beyond the threshold. Having a low knee means it begins compression sooner vs a smooth transition with higher values. We want this low in this case to immediately start preventing the audio from clipping/distorting but not all the way down to make the transition to compression slightly smoother. Values 1-10
Makeup gain: Gain applied to the signal to help with the volume reduction from compression. We just need a bit here as most of the gain will come from the limiter. Values 0-24
Limiter settings
Input Gain: This is how much gain to apply to the input before its limited, this is used to boost some of the quieter parts of the audio. Values -20 - 20
Limit: This is the absolute limit the audio is allowed to reach before it is stopped in its tracks. The audio will not go beyond this. Values -20 - 0
Release time : how quickly the limiter stops reacting to the audio being too loud once it leaves the limit. this is like the release time above. Values 0.01 - 2
playback.props
node.target : if you have multiple audio outputs you can use this to target a specific output and only normalize that one. delete this if you do not have multiple outputs you want to control
for the noise suppression plugin check the authors git about
the only change i made was to
capture.props
node.target : if you have multiple audio inputs you can use this to target a specific input and only noise cancel that one. delete this if you do not have multiple inputs you want to control
Why use this vs easyeffects?
The main reason would be memory efficiency and cpu usage. EFX is great and works well but because it is a gui application that pretends to be a service it can use a bit more memory and cpu time.
How can i test this before setting it/tweak settings?
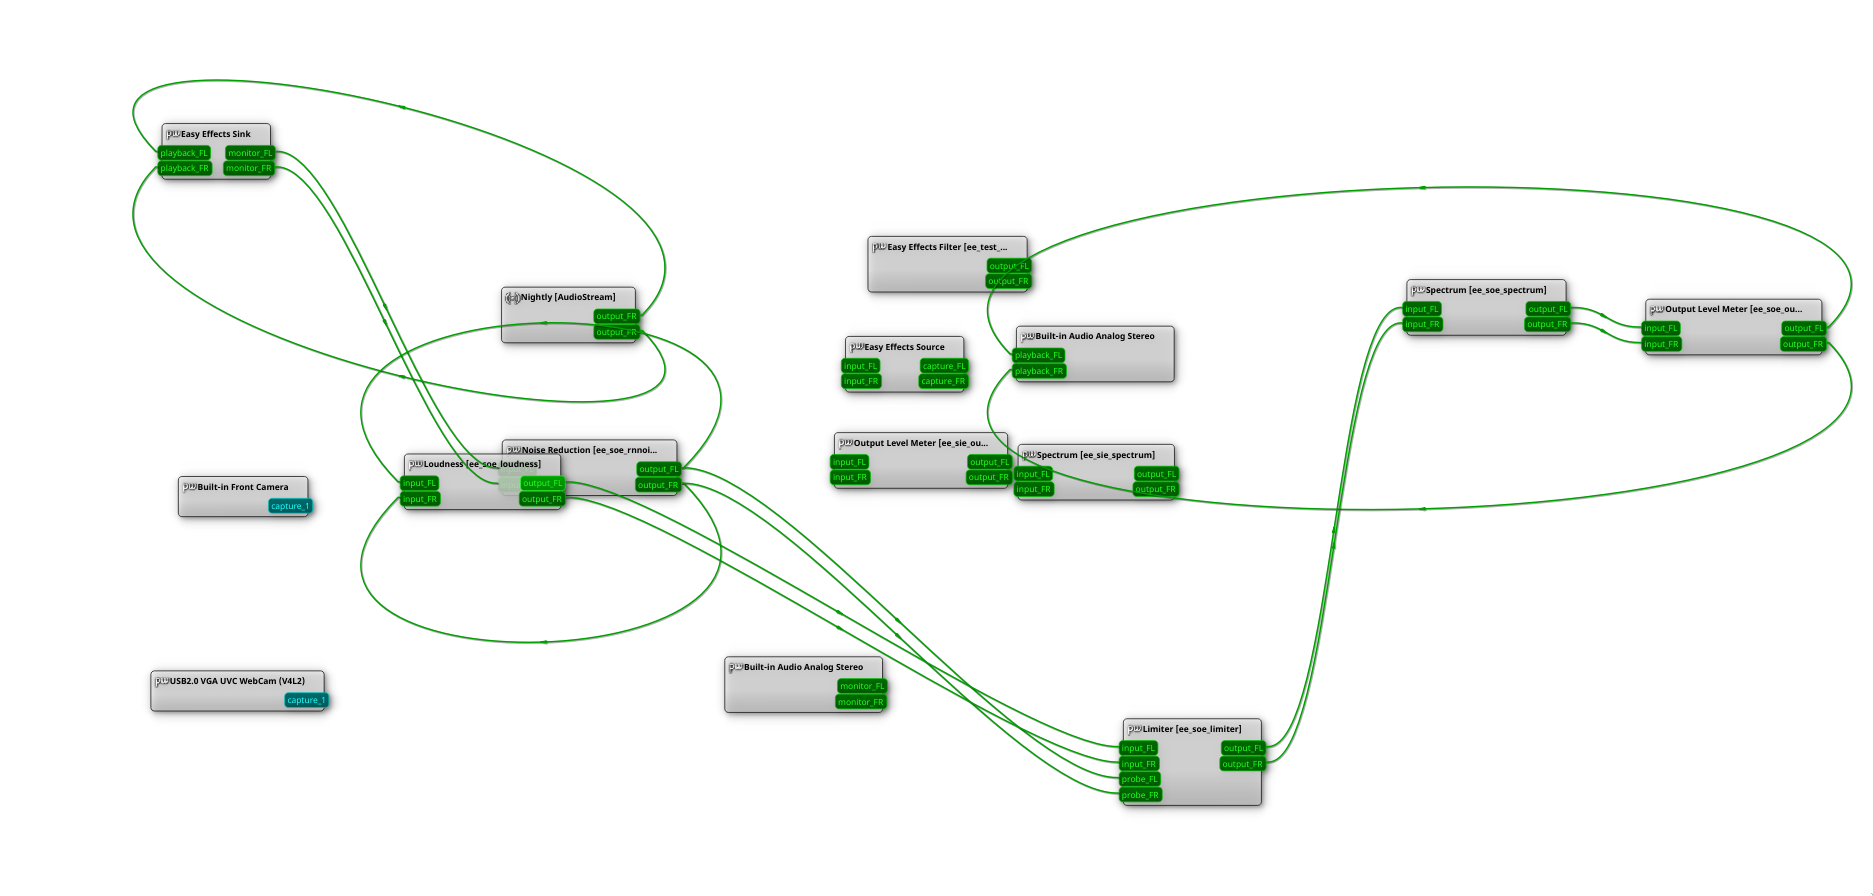
The zip file includes usable .config and .local folders with everything set so you can simply copy to your home directory. All you will need to do is edit conf files in the pipewire/filter-chain-test. in each conf youll see sections called I.E
plugin = /home/username/.local/share/ladspa/librnnoise_ladspa.so
change username to your home directory/username and change the filter-chain-test folder to filter-chain.conf.d If you wish to use the stock values i have set youre good to go now.
If you already have pipewire setup you can just use the files in the filter-confs folder to set this up.
Now assuming you have a pipewire folder in your ~/.config you can simply place the conf files in a folder called filter-chain.conf.d inside your pipewire config folder. make sure you have filter-chain.conf in the pipewire config folder and run
pipewire -c filter-chain.conf
in a terminal. While the terminal is open the new sink will be created and you can test it and tweak the values in the conf file. If you wish to stop the sink press ctrl+c in the terminal to stop the sink. You will need to stop/start the sink/source for any changes you make to the config file while testing.
Once you have your values decided you can add
{ path = "/usr/bin/pipewire" args = "-c filter-chain.conf" }
to the bottom of your pipewire.conf files in the context.exec section and your sinks/sources will be made automatically on boot/login.
After setting this up and testing this should largely not need configuration for most people, I set what i feel are pretty sane values and should work out well in a variety of cases. If you do need to tweak the settings your primary ones are
Compressor
Threshold level
Ratio
Makeup gain
and
Limiter
Input Gain
Limit
follow the github for the voice conf file for details on configuring that one
Feel free to ask questions or discuss your settings here