updated to coincide with the latest iso August 28, 2021
As per a request: EASY setup of XFCE while using the i3 window manager in place of xfce4. @nate - give it a go, maybe it’s what you’re looking for.
I’m sure there’s more than one way to do this. I’m sure you can do it by adding in i3 later. This is a walk through from fresh install to a nice usable setup the way I do it. Please pour yourself a drink and let’s go!
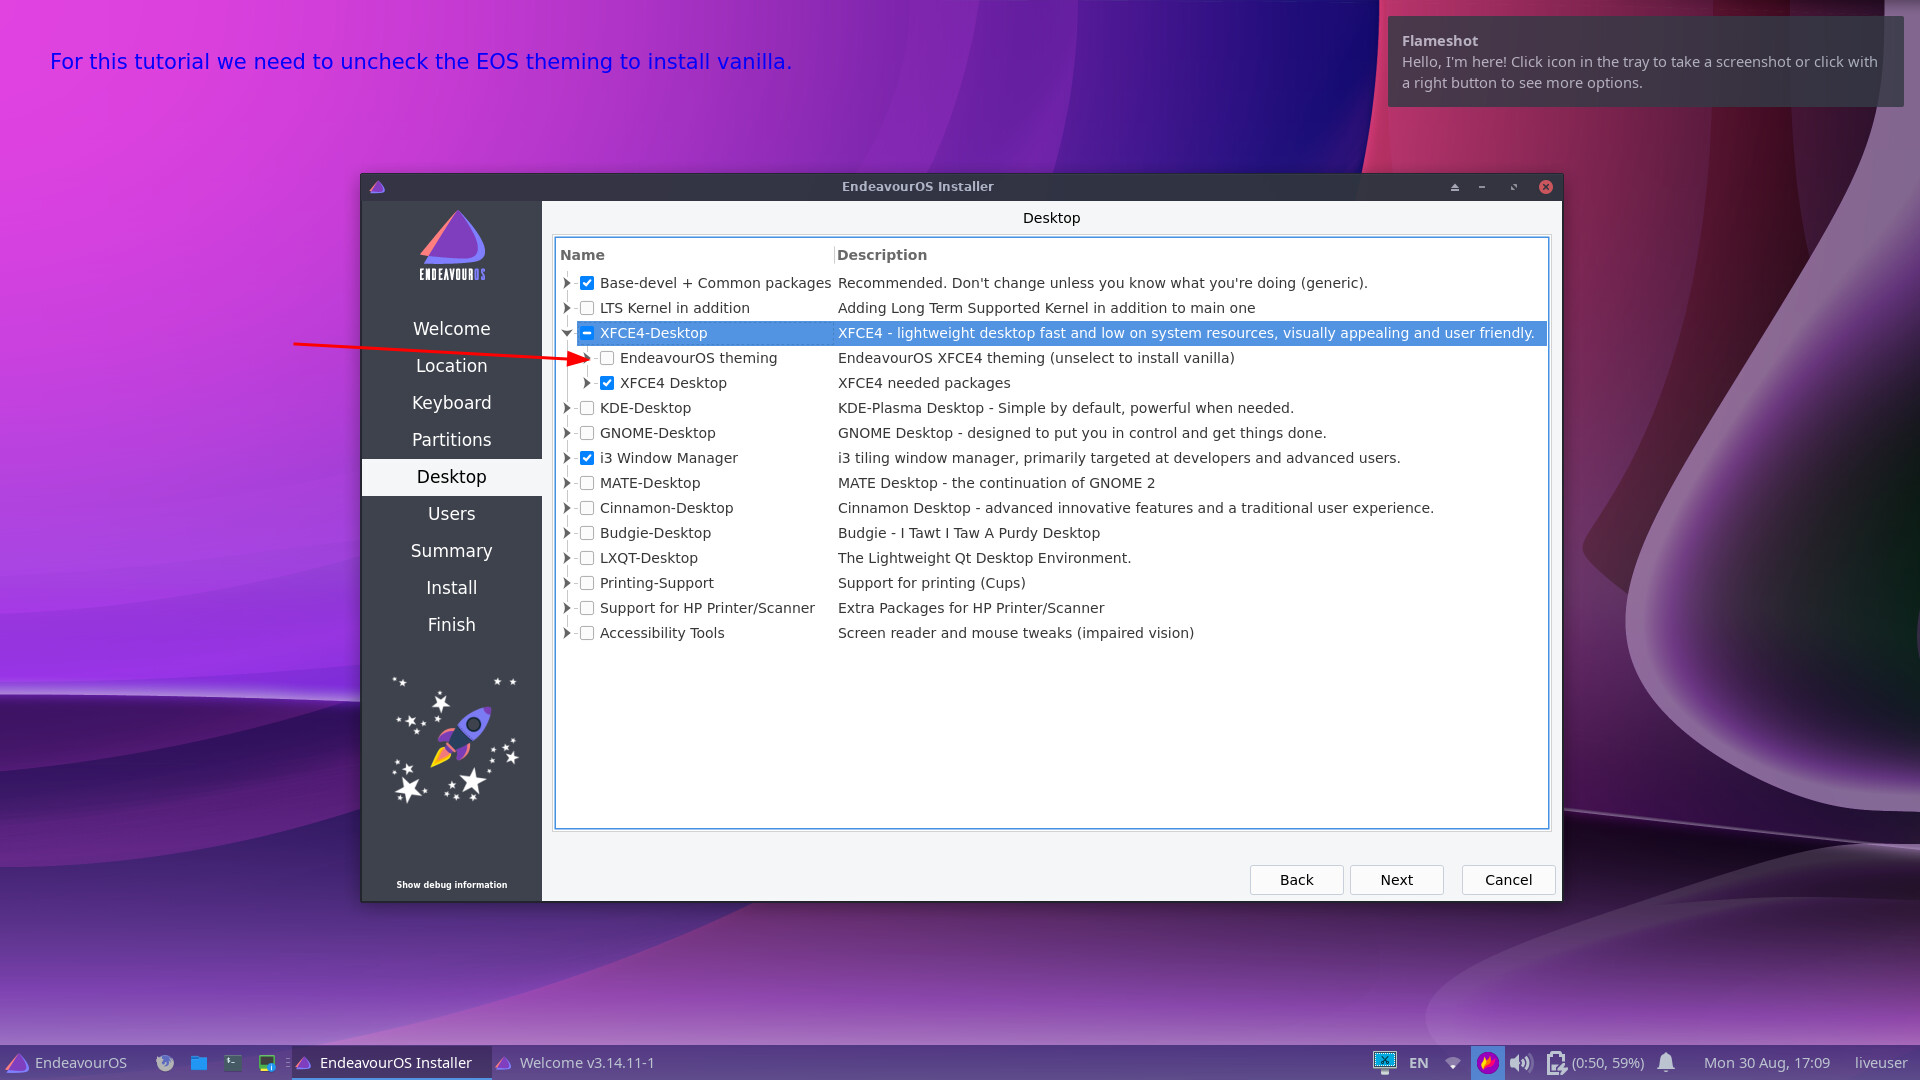
Alright, so we have our live USB. It’s time to install! It’s VERY important you select both XFCE and i3 now at the same time. This will very easily put all of the i3 config files in the correct place for you, and give you all of the EOS keybindings and such to go with it.
You will need to de-select the EOS themeing and install the vanilla XFCE for this tutorial
I would also strongly suggest installing the LTS kernel at the same time.
For simplicity of this installation - I will be using ext4 filesystem and no swap - please configure your installation to your liking.
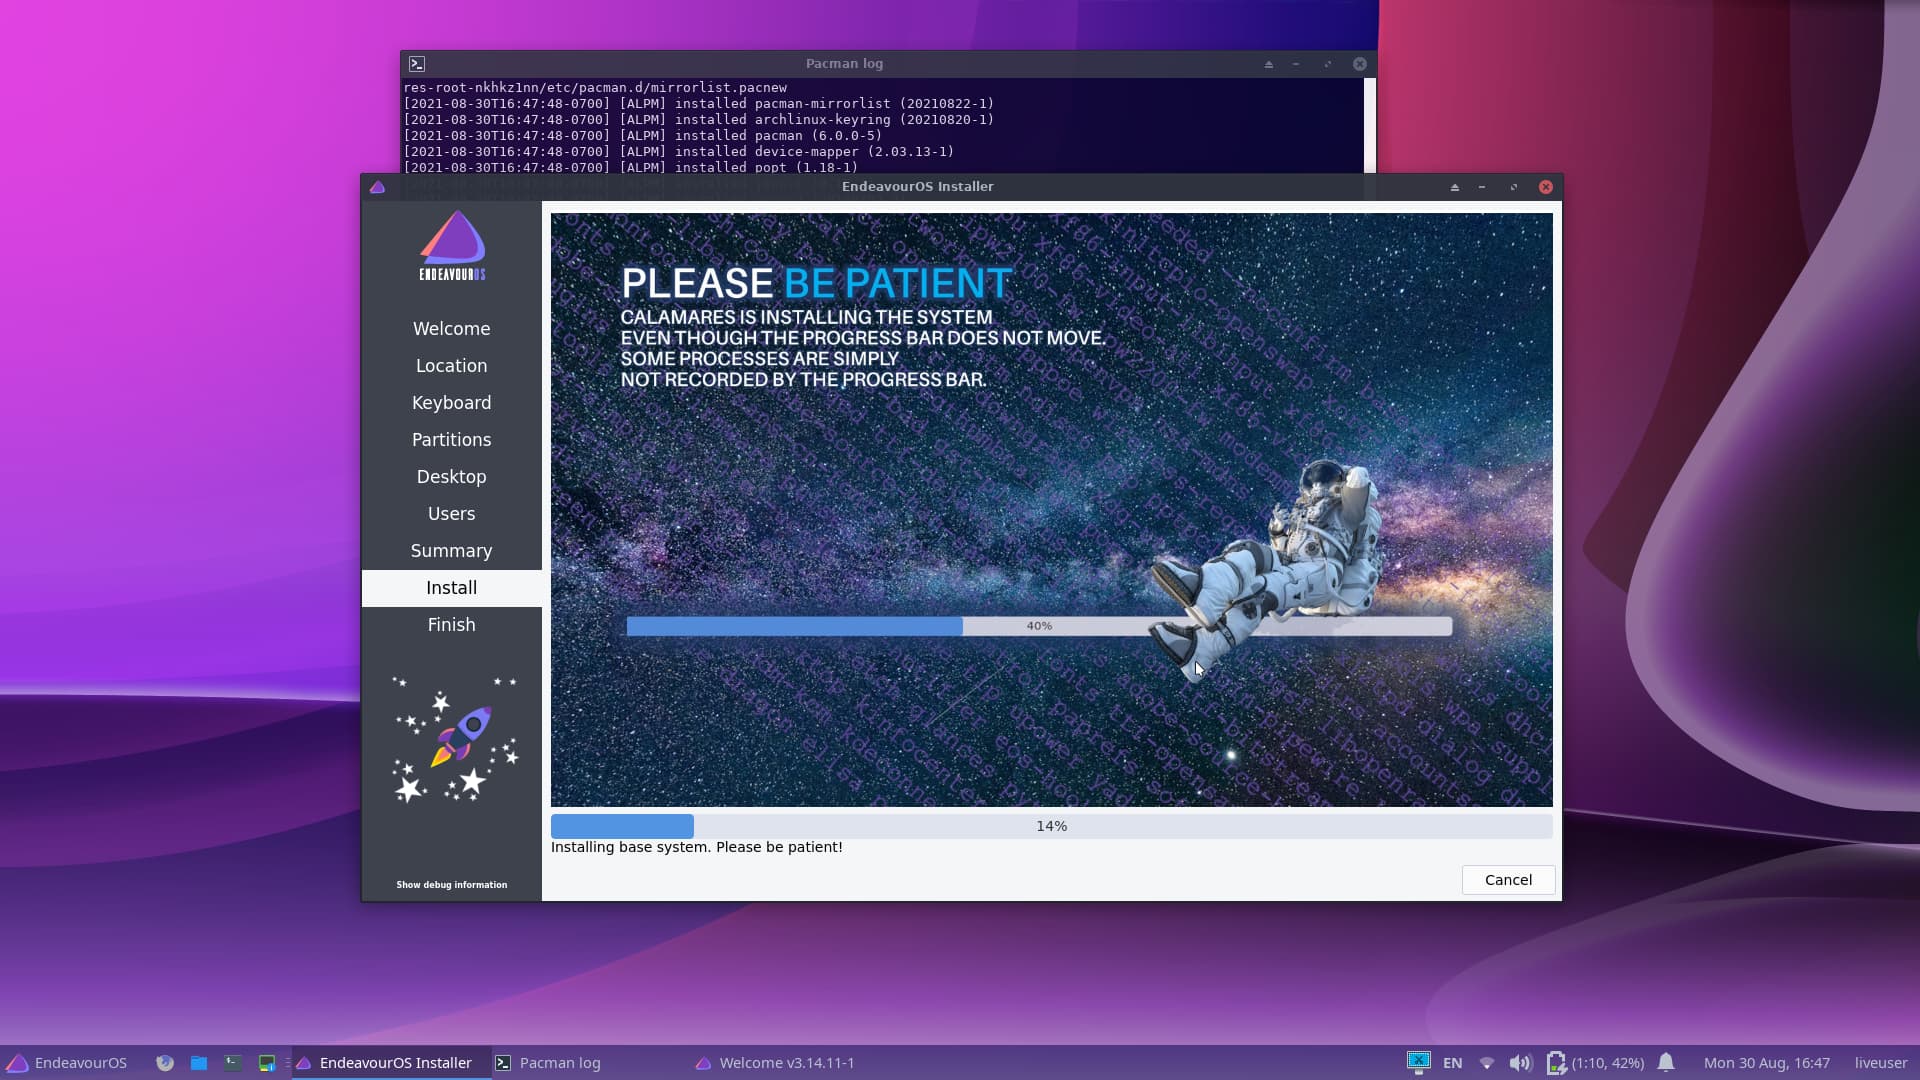
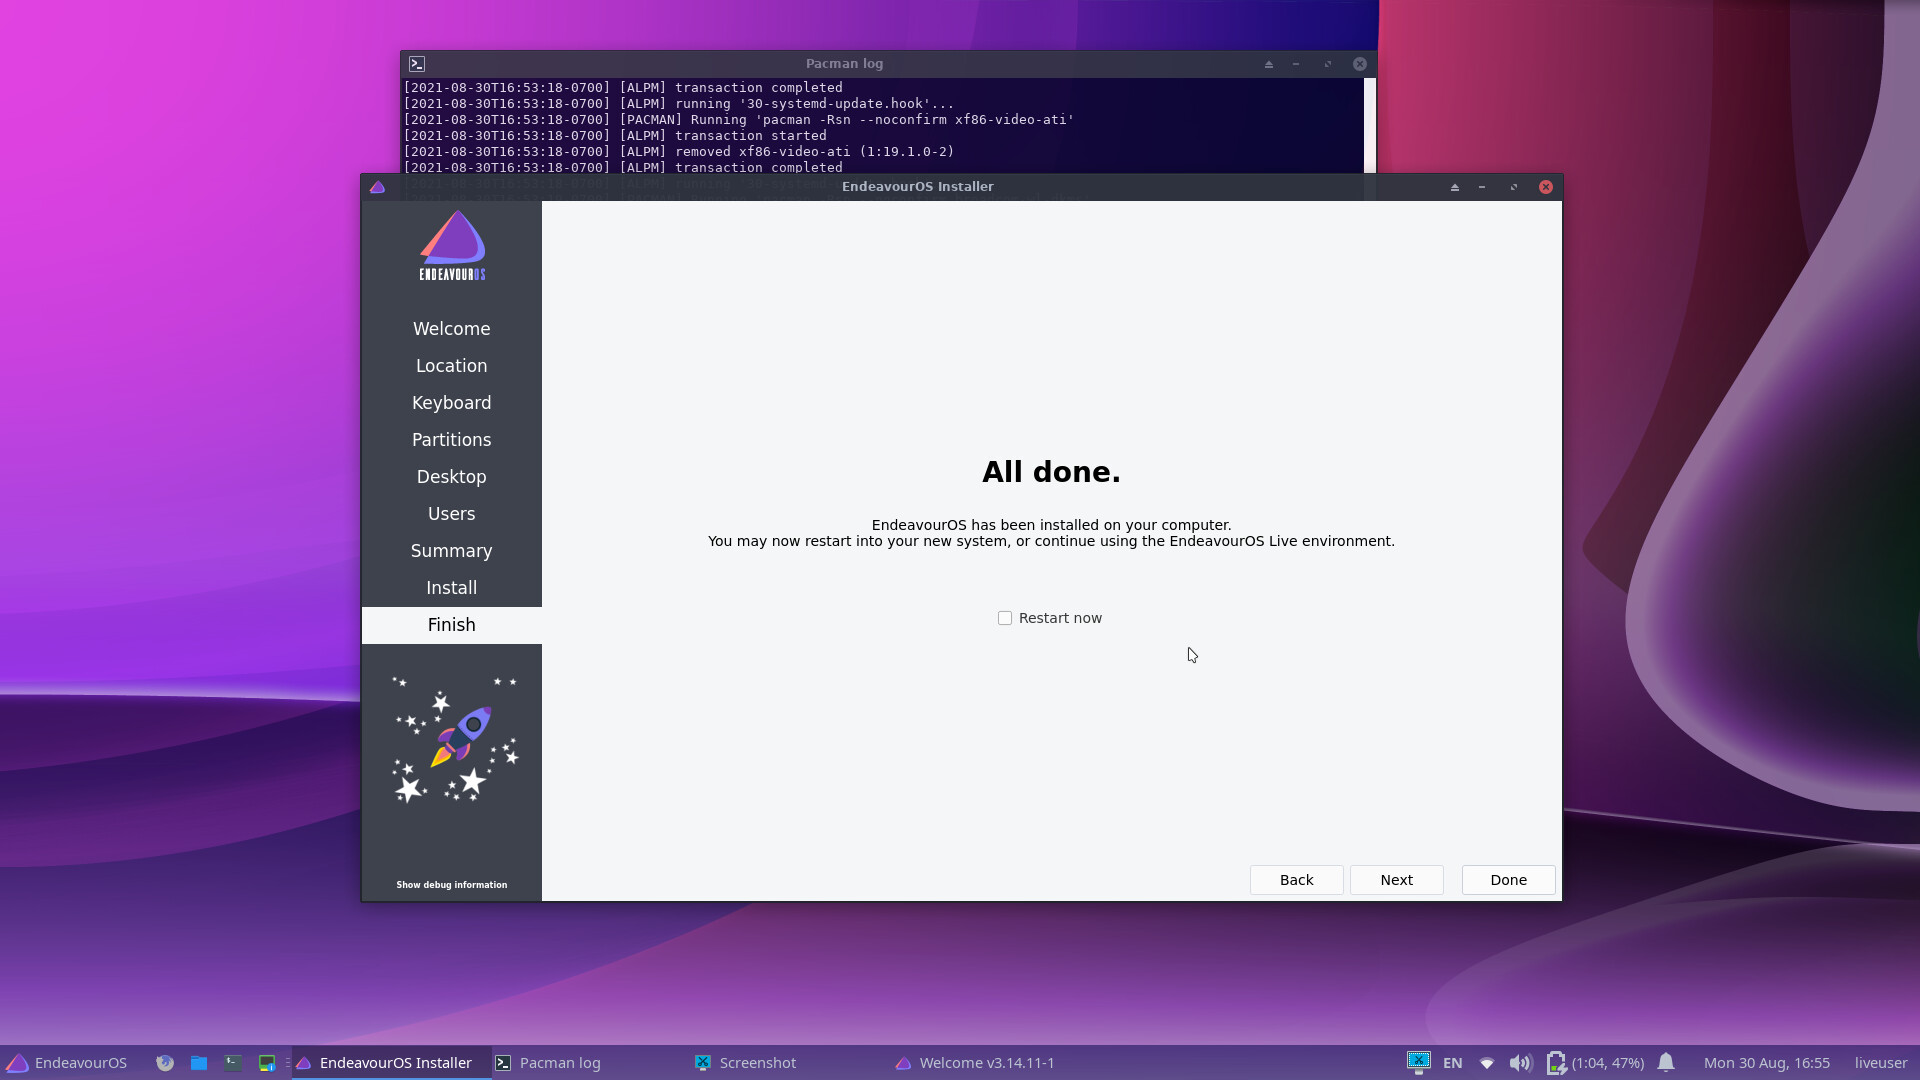
Now that we’re done, it’s time to log into your XFCE user space.
As you can see, XFCE and XFCE4 window manager. Pull up your terminal though, and you’ll notice if you pull nano ~/.config/i3/config we in fact also already have a nice preset i3 config file with preset keybindings ready to roll for you.
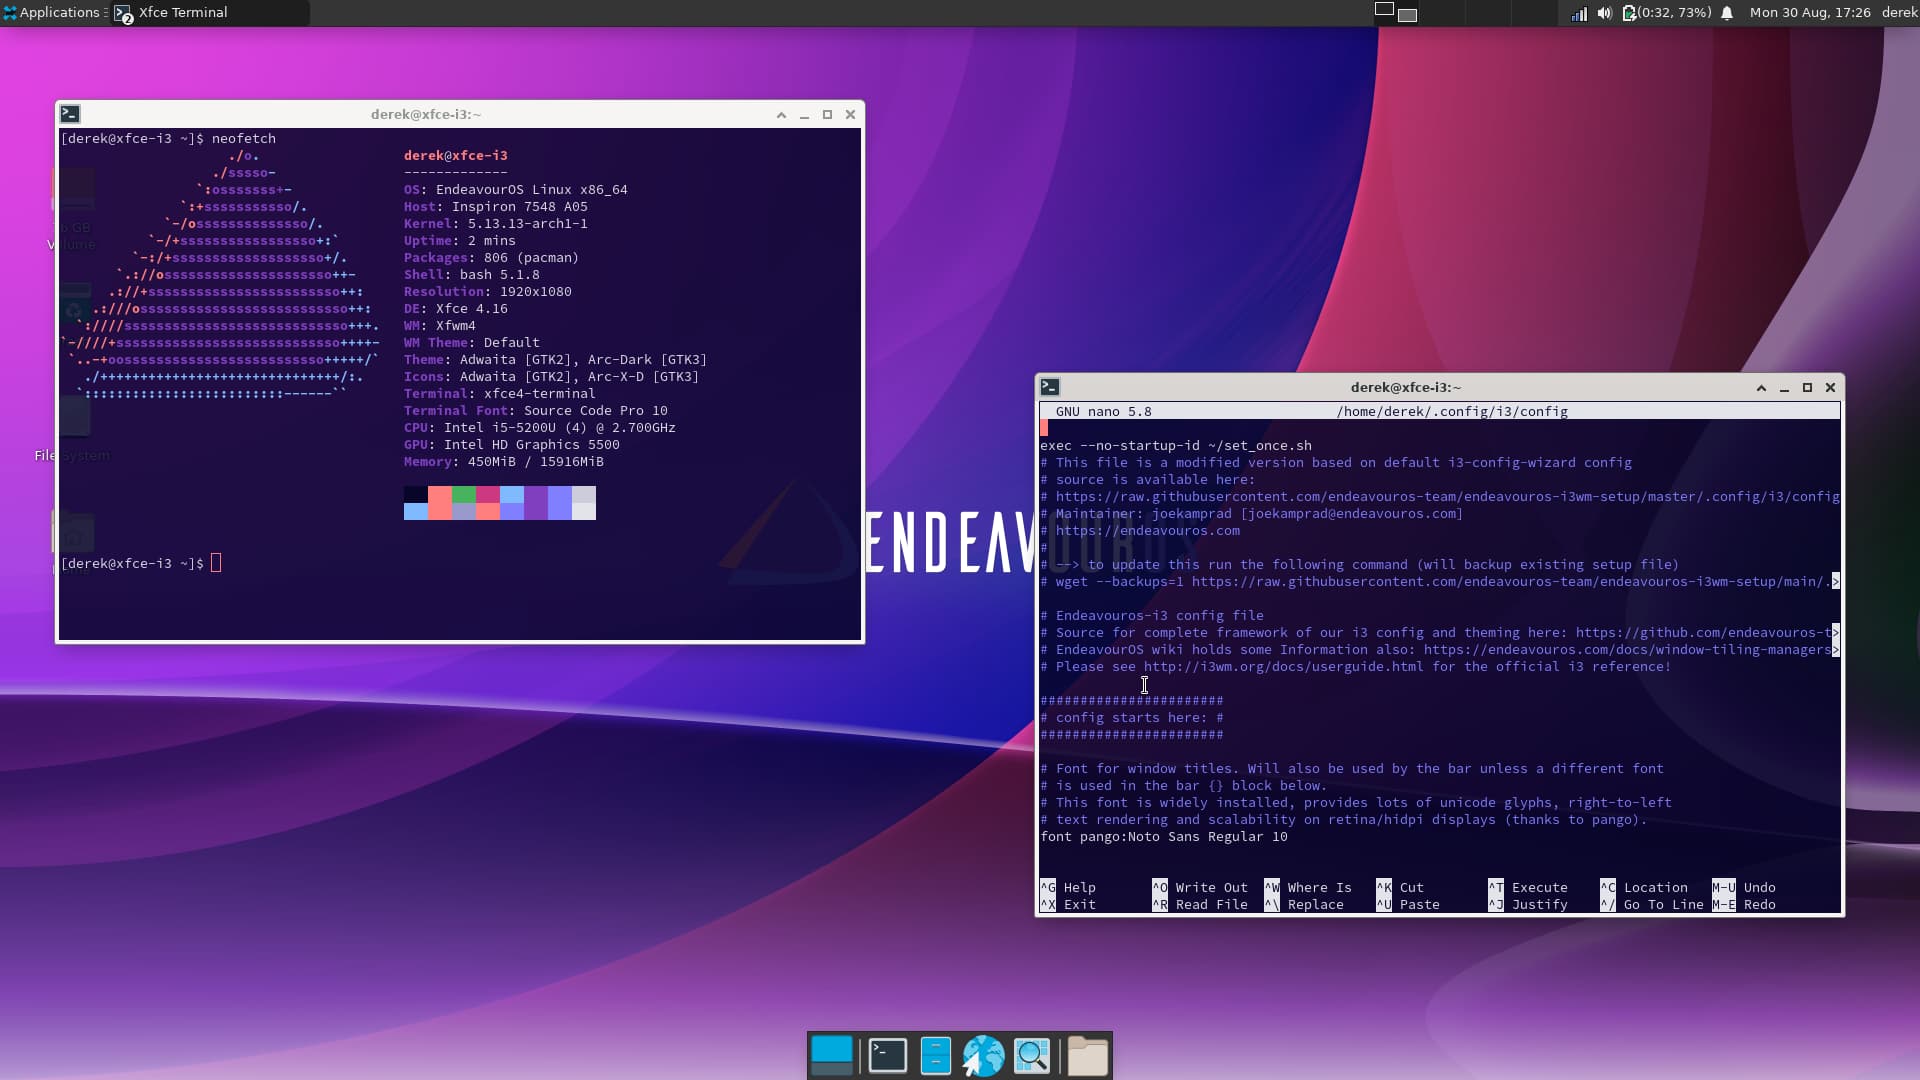
But we’re not here to install XFCE and then i3. We’re here to use both at the same time
So here we go.
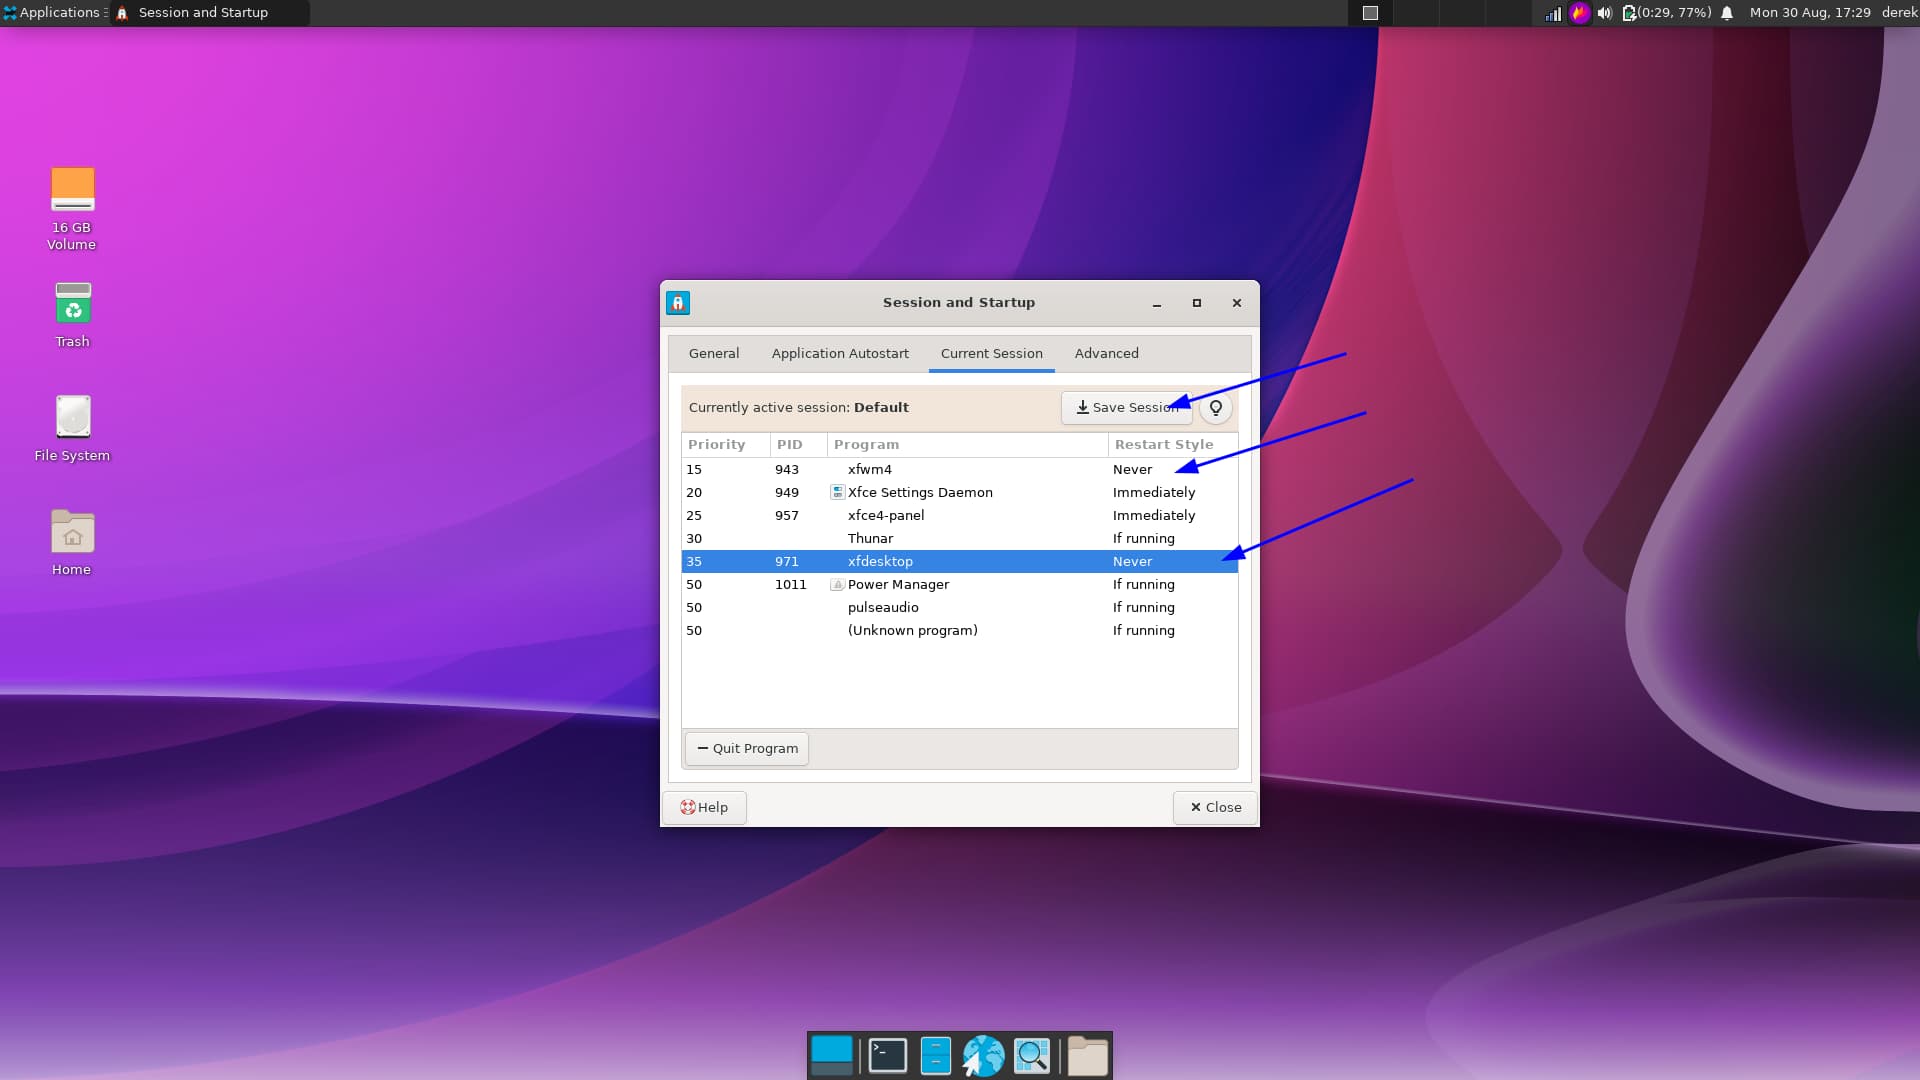
The next step from here is to open up your startup session. We need to kill off xfwm4 and xfdesktop. We won’t need them, those are what we will be replacing with i3. You need to switch them from “Immediately” to “Never.” and then click on and Save Session
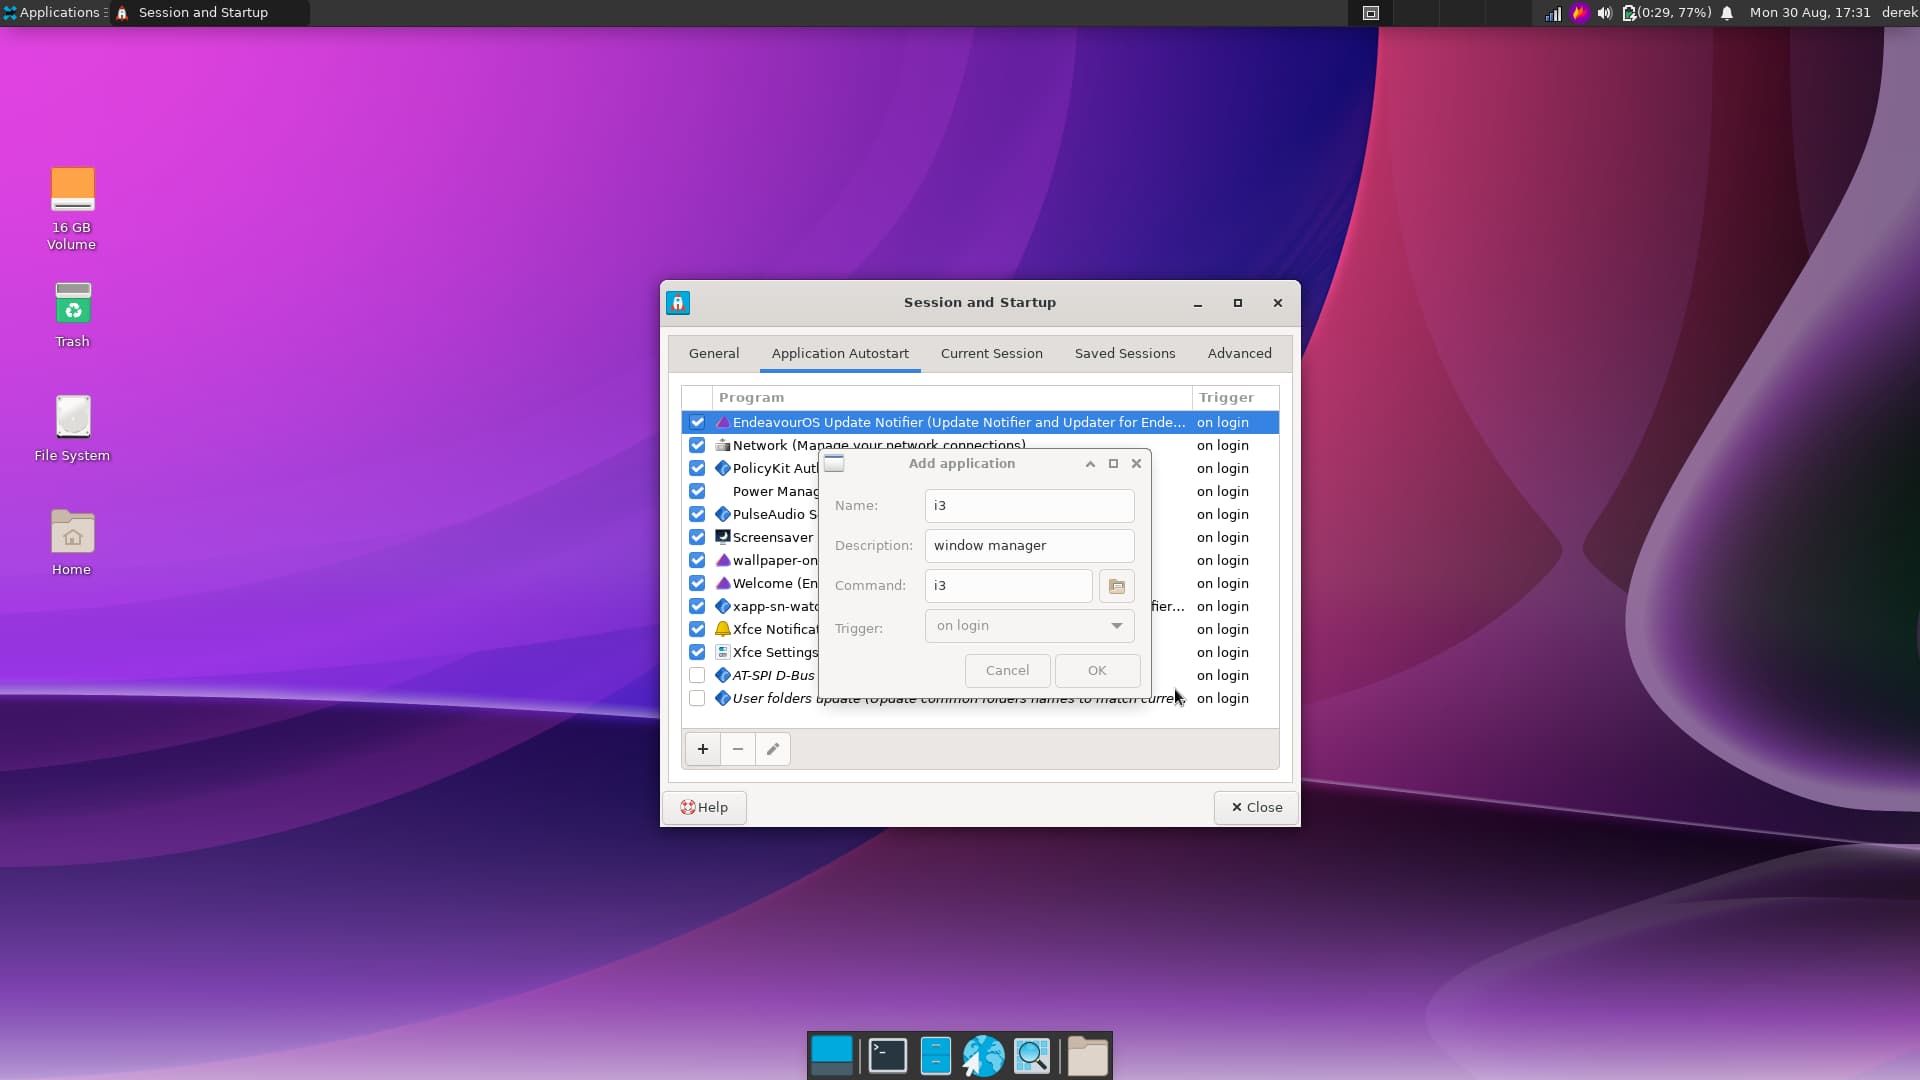
After saving your session you will need to click over to Application Autostart, this is where we will put in i3 as a startup application. The name and command are both i3, but you can put whatever you want as the description. Click ok and notice that i3 now shows up as an Autostart application.

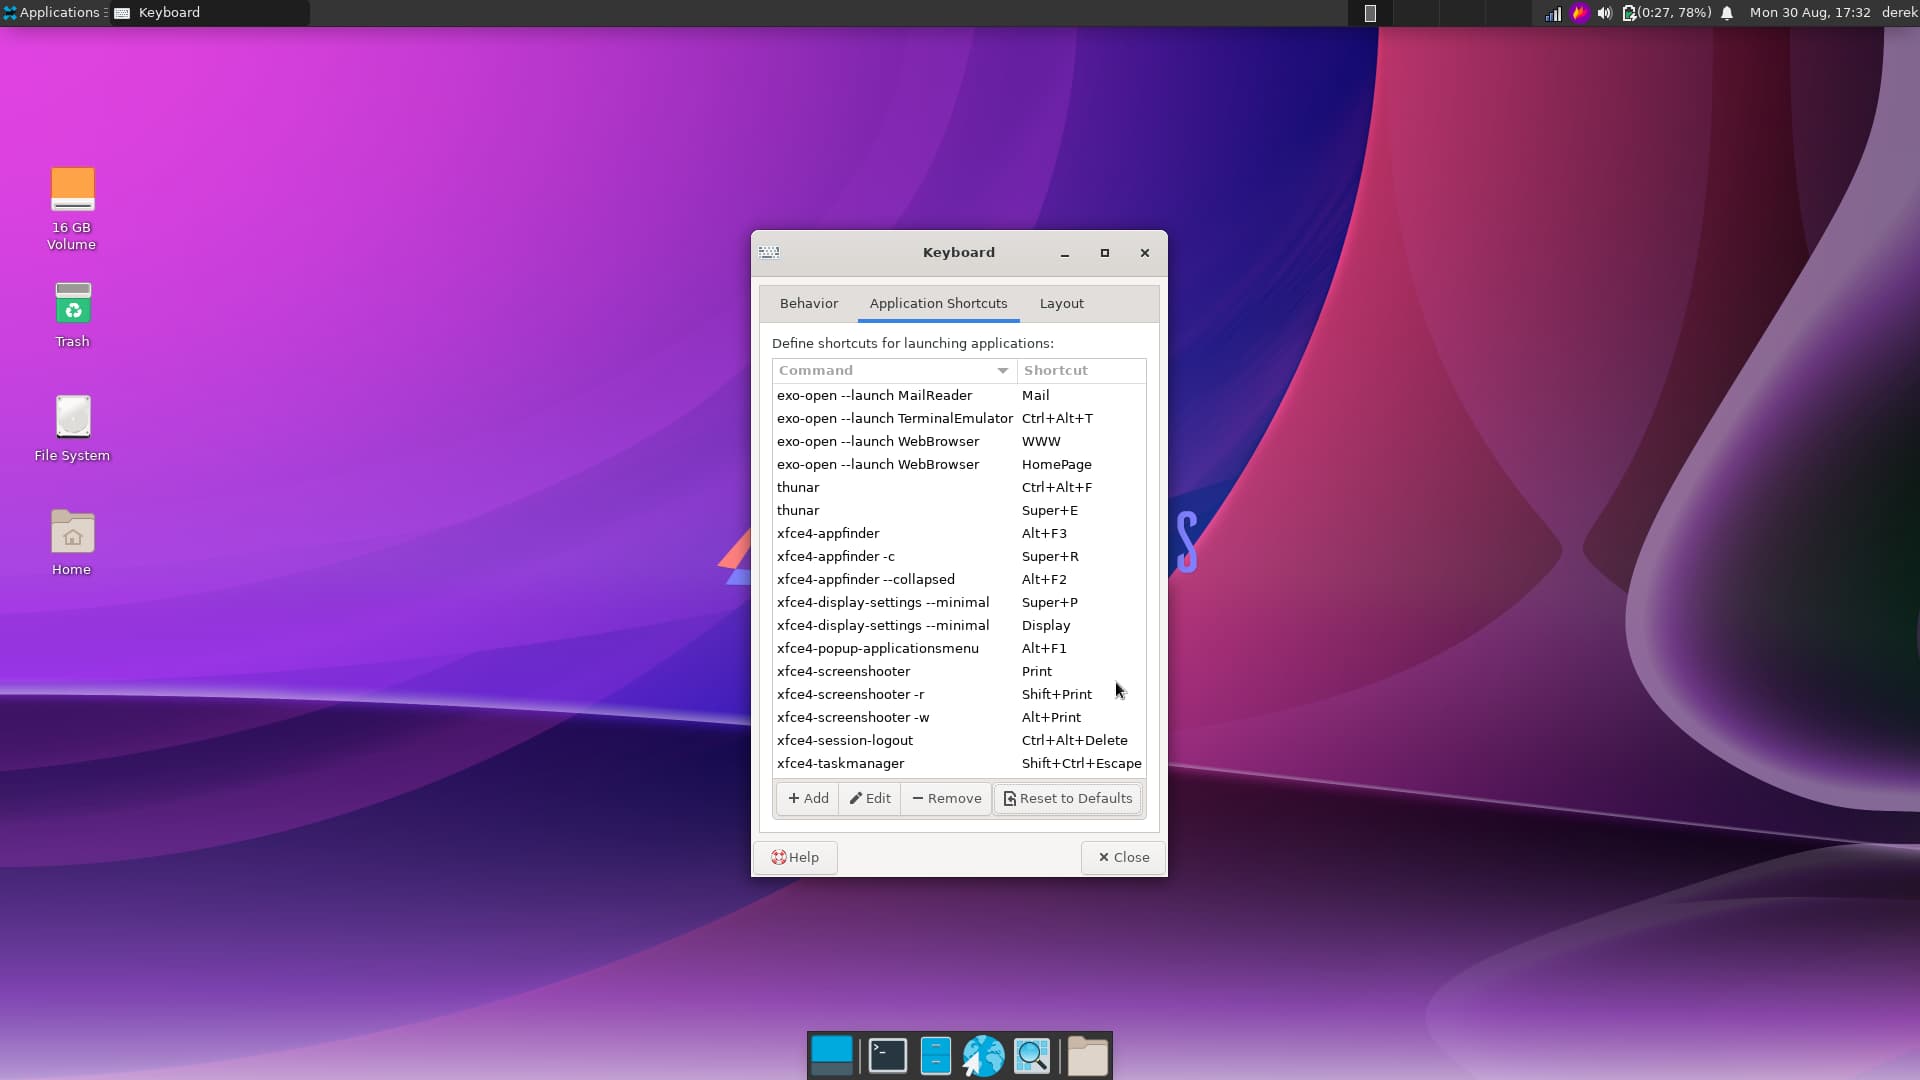
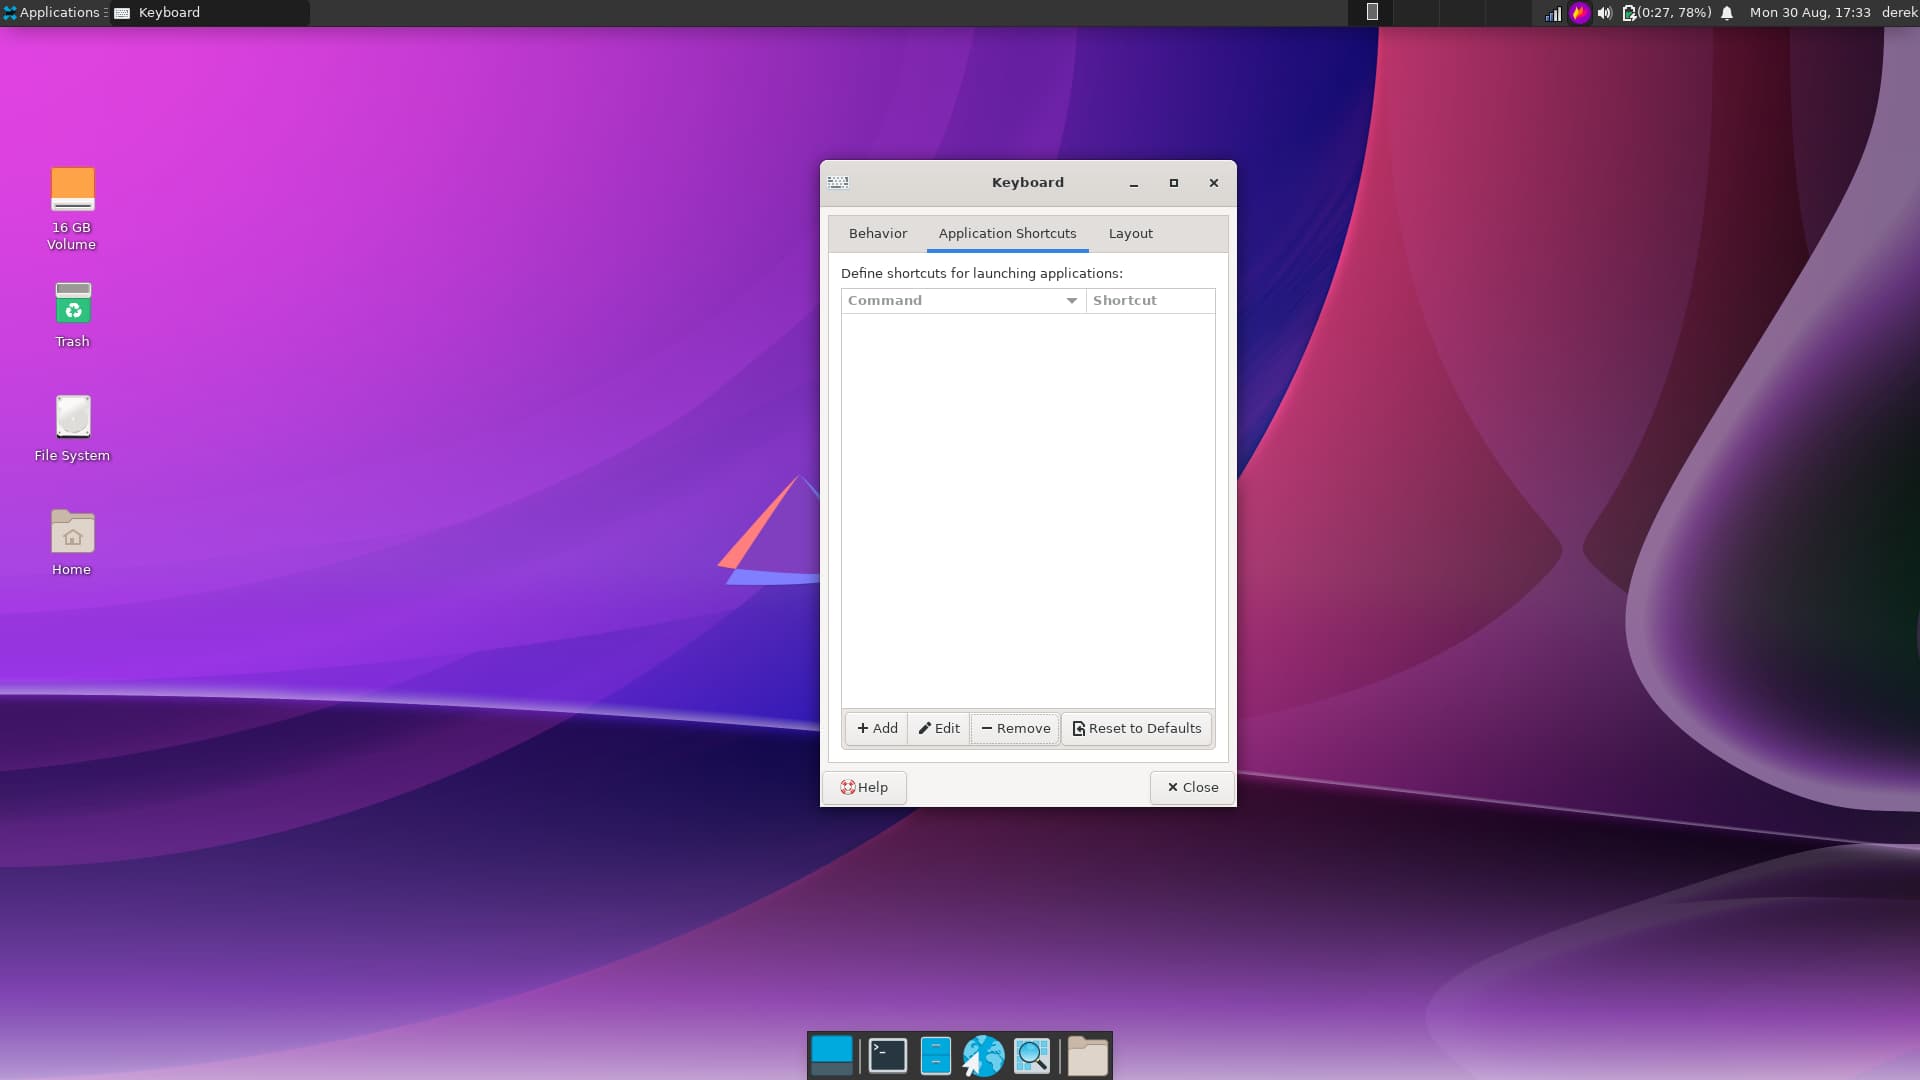
Next up, XFCE is super nice to provide us with keybinding shortcuts. But, it would be a shame to have i3 and not use the i3 keybindings. So, the next step is to pull up the XFCE shortcuts and remove ALL of them. Don’t save any, even if you think you need it, you don’t. We will be using the i3 config file and to make life easier, you will want to nix the whole lot of them.
And that’s that, Log Out and Log back in to see your nice new fancy XFCE system with i3 as it’s window manager! We’re not done, but we’re getting close! At this point everything works! Maybe a bit too well. At this point you can choose to lose xfce4-panel - which I didn’t want to do, it’s what originally brought me to look into this, or you can lose i3bar (I guess if you really wanted you could keep both, but that’s up to you).
I apologize for the old photo - I forgot to screenshot in the process.
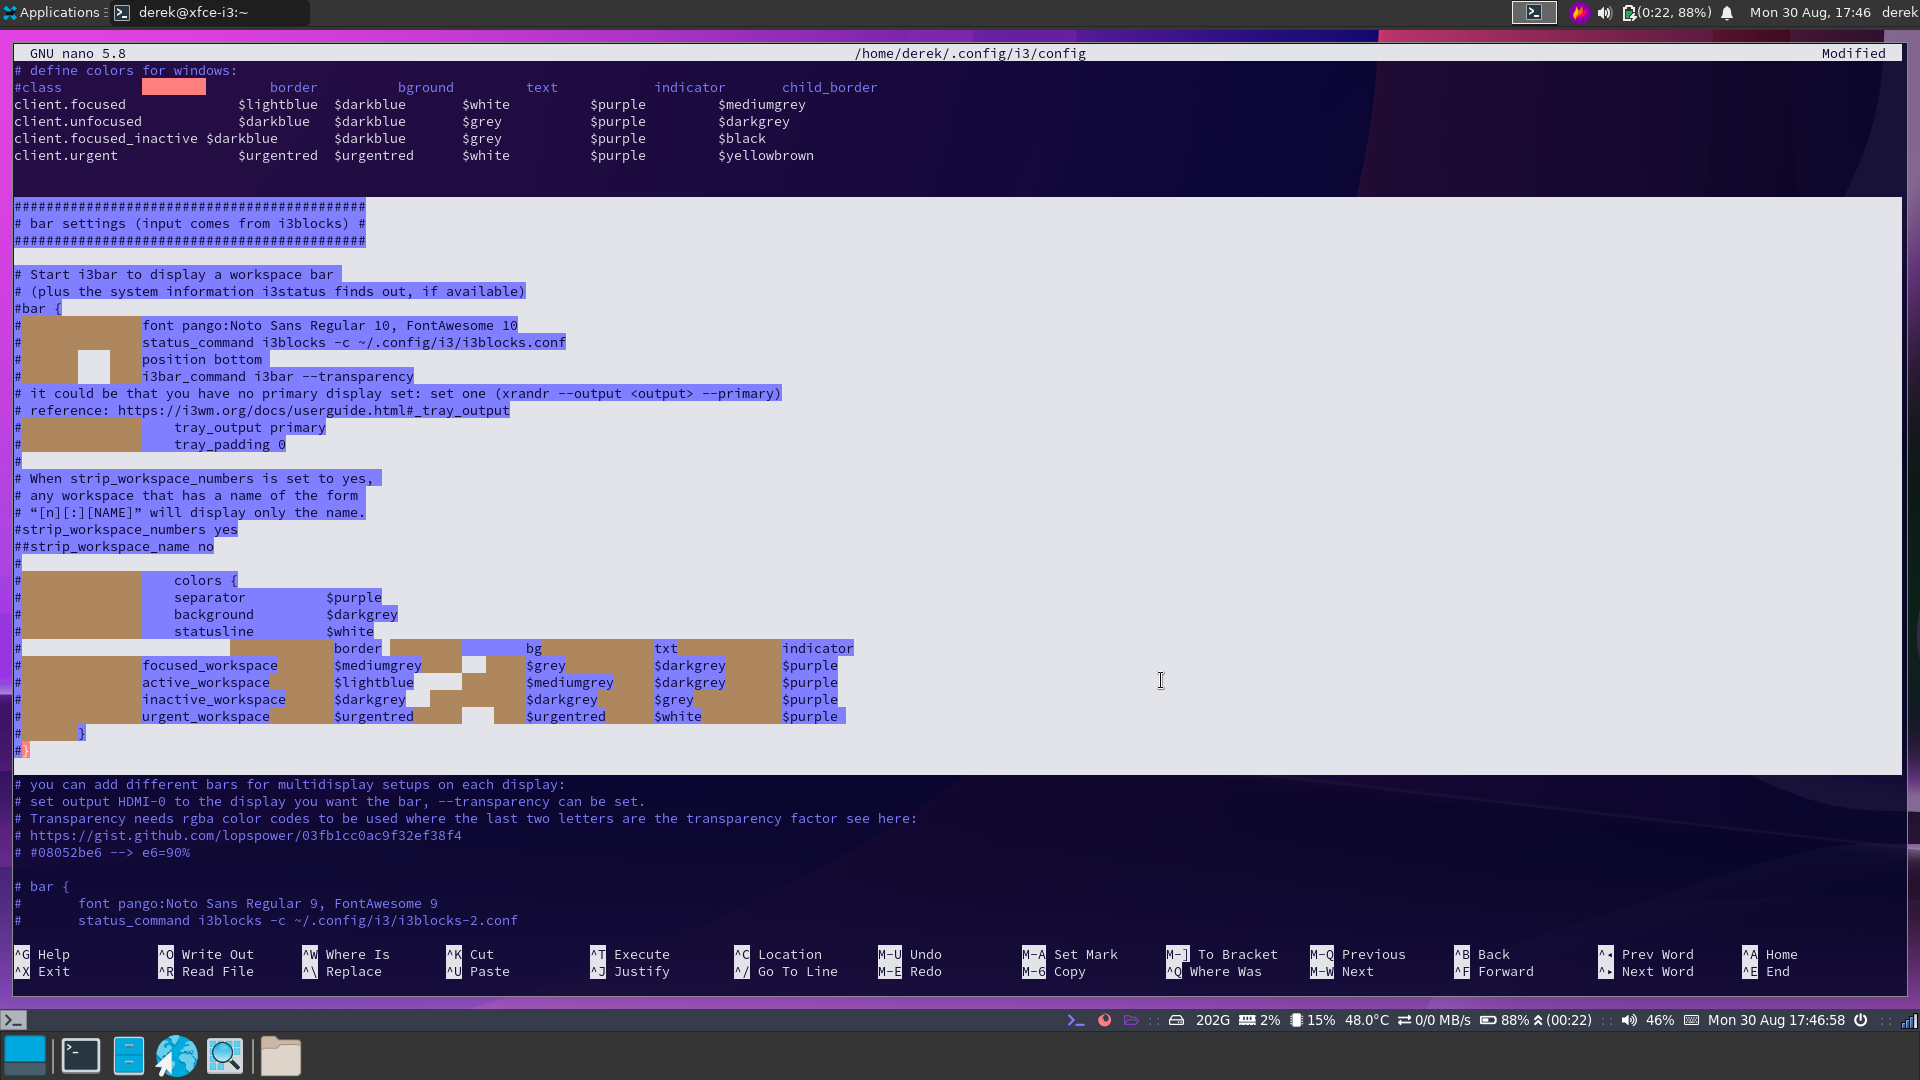
Pull up the i3 config with nano ~/.config/i3/config
We are now searching for the area where i3 bar has been setup for us. we need to # out ALL of the highlighted area. Every single line where I have highlighed here. Your i3bar config section should now look like this.
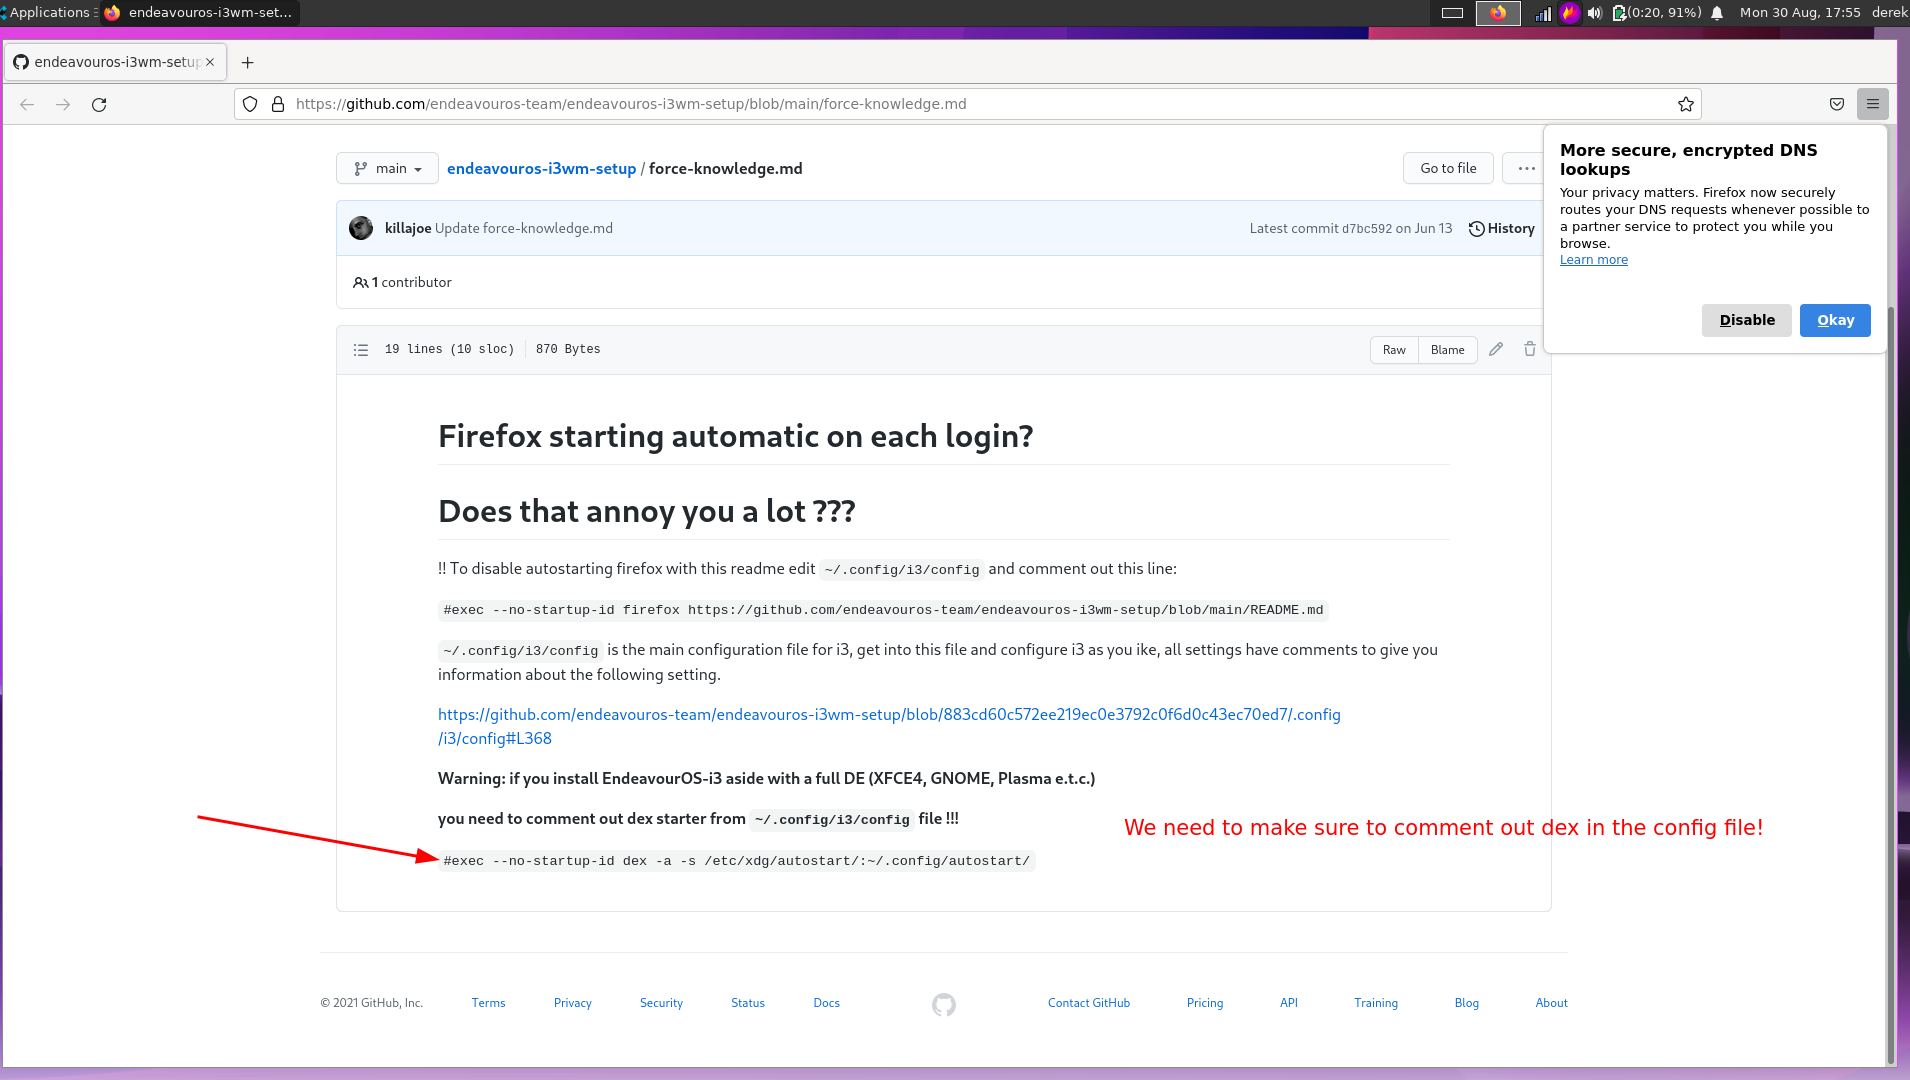
By now you have probably been prompted by Firefox and have seen this warning about dex. So, we will need to edit that out next:

At this point. Write out the config with ctrl+o and restart i3 with mod+shift+r
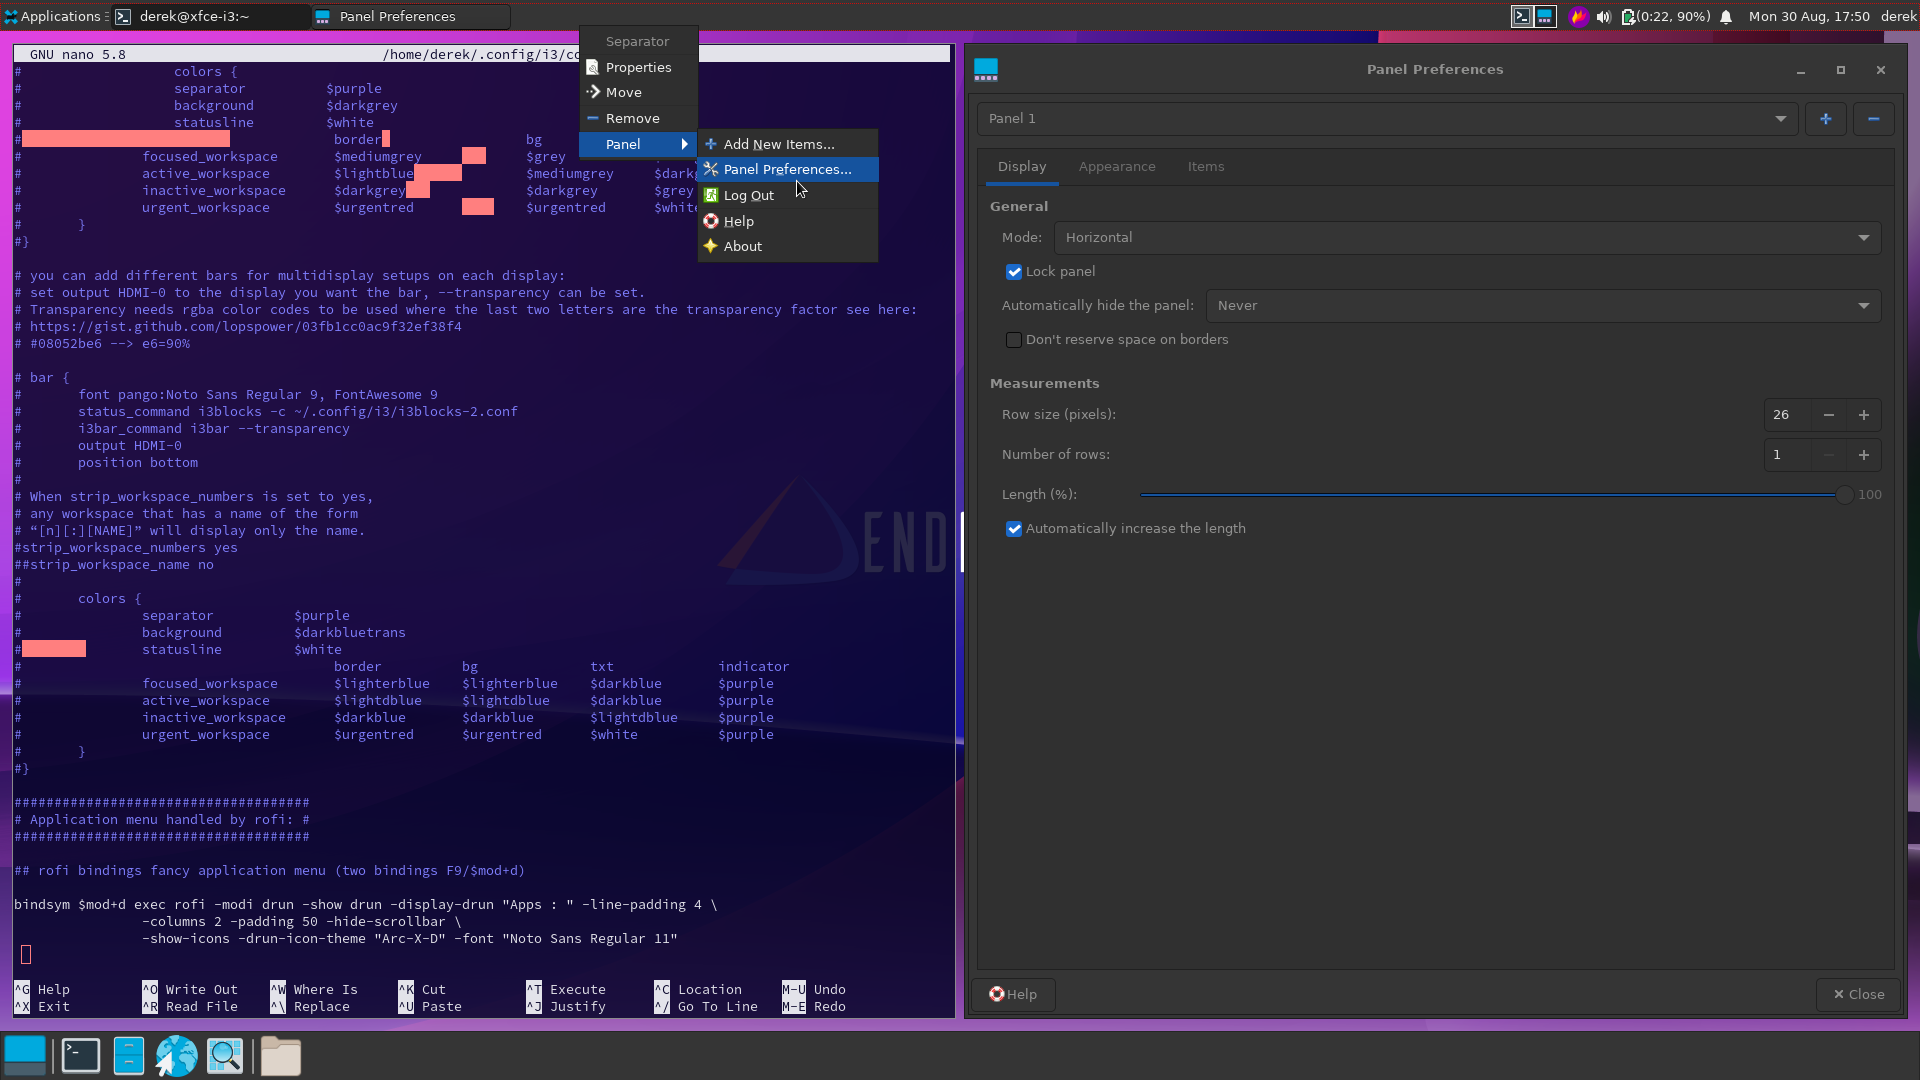
You now have a fully functioning xfce system with i3 wm using a proper xfce-panel - which comes with 2 panels out of the box. Due to i3wm tiling windows, the bottom panel diverts everything to the left, I just right click on the panel preferences and remove Panel 2, leaving you with the top bar.
You should now have a nice empty, xfce4-panel, and a beautiful background. You’re now prepared to take on the world with XFCE+i3!
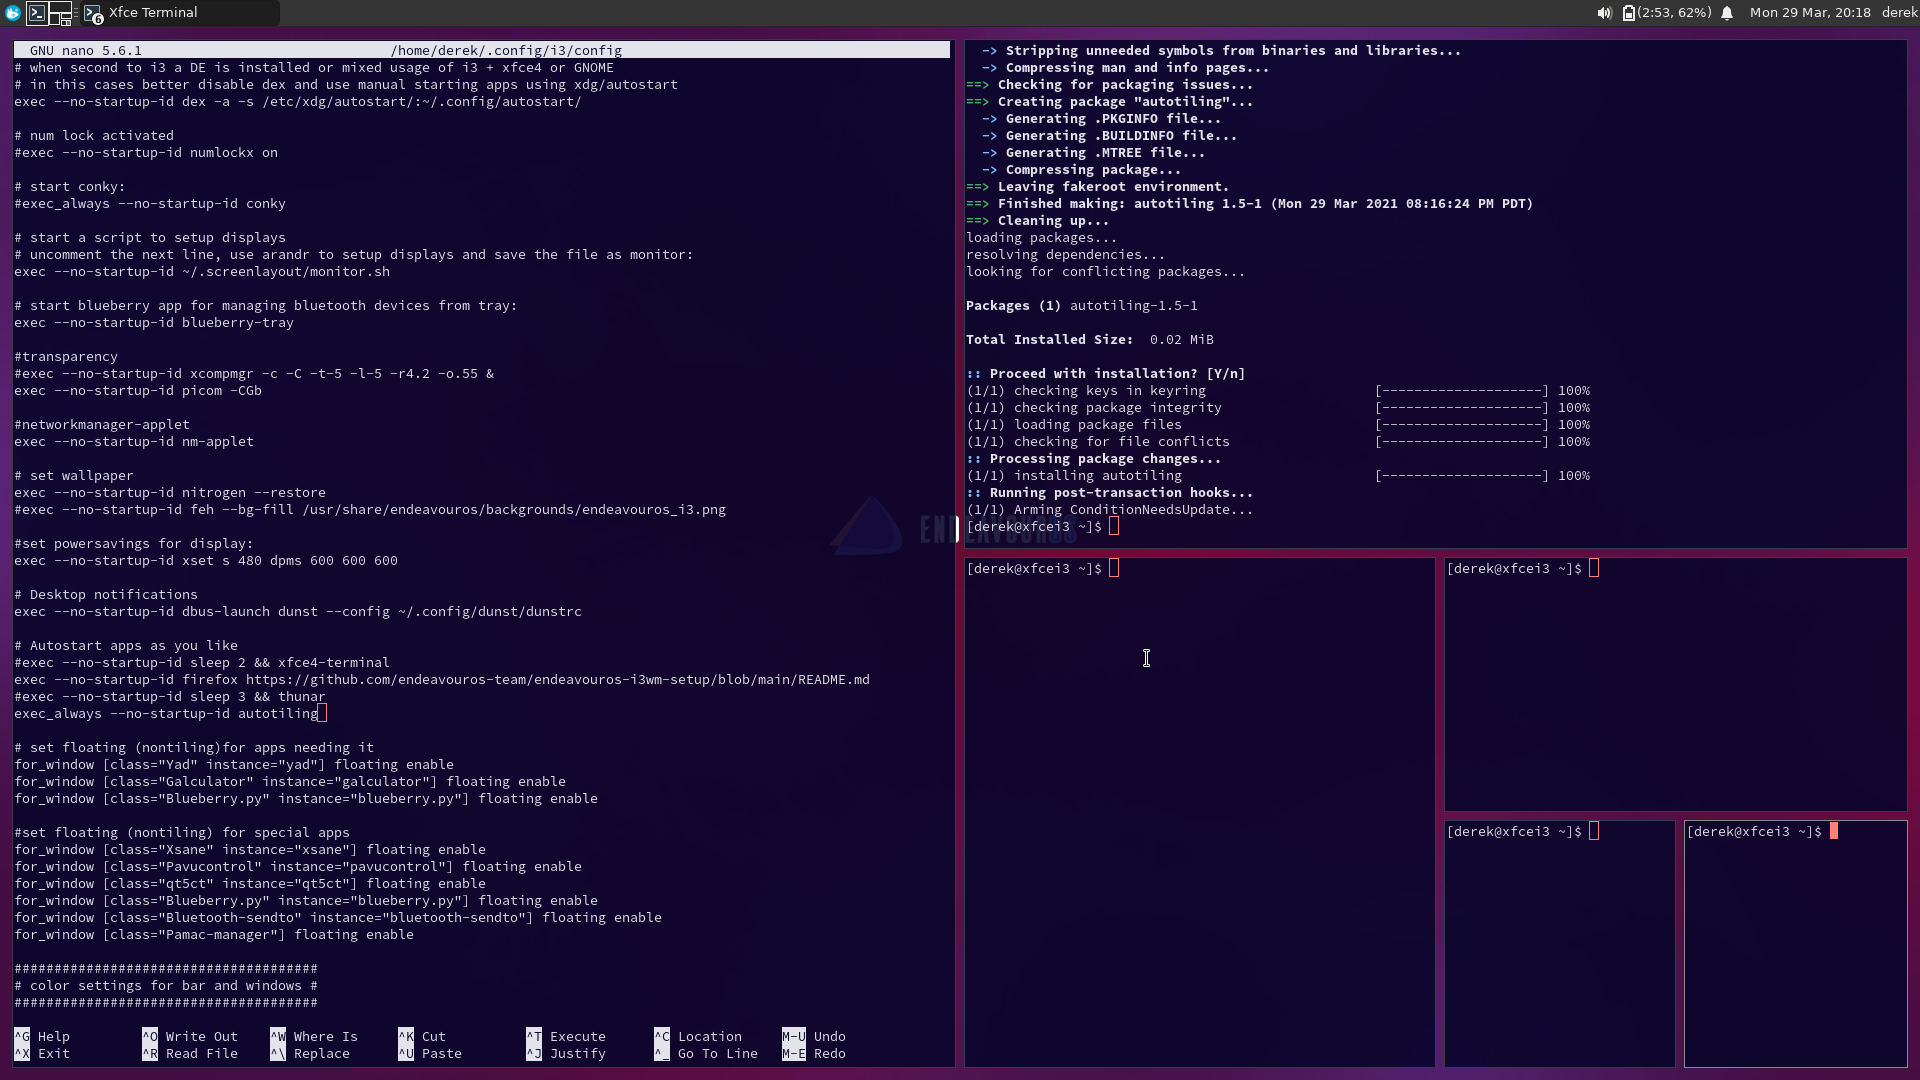
At this point the tutorial is over. Opening a bunch of terminals, they will open at will to the right as many times as you want as per the config file. mod+h for horizonal and mod+v for a verticle split. I personally prefer that action to occur automatically @Pudge - this is for you buddy.
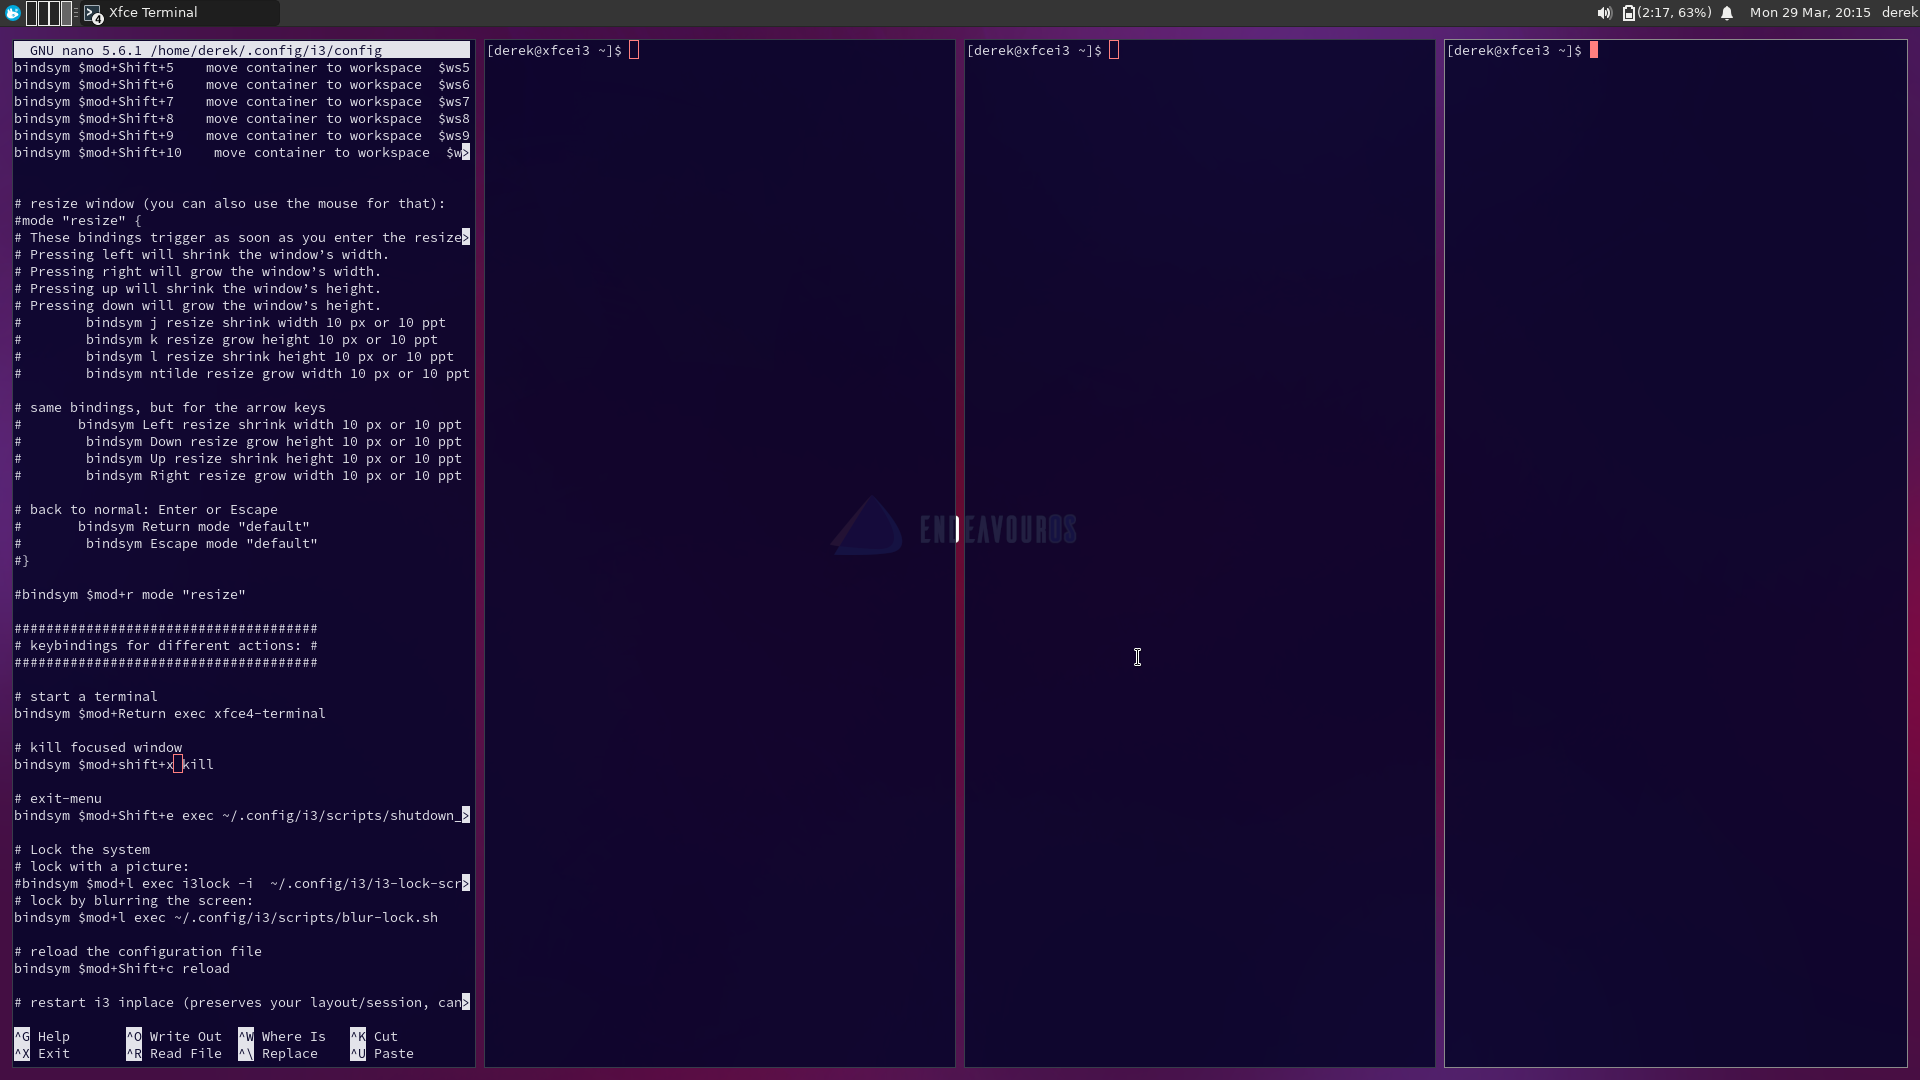
yay -S autotiling
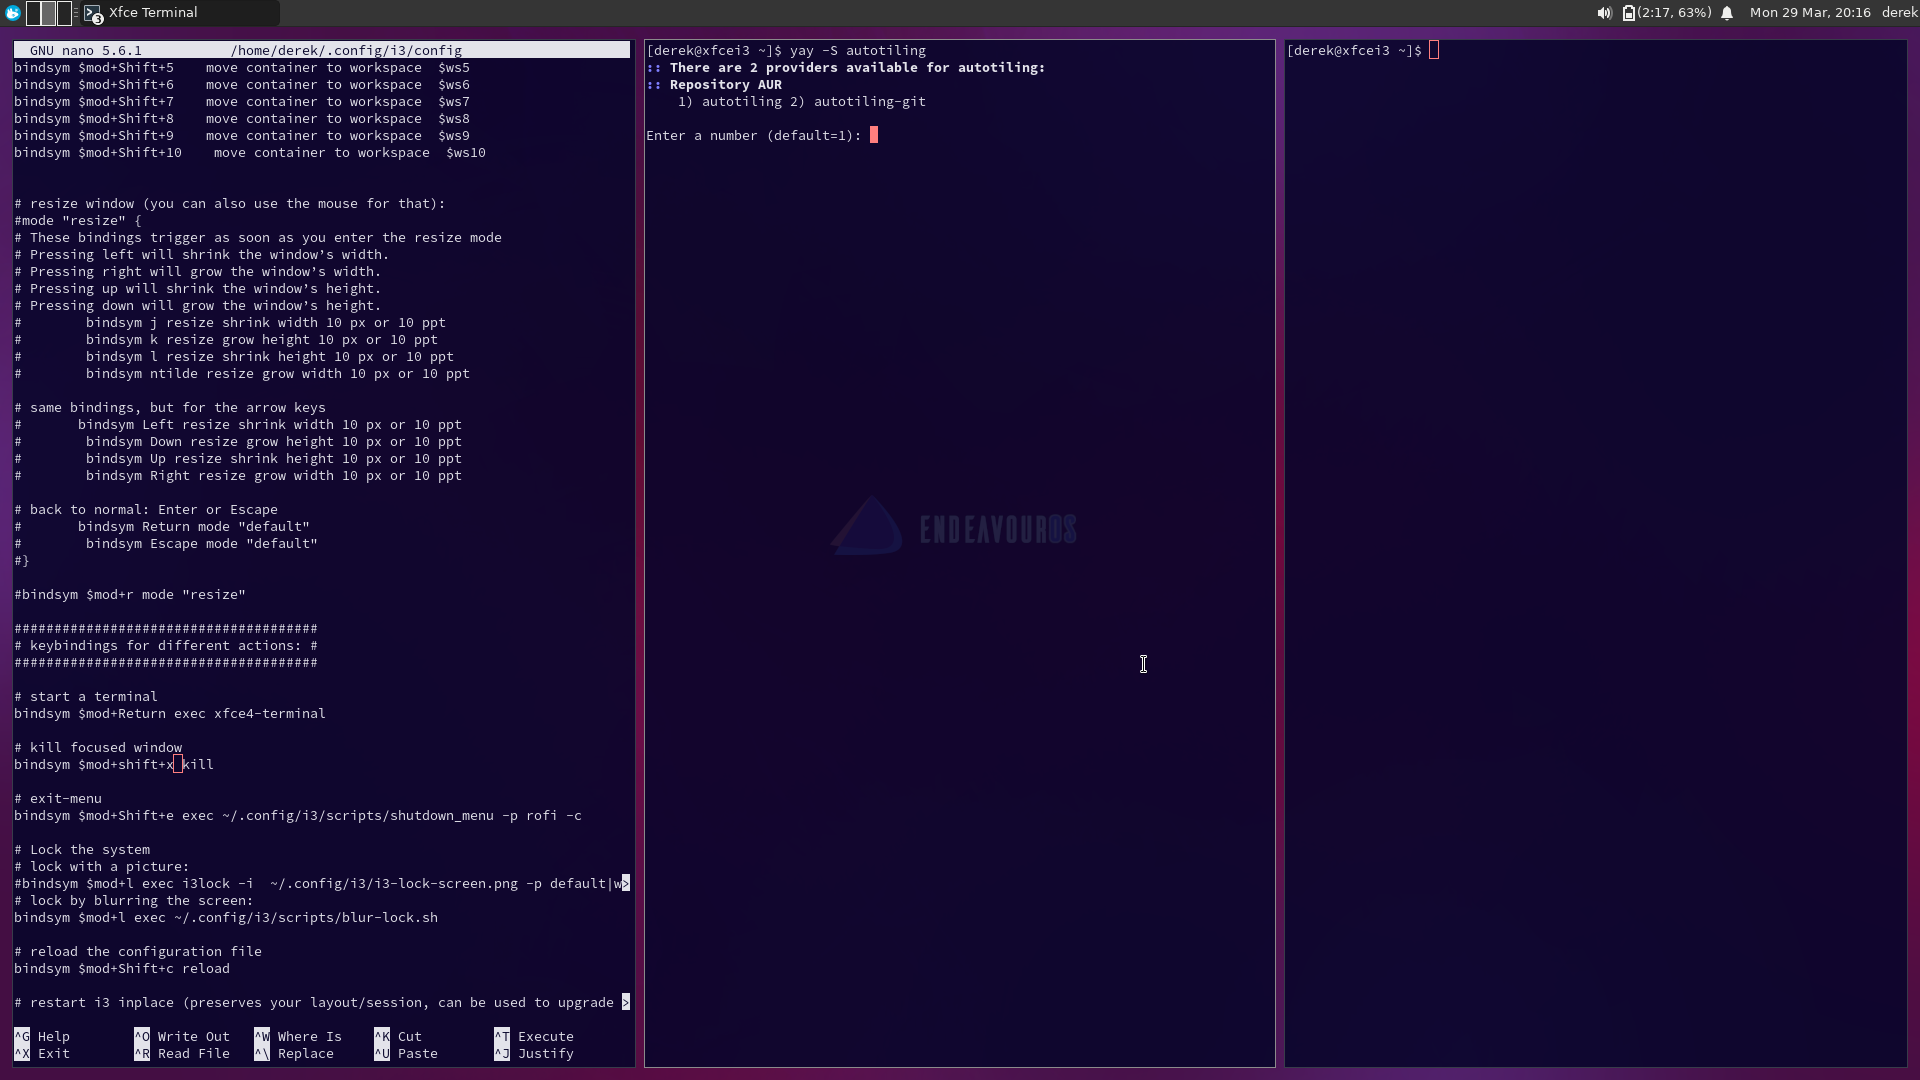
Once installed we will need to put it into our config file again at
nano ~/.config/i3/config
I highlighed where I added it in. You’ll need to insert the command:
exec_always --no-startup-id autotiling
Write out and restart and profit! This is now AUTOMATIC window management for you in alternating horizonal/vertical splitting.
On that note, this completely concludes my tutorial. You (should) now have Endeavour XFCE+i3 or as I’m officially calling it the “Bender DE.” There’s no implied warranties, things may not work, this may be complete trash for you. All complaints will be handled by my QC department - and since my dog doesn’t have thumbs, he’s really REALLY bad at replying to your emails.
If you’d like to make a donation to me for my time - please make it to the Endeavour Devs, they do more than I ever could. Plus I’ll probably just blow it on beer anyway.
Anyway, this is all in fun, I hope if nothing else this was entertaining for you.
Cheers,
Derek
TIPS & Tricks (Will update as questions/comments come up)
- How do I set a new wallpaper?!
You won’t be able to use xfce settings to change your wallpaper. As per your config file you will now need to use Nitrogen!
You must first add whatever photo to the applicable file location
/usr/share/endeavouros/backgrounds
I suggest using the terminal program mc since it’s easy and save to run as su. Once your wallpaper is saved in that folder, Nitrogen will now be able to see it, and it’s as simple as click and apply!
- The Windows key doesn’t open the whisker menu anymore! Help!
I added this in the config to the section that says
######################################
# keybindings for different actions: #
######################################


# keybinding whisker menu
bindsym $mod+shift+z exec xfce4-popup-whiskermenu
You can really use whatever keybinding you wanted. But since I usually have my right hand on the mouse, this was an available combo that was very easy to do with only my left hand. Whatever you want is up to you, The best part of i3, is it’s your computer.
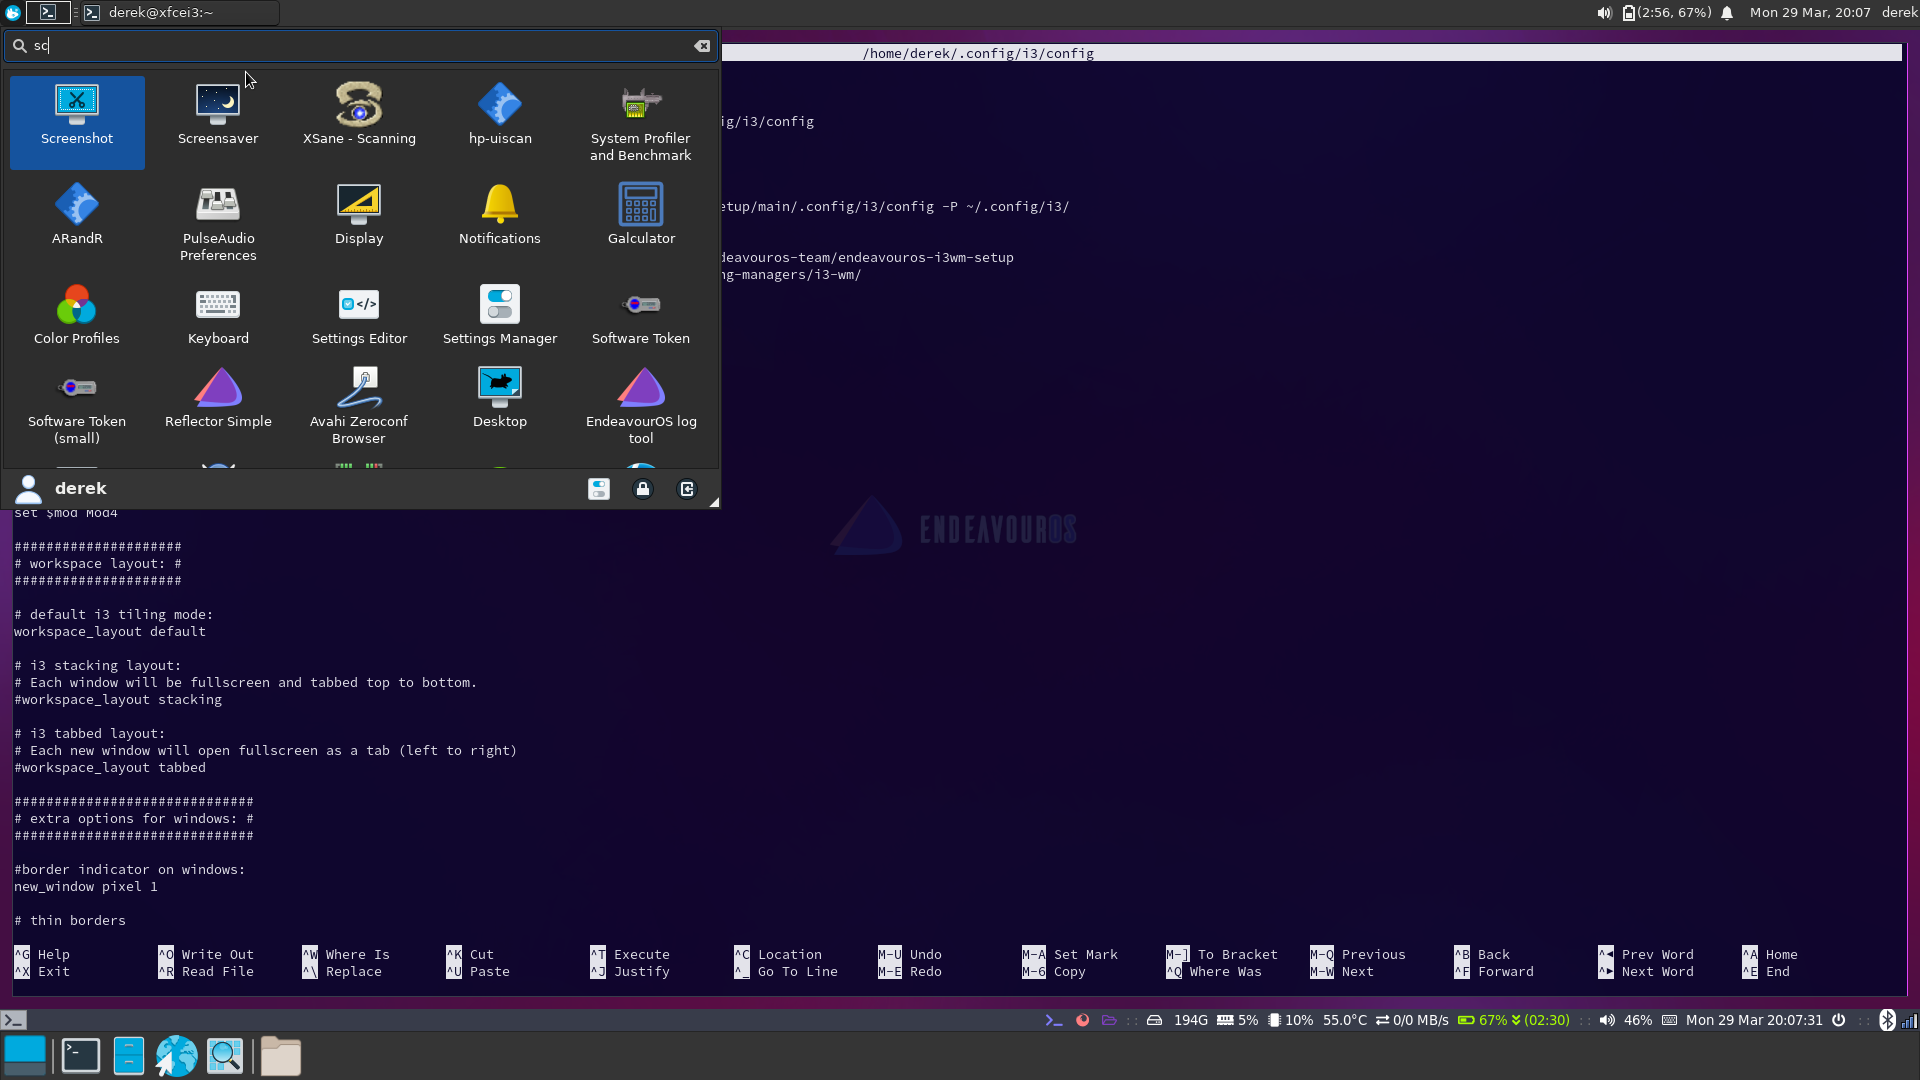
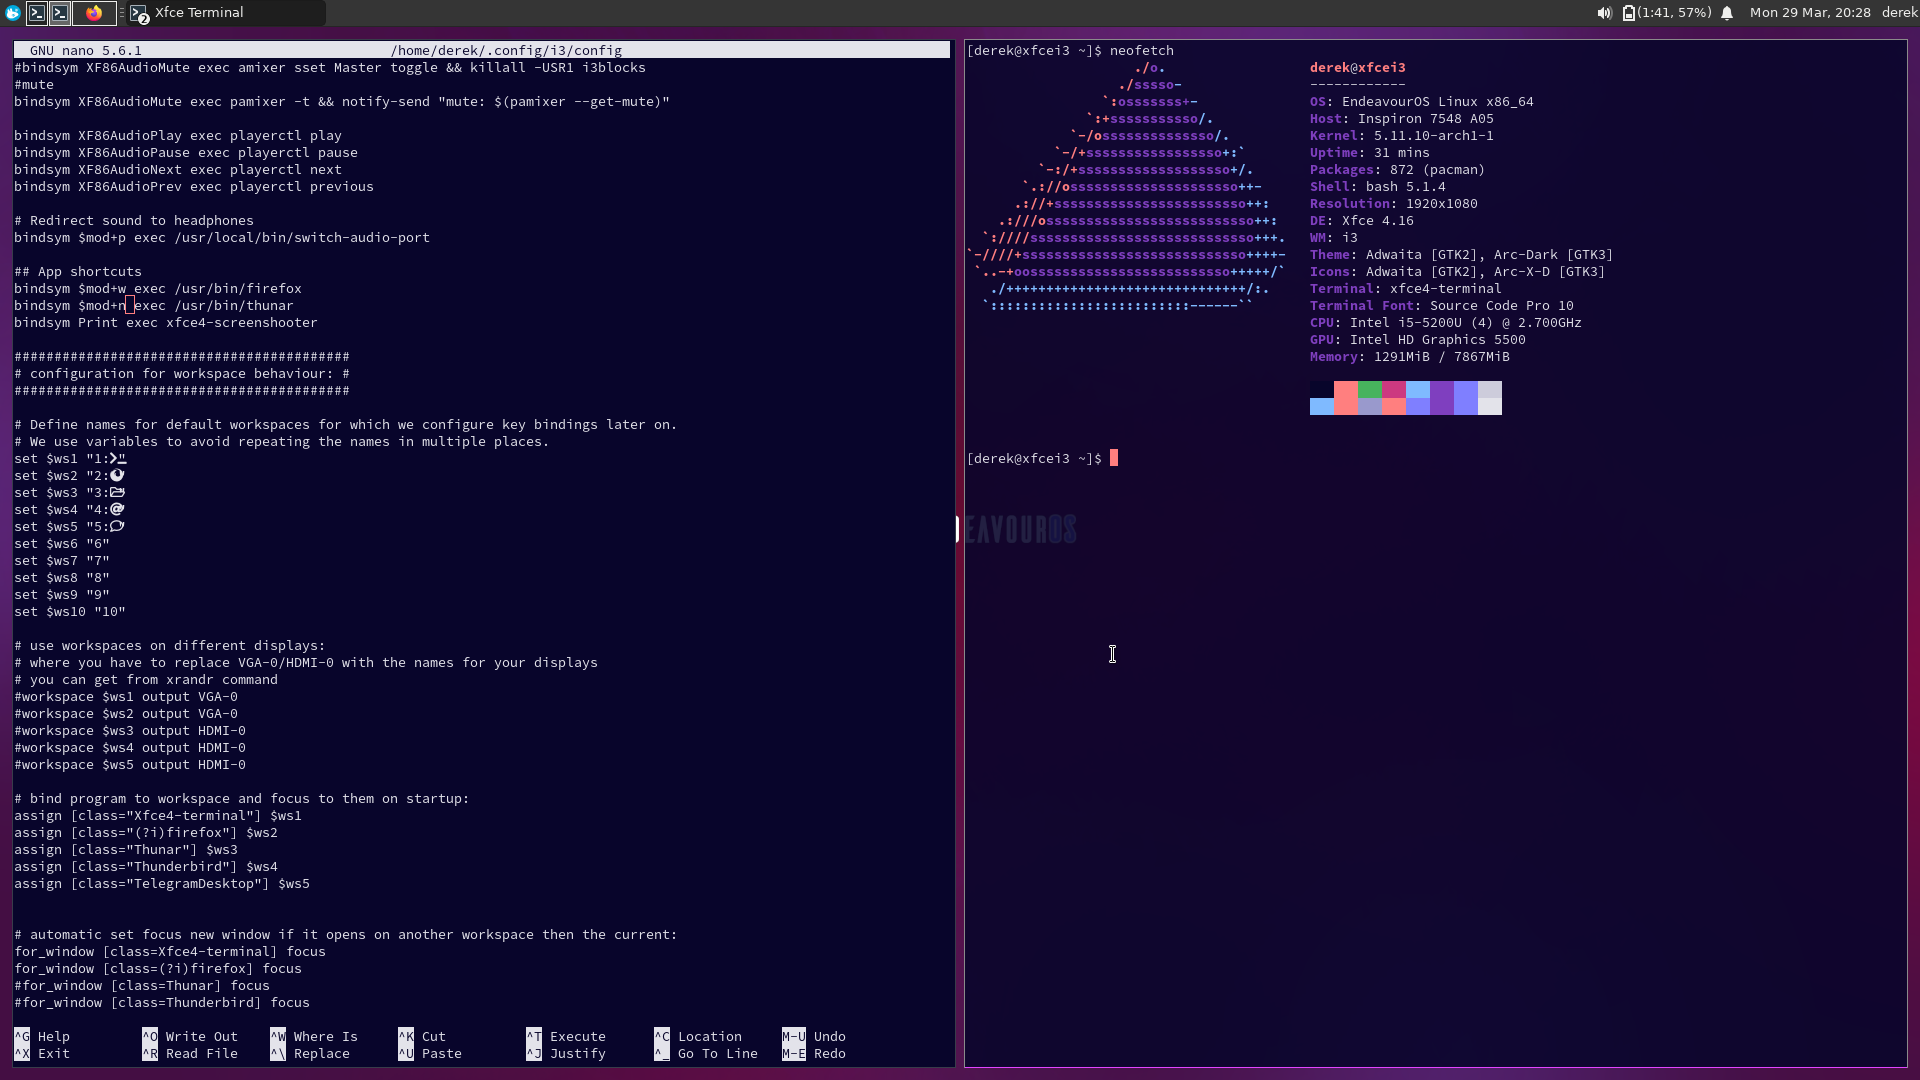
- Use xfce4-screenshooter for screenshots:
Under ## App Shortcuts I have commented out Print exec scrot and added a line for xfce4-screenshooter:
## App shortcuts
bindsym $mod+w exec /usr/bin/firefox
bindsym $mod+n exec /usr/bin/thunar
#bindsym Print exec "scrot ~/%Y-%m-%d-%T-screenshot.png"
bindsym Print exec xfce4-screenshooter && exit
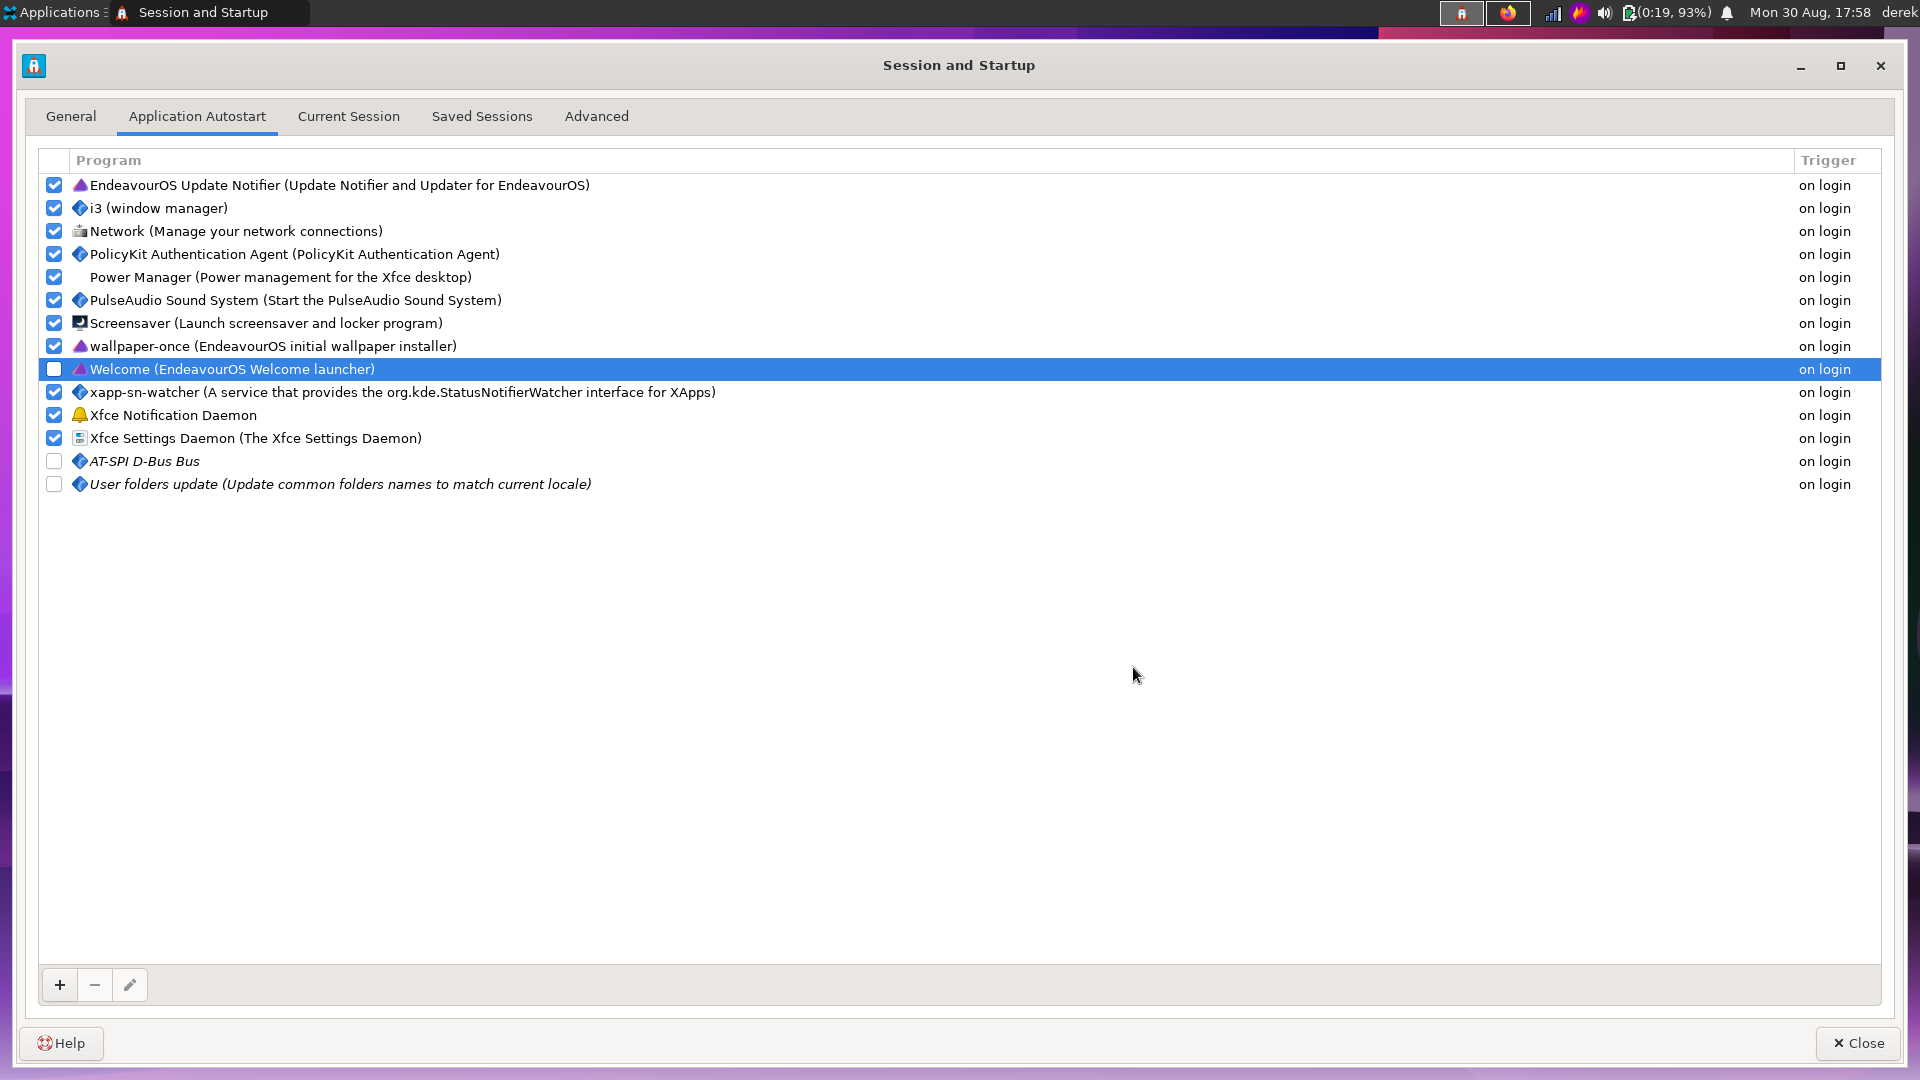
- The “Welcome App” shows up on every login even after I told it to go away - thanks @Christopher67
You can either uncheck it during initial setup if you know you don’t want to see the welcome app anymore. If you’ve already gotten this far and you don’t want to see it anymore, you will need to go into the settings menu and over to “Session and Startup” again. It’s the same place we added in i3wm for startup. The box for the welcome app will need to be unchecked and the session saved again. From henceforth, you should no longer see it upon startup. *Note - you can always open this manually from the whisker menu at any point, and can be re-enabled by re-checking the box in Session Startup again.
Disclaimer - as of Aug 30, Rofi has theming issues - we’re working on it. Everything else about it seems to be working so far on xfce-i3 though.

